Cart 0
IMG_1431.jpg

Circuit Blocks are hand-made in Pennsylvania from mixed varieties of locally and sustainably sourced hardwoods. Our Circuit Blocks have been iteratively designed as part of the teaching and learning work of the Children's Innovation Project beginning in 2010. The commercial production of Circuit Blocks is a project of Spiral Bound Design - whose commitment to high quality in-house production mirrors the ethos of the learning work of Children’s Innovation Project, implementing slow and careful methods of crafting these materials and improving designs iteratively with each block that is made.

Circuit Blocks are designed with the intention of supporting meaningful, rigorous learning opportunities for children both inside and outside of classrooms. Using Circuit Blocks with this intention affords children opportunities to slow down, dig into struggles of not-knowing and find and follow their internally-motivated curiosities.

learning-with-banner.png

Introduction

The following learning explorations are designed to guide you as you explore with your circuit blocks. We recommend that you approach these in sequence, moving slowly. Please imagine new activities and extensions to explore as you go. Look for connections to the world around you. 

Learning Explorations:

Regarding Electricity:

It is important to limit our explorations to battery powered circuits and devices - we should never play with electricity from an electrical outlet. This is very dangerous. Even small batteries can be dangerous if we are not careful. Our Batteries Block is specially designed with a resettable fuse, which protects it from short circuits (which can cause batteries to get very hot and, on occasion, can cause them to catch fire). While the risk of injury is very low with these materials, we must remind you that these are not toys, but are learning tools - they are designed specifically for young children, but adult supervision and common sense is always recommended. In addition, these components do contain small pieces that can be a choking hazard for very young children.

Make it a rule to only use one Batteries Block within each circuit. As you explore and want to build more complex circuits, you may find this limits what you think is possible. When you reach this point, we encourage you to learn the difference between parallel and series circuits. With parallel circuits, it is possible to have several Circuit Blocks components function at once with one set of batteries! In addition, each of our components are designed to function best at 3 volts, which is the voltage supplied by our Battery Blocks. Using more voltage can damage the components.

Noticing:

screw 5 perspectives.png

A good way to start learning is to spend time noticing carefully. Look around the room you are in and choose a small object to look at closely. You may already know a lot about this object, so look closely until you notice something new. Move the object so you can look at it from a different perspective. Continue to notice until you discover something else new. Wonder: What do you see? What might it do? What might it be for? Of what material/s is it made? How might it have been made? What else can you wonder?

Draw and explain what you notice, wonder, and imagine. Be precise, and draw even the smallest details. If you think you've drawn everything, rotate your object to look from a new perspective and make another drawing. We call this observational drawing. We often use drawing as a way to communicate and understand things. Drawings can be used to show others what you know and think.


light.png

Look at your Lightbulb Block and notice it carefully. Explain out loud what you notice. Be precise. Look at the smallest details. Just like you did with your object, draw your component. Notice all of the small parts that make up the component block. How many different materials can you name? Wonder: What are all of the parts? What might they be for? How do you think the component will work? 

Turn your component over so it is upside down. What do you see now? How do you think the parts you see are connected? Can you follow the pathway of any of the parts from one side to the other? Focus in this way on each of the component blocks you have. As you continue to make discoveries exploring your Circuit Blocks, you will discover how some of what you notice here becomes important later. We recommend that you keep a sketchbook to record your drawings, noticings and questions.


"What do you DO to make HAPPEN?"

We ask this simple question when we’re beginning to make simple circuits. For example, "I flip the switch to make the motor spin" or "I turn the potentiometer to adjust the brightness of the LED."

You can see how answering this question categorizes each component and its function into DO and HAPPEN. This will help you understand the cause and effect of how things work in a simple circuit. This will also help you name and wonder about many more complicated relationships inside systems. Later in learning, DO will translate to the engineering concept of INPUT and HAPPEN will translate to the engineering concept of OUTPUT.

DO components are all of the switches, (such as the knife switch, pushbutton switch and rocker switch), the potentiometer, and the photo cell.

HAPPEN components consist of the lightbulb, LEDs, motors, and buzzer.


The batteries and wires are components that don’t quite fit into either of these categories - we need them for every circuit that we make. We might consider them essential components.


Simple Circuits

materials

  • Two (2) Wires

  • Batteries Block

  • Lightbulb Block

Imagine a path. Imagine traveling along that path to get somewhere. Imagine traveling along a different path to return to where you started. We travel along paths in many different ways: people walk through a hallway or up the stairs; cars drive on roads; water travels down a river and through our plumbing.

Using two wires, make a pathway from the Batteries Block to your Lightbulb Block and back to the Batteries Block as in the drawing. What happens? Can you try another way? Another way? Now, can you get the light to go on without using the wires? How did you do it? What is the same/different when you use the wires or don't use the wires? Why?

Electricity is flowing from the positive side of the Batteries Block, through the wire, through the Light Block, and then through the other wire back to negative side of the Batteries Block. Trace the pathway with your fingers. Draw the component blocks and wires. Look carefully and be precise in your drawing. When you are finished, trace the pathway electricity travels in your drawing. Notice if it is the same as the pathway you created with your actual Circuit Blocks components.

Electrical energy can be stored in batteries. Electricity travels when it has a closed pathway through which to move. A closed pathway where electricity flows is called a circuit. In these explorations, when you make a circuit, it will always have only one Batteries Block, and at least one HAPPEN Component Block, such as a Lightbulb, an LED or a Motor.


Conductivity

Materials:

  • Three (3) Wires

  • Batteries Block

  • Lightbulb Block

extra wire.png

Take a walk around your home, classroom or whatever space where you are. Gather a small assortment of objects made from various types of materials. Paperclip, spoon, pipe cleaner, rubber band, wire, coin, cardboard, fabric, aluminum foil, leather, wood, bolt, leaf, rock are all good examples. Place the objects in a pile, and think about the material/s of of each object. Now, select one object. Describe- out loud, in writing, or with drawings- how it feels and looks. Wonder about it.

Name its material: Is it wood, plastic, metal, glass, ceramic, or cloth? Is it a combination of materials? Circuit Blocks components are made of a wooden block with metal, plastic, and glass components attached.

Make a circuit using the Batteries Block, Lightbulb Block and 3 wires all in one pathway- you will need to clip two wires together. Notice what happens.


scissors.png

Unclip the two wires that are clipped together, and touch the two clips to two ends of one of your gathered objects- this is a way to test the material of the object. Is electricity able to flow from the batteries, through your material, through the light, and back to the batteries? Do this with each of your materials. Test if electricity flows through the material/s of the object to power your light. You will be able to clip some materials into your circuit, others you will need to just touch (or probe) with the alligator clips.


Keep track of which material/s on your objects closed the gap and allowed electricity to flow through the circuit, and which material/s on your objects didn't allow electricity to travel.

Materials that electricity flows through are conductive.
Materials that electricity does not flow through are non-conductive and are called insulators.
Conductive materials make the pathway through which electricity travels. 
Electricity cannot flow through insulating materials, such as the blue plastic coating on your wires.

Sort your materials into groups: one group of conductive materials, and one group of non-conductive (insulating) materials.
Can you find an object which is both conductive and non-conductive, depending on how you connect it into your circuit?

Can you predict whether a material on an object you haven't tested yet will be conductive or not?


What is a Switch?

Materials:

  • Three (3) Wires

  • Batteries Block

  • Lightbulb Block

  • Knife Switch Block

  • Push-button Block

A switch is a way of using an action, something we DO, to close a gap in a circuit to make a complete pathway for electricity to travel. Make a circuit with the Batteries Block, Knife Switch Block, and Lightbulb Block. What do you have to do to get the light to turn on? Describe what you did. Name your action: do you push, pull, flick, or hold the switch? Describe what the component does. Trace the pathway from the positive side of the batteries, through the wire, switch, lightbulb, and back to the negative side of the batteries. Notice how the pathway is broken or open when the switch is up, and how it is continuous or closed when the switch is down. It only takes one gap anywhere in a circuit to keep electricity from flowing.

A switch has a conductive pathway with a place where electricity travels into the pathway, a place where electricity travels out of the pathway and a way to open and close a gap within the pathway.

.

Remove the Knife Switch Block from the pathway and put the Push-button Block in its place. How does this switch work? What does it do? When you push the push-button, in what position would the knife switch be to match? When you release the push-button, what in position would the knife switch be to match? Name the action you use to make this switch work

Knife, push-button, rocker, toggle, slide and rotary are types of switches. Switches are used to open and close pathways in circuits and control our electric and electronic devices. There are many other types of switches. Look around- how many types of switches can you find


Invent a Switch

Materials:

  • Three (3) Wires

  • Batteries Block

  • Lightbulb Block

  • Gathered materials - objects used for conductivity testing + additional craft/office materials such as cardstock, tape, etc.

  • Scissors and similar tools are optional

elaborate-switch.png

As we learned in the previous exploration, a switch has a conductive pathway with:
     1.   A place where electricity can travel into the pathway
     2.  A place where electricity can travel out of the pathway
     3.  A way to open and close a gap in the pathway

Invent a new switch using the materials you gather from around your home. Find a way to make a new switch: a new way to open and close a gap in the electrical pathway of a circuit. Use your conductive materials to give electricity a place to travel into and out of your switch. Use a combination of conductive materials and insulators to figure out a way to open and close the gap. Be able to name each of the three important parts of your switch.

Be creative. Don't stop with your first idea; experiment and explore to try many ideas. Think about different ways you could open and close the gap in your switch. Think about the action you use to open and close the gap. Name your switch based on this action. Make a drawing and explain how your switch works. Label the 3 important parts: Where does the electricity travel in? Where does the electricity travel out? Where is the gap and device to open and close it? 

Even if your switch works, try to make it work better. This is called revision or iteration - everything we create can always be improved. Think about how you could change your switch to make it work a little differently. Think about which materials are most necessary in your switch and if you might be able to take some materials away and still have your switch work. Create a name for your switch. Try to name it based on what it DOES


Imagine a very complicated switch. Do you see the open pathway in this complicated switch? Do you see what you could do to close it? Can you think about inventing a switch that you open and close without using your hands?


Polarity

Materials:

  • Two (2) Wires

  • Batteries Block

  • Bi-color LED Block

  • LED Block

  • Lightbulb Block

waterfall.png

Imagine walking down a path. You could stop in your tracks, then turn around and go back the way you came. Electricity cannot do this. Electricity travels in one direction, through a circuit of conductive materials, from the positive side of a battery to the negative side of the battery.


Make a circuit with the Batteries Block and Bi-color LED Block. What color is your bi-color LED glowing? Is it red? Is it green? Trace the pathway from the red (positive) side of the battery to the bi-color LED. Is it connected to the red wire? Or the green wire? What happens if you reverse the direction the bi-color LED is connected to the batteries in your circuit – if it is red to red, try making it red to green or vice versa.

What do you notice about the color of the bi-color LED? How do you make it green? How do you make it red?


Build a circuit with the Lightbulb Block in place of the Bi-color LED Block. Now, disconnect the circuit and turn the Lightbulb Block around so the electricity flows through it in the other direction - just as you just did with the Bi-color LED Block. Do you notice anything change? Or, does the light work exactly the same either way?

Some components behave differently depending on which way electricity flows through them. Components like this are "polarized."

A bi-color LED is a polarized HAPPEN component. Polarity matters for the bi-color LED. Always know which way the path of electricity is flowing through your circuit; draw it in your schematics. Electricity flows from the positive side of the battery to the negative side.


Build a circuit with the regular LED Block instead of the Bi-color LED Block. Be careful this time to connect the positive side of the LED to the positive side of the batteries.

What do you notice? What happens?

Now, disconnect the LED Block and then connect it back into the circuit so that the electricity flows through it in the other direction. What happens? What doesn't happen? Does polarity matter with the LED? How is the LED different from the bi-color LED? How is it the same?

An LED is a polarized HAPPEN component. Some components can only happen with electricity flowing through in one direction.


Schematic Symbols

So far, we’ve been using our observational drawing skills to draw our circuits. There are other ways to accurately represent the circuits that we build. We can use schematic symbols to draw our circuits. When we make drawings like these, they are called schematics. This is the way engineers communicate the circuits that they design and create. 

simple schematic.png

Here is a schematic of the circuit you built with a pushbutton, lightbulb, and batteries. You can draw all of the circuits that you make using the schematic symbols. You can plan the circuits you want to build by first making a schematic drawing - try this for the next circuit you'd like to make. You’ll also find that making a schematic drawing is a great way to record and remember a circuit that you made, allowing you to build it again. In addition, this is a great way to reflect and figure why a circuit might not be working…


Range

Materials:

  • Four (4) Wires

  • Batteries Block

  • LED Block

  • Potentiometer Block

  • Push-button Block

  • Photo Cell Block (optional)

Make a circuit with the Batteries Block, Potentiometer Block and LED Block. Turn the potentiometer all the way clockwise. Now rotate it all the way counterclockwise. What happens to the LED as you do this? Describe what you see. What are you doing with the potentiometer? What do you DO with the potentiometer that you DO differently with a switch? What HAPPENS differently with the LED when you use the potentiometer rather than the push-button?

Similar to how a faucet varies the amount of water that can flow, a potentiometer controls the flow of electricity by varying the resistance. Unlike a switch, the potentiometer controls over a range - for example the LED may go from dim to dimmer to dimmest as the potentiometer is rotated counterclockwise. Likewise the LED will continue to get brighter as the potentiometer is rotated clockwise. 

Take your fourth wire and add the Push-button Block into the pathway of your circuit, along with the Batteries Block, Potentiometer Block and LED Block. Explore how the push-button and potentiometer can work together. Can you make your LED flash brightly? Can you make your LED flash dimly? What other patterns can you make with the potentiometer and push-button together?

As an extension, set up a circuit with a Photo Cell Block instead of a Potentiometer Block. Use a flashlight to experiment with how the photo cell is controlling the electricity in the circuit. You might want to substitute the LED Block for the Buzzer Block (and also remove the Push-button Block) and explore this circuit next to a window or other source of light.


Series and Parallel Circuits

Materials:

  • Four (4) Wires

  • Batteries Block

  • 2 Lightbulb Blocks (or 1 Lightbulb Block and 1 Motor Block)

  • Any Switch Component Block

2 light bulbs and battery in series.png

So far, each circuit we've made has had one pathway from the positive side back to the negative side of the Batteries Block. A circuit with all components in one pathway is called a series circuit. You may have discovered that we are limited to what we can do with a series circuit.

Try building the circuit you are seeing in this first image.

Describe the brightness of the lightbulbs. Are they as bright as when you have only one lightbulb in a circuit? Build a circuit with only one lightbulb to verify your observation. Why do you think the light is dimmer when you have two lightbulbs in the pathway? With just one set of batteries, how could you make a circuit so that each lightbulb glows brightly? Try to struggle with this for a long time before reading on.

Try to set up a parallel circuit, where each Lightbulb Block (or other HAPPEN Component Block) has its own pathway from the positive to the negative terminal of the Batteries Block. This can be done in multiple ways - explore and think about how many different ways you could do this.

parallel-switch.png

How could you add a switch to your circuit to control only one light? How could you add a switch to your circuit to control both lights at once? Struggle with this for a long time. Continue to explore different ways switches can control lights in a parallel circuit.

Be careful that you don't make short circuits. Anytime a switch works in reverse in a simple circuit, where the lights turn off when the switch is closed, you have made a short circuit. This is not a good thing. A short circuit occurs when there is a pathway without a HAPPEN component from the positive to the negative terminals of the batteries. When you realize you have a short circuit, disconnect a wire from your batteries right away and inspect to figure out why you have a short circuit (remember: trace your paths slowly and carefully). Your Batteries Block has a resettable fuse that protects against short circuits, but it is important to learn to always avoid short circuits.


about-CIP.png

HISTORY

Children’s Innovation Project was Co-Founded by Melissa Butler and Jeremy Boyle in 2010. It began through co-teaching in Melissa’s Kindergarten classroom at Pittsburgh Allegheny K-5 (Pittsburgh Public Schools), and grew from Melissa and Jeremy’s previous arts-based learning collaboration. Children’s Innovation Project was developed through significant collaboration from many partners, including: Pittsburgh Allegheny K-5 teachers administration, Pittsburgh Public Schools, Carnegie Mellon University’s CREATE Lab, The Sprout Fund, The Fred Rogers Center at St. Vincent College, Pennsylvania Association for the Education of Young Children (now Trying Together), Clarion University of PA, Carlow University School of Education, Children’s Museum of Pittsburgh, ASSET STEM Education, among others. Pilot funding for the project came in 2011 from SPARK, a previous program of The Sprout Fund. During the timeframe of 2011-2017, Children’s Innovation Project was generously supported by Pittsburgh’s foundation community. The Grable Foundation supported child and teacher learning at Pittsburgh Allegheny K-5 and other Pittsburgh Public Schools, including program evaluation and development with the Fred Rogers Center. Heinz Endowments supported the development of classroom materials and educational supports for both in-school and out-of-school communities. Children’s Innovation Project is part of the Remake Learning Network. If you’re interested in learning more about the teaching and learning work of Children’s Innovation Project, please visit www.reimaginingproject.com/Childrens-Innovation-Project for more information

VISION

Children’s Innovation Project embraces innovation as finding something new inside something known. This frame for innovation allows a slow space for children to find small, authentic discoveries and reflect on themselves in relation to the materials they explore. An approach of technology as raw material further supports children’s innovation as it nudges children to work deeply at the grain of technology as they explore with Circuit Blocks, electronic toys, other devices, and components. We don’t attach value to technology itself, and we approach technology as a means to learning, not an end. Through a focus on the language-logic systems of technology, children gain access to the thinking of technology, instead of just using the stuff of technology. This access to thinking is supported by teachers who, inside this approach to innovation and technology, also have an opportunity to slow down so they may notice closely processes of children’s thinking. As children explore with a focus on process, not product, children have time to practice habits of mind to notice, wonder, and persist and thus begin to embody these habits as internalized sensibilities for their own learning. Children’s Innovation Project supports learning that is interdisciplinary, driven by creative inquiry, and aware of the importance of context. Our primary motivation is learning about learning—student learning, teacher learning, and community learning. In this way, we seek to shift current educational conversations about making and innovation so educators and policy makers might focus more on supporting processes of thinking and less on technology products.

Documentary

Children’s Innovation Project developed between 2010-17 when Melissa Butler and Jeremy Boyle brought their arts-based, interdisciplinary thinking to the question: What might meaningful innovation with technology look like for young children? The ideas were captured in this documentary created by filmmaker Joe Seamans. Joe's experience as a filmmaker who worked with Fred Rogers and The Fred Rogers Company for over 30 years allowed him to see, to find and to reveal through this documentary, a depth of thinking that is possible when children are provided opportunities to slow down and notice, wonder and persist in their own learning. This documentary was made possible through generous funding from CREATE Lab (Carnegie Mellon University) and The Sprout Fund


how-circuit-blocks-are-made-banner.png

Circuit Blocks are hand-made in Western Pennsylvania from mixed varieties of locally and sustainably sourced hardwoods. Blocks have been iteratively designed as part of the teaching and learning work of the Children's Innovation Project since 2010. The production process mirrors the learning of the project though its slow and careful method of crafting these materials.

Please visit the studio section of the spiralbound.design website to see documentation of the tools, materials and processes used to make the Circuit Blocks and many other things!


faq.png

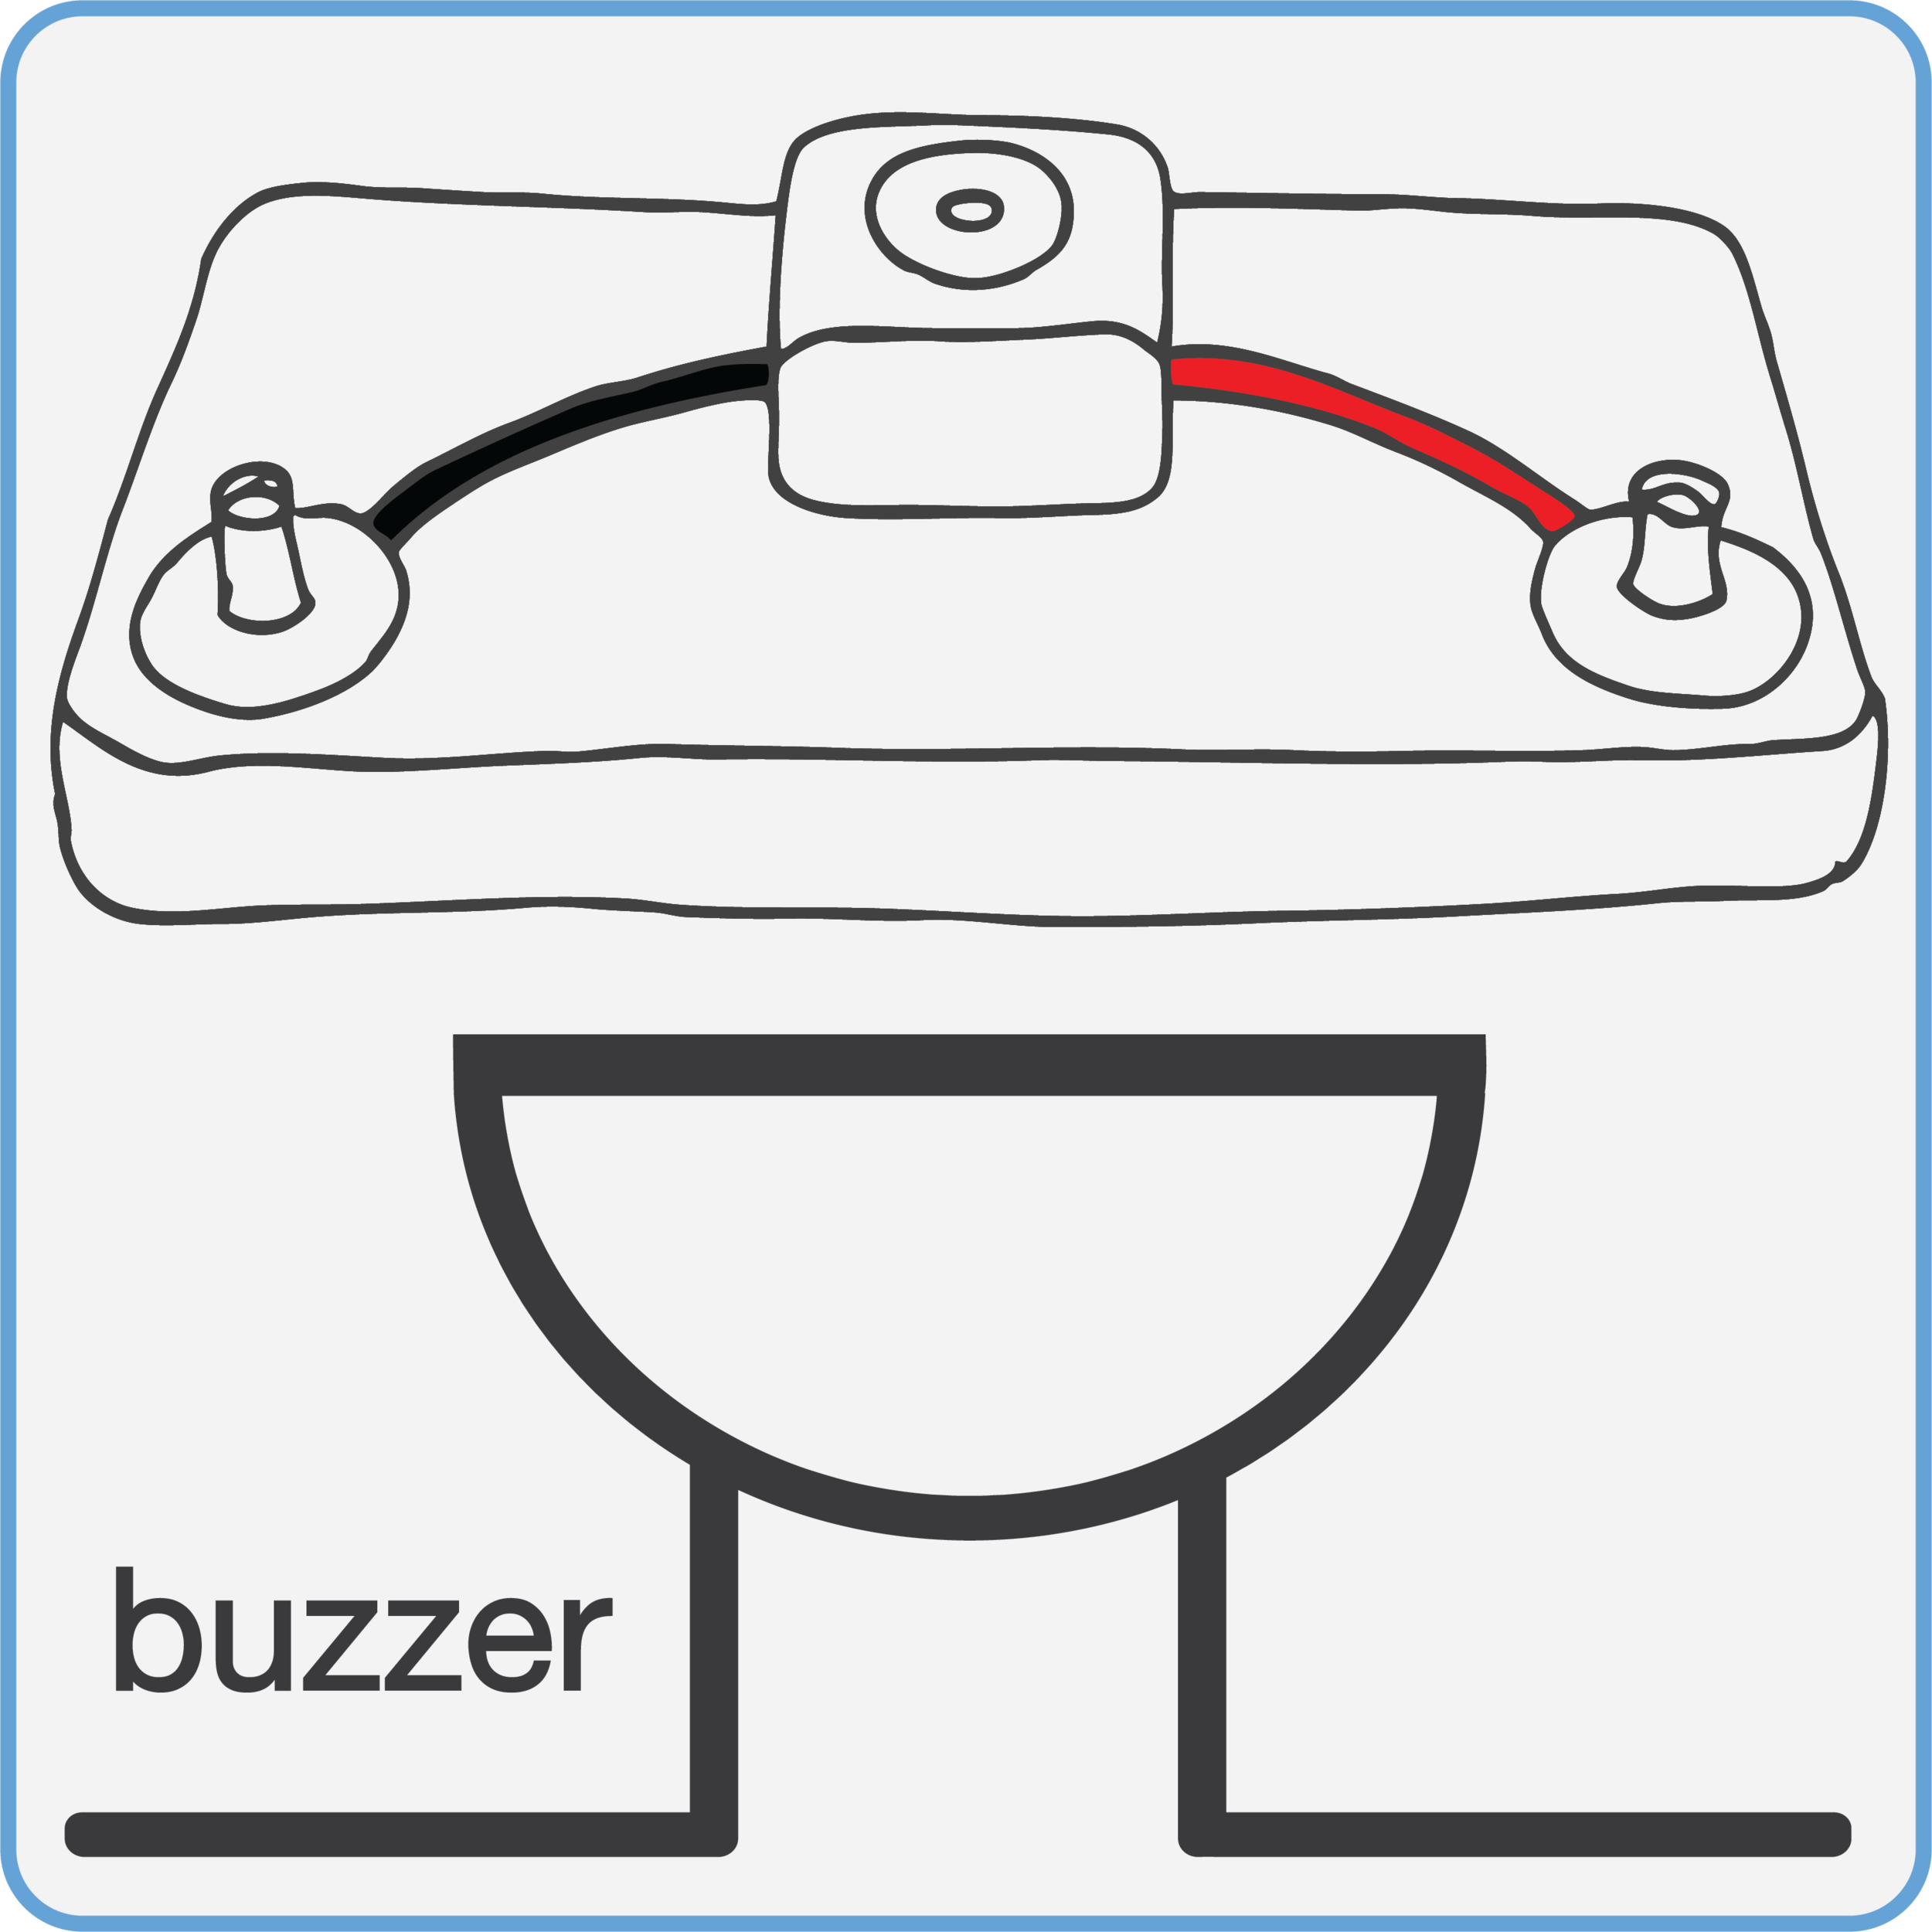
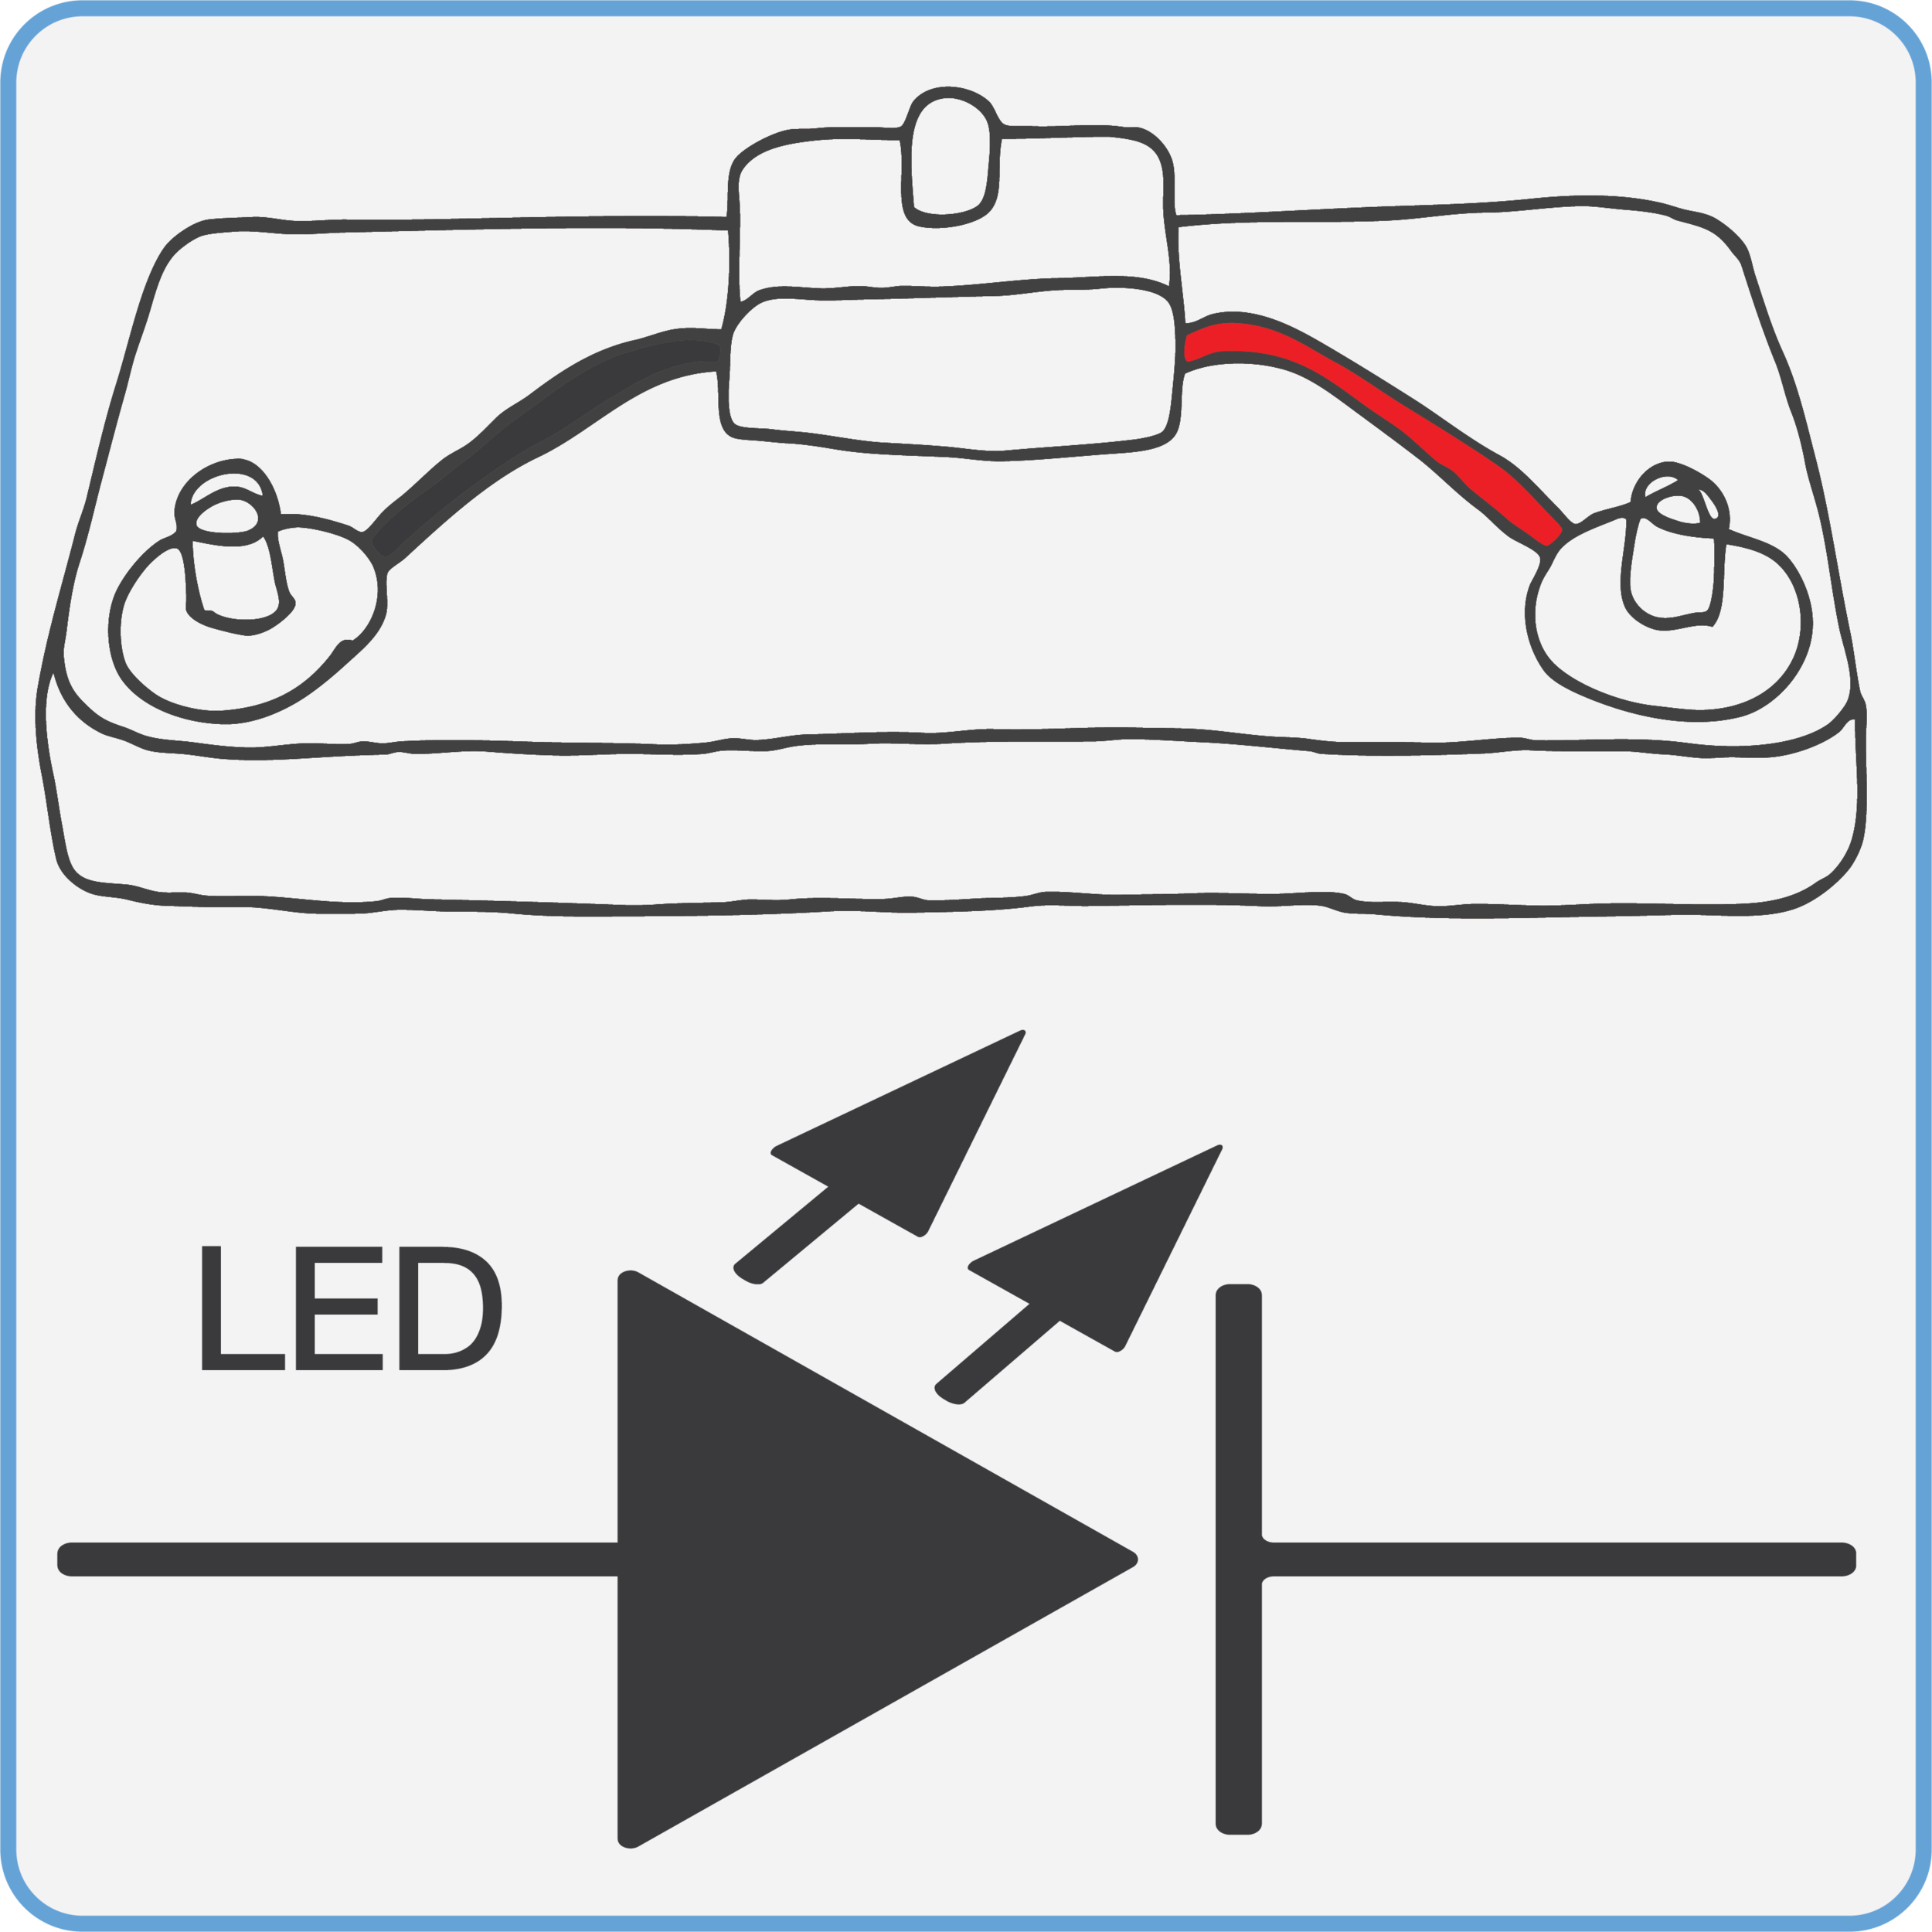
I am interested in creating a custom set of blocks that’s a little different from the ones you offer. Do you offer customization options?

Yes! We can put together a custom set of any combination of components from our inventory of individual components at a price rate that is comparable to our standard set pricing. Send a message, let us know what you’d like, and we’ll reply with the details.

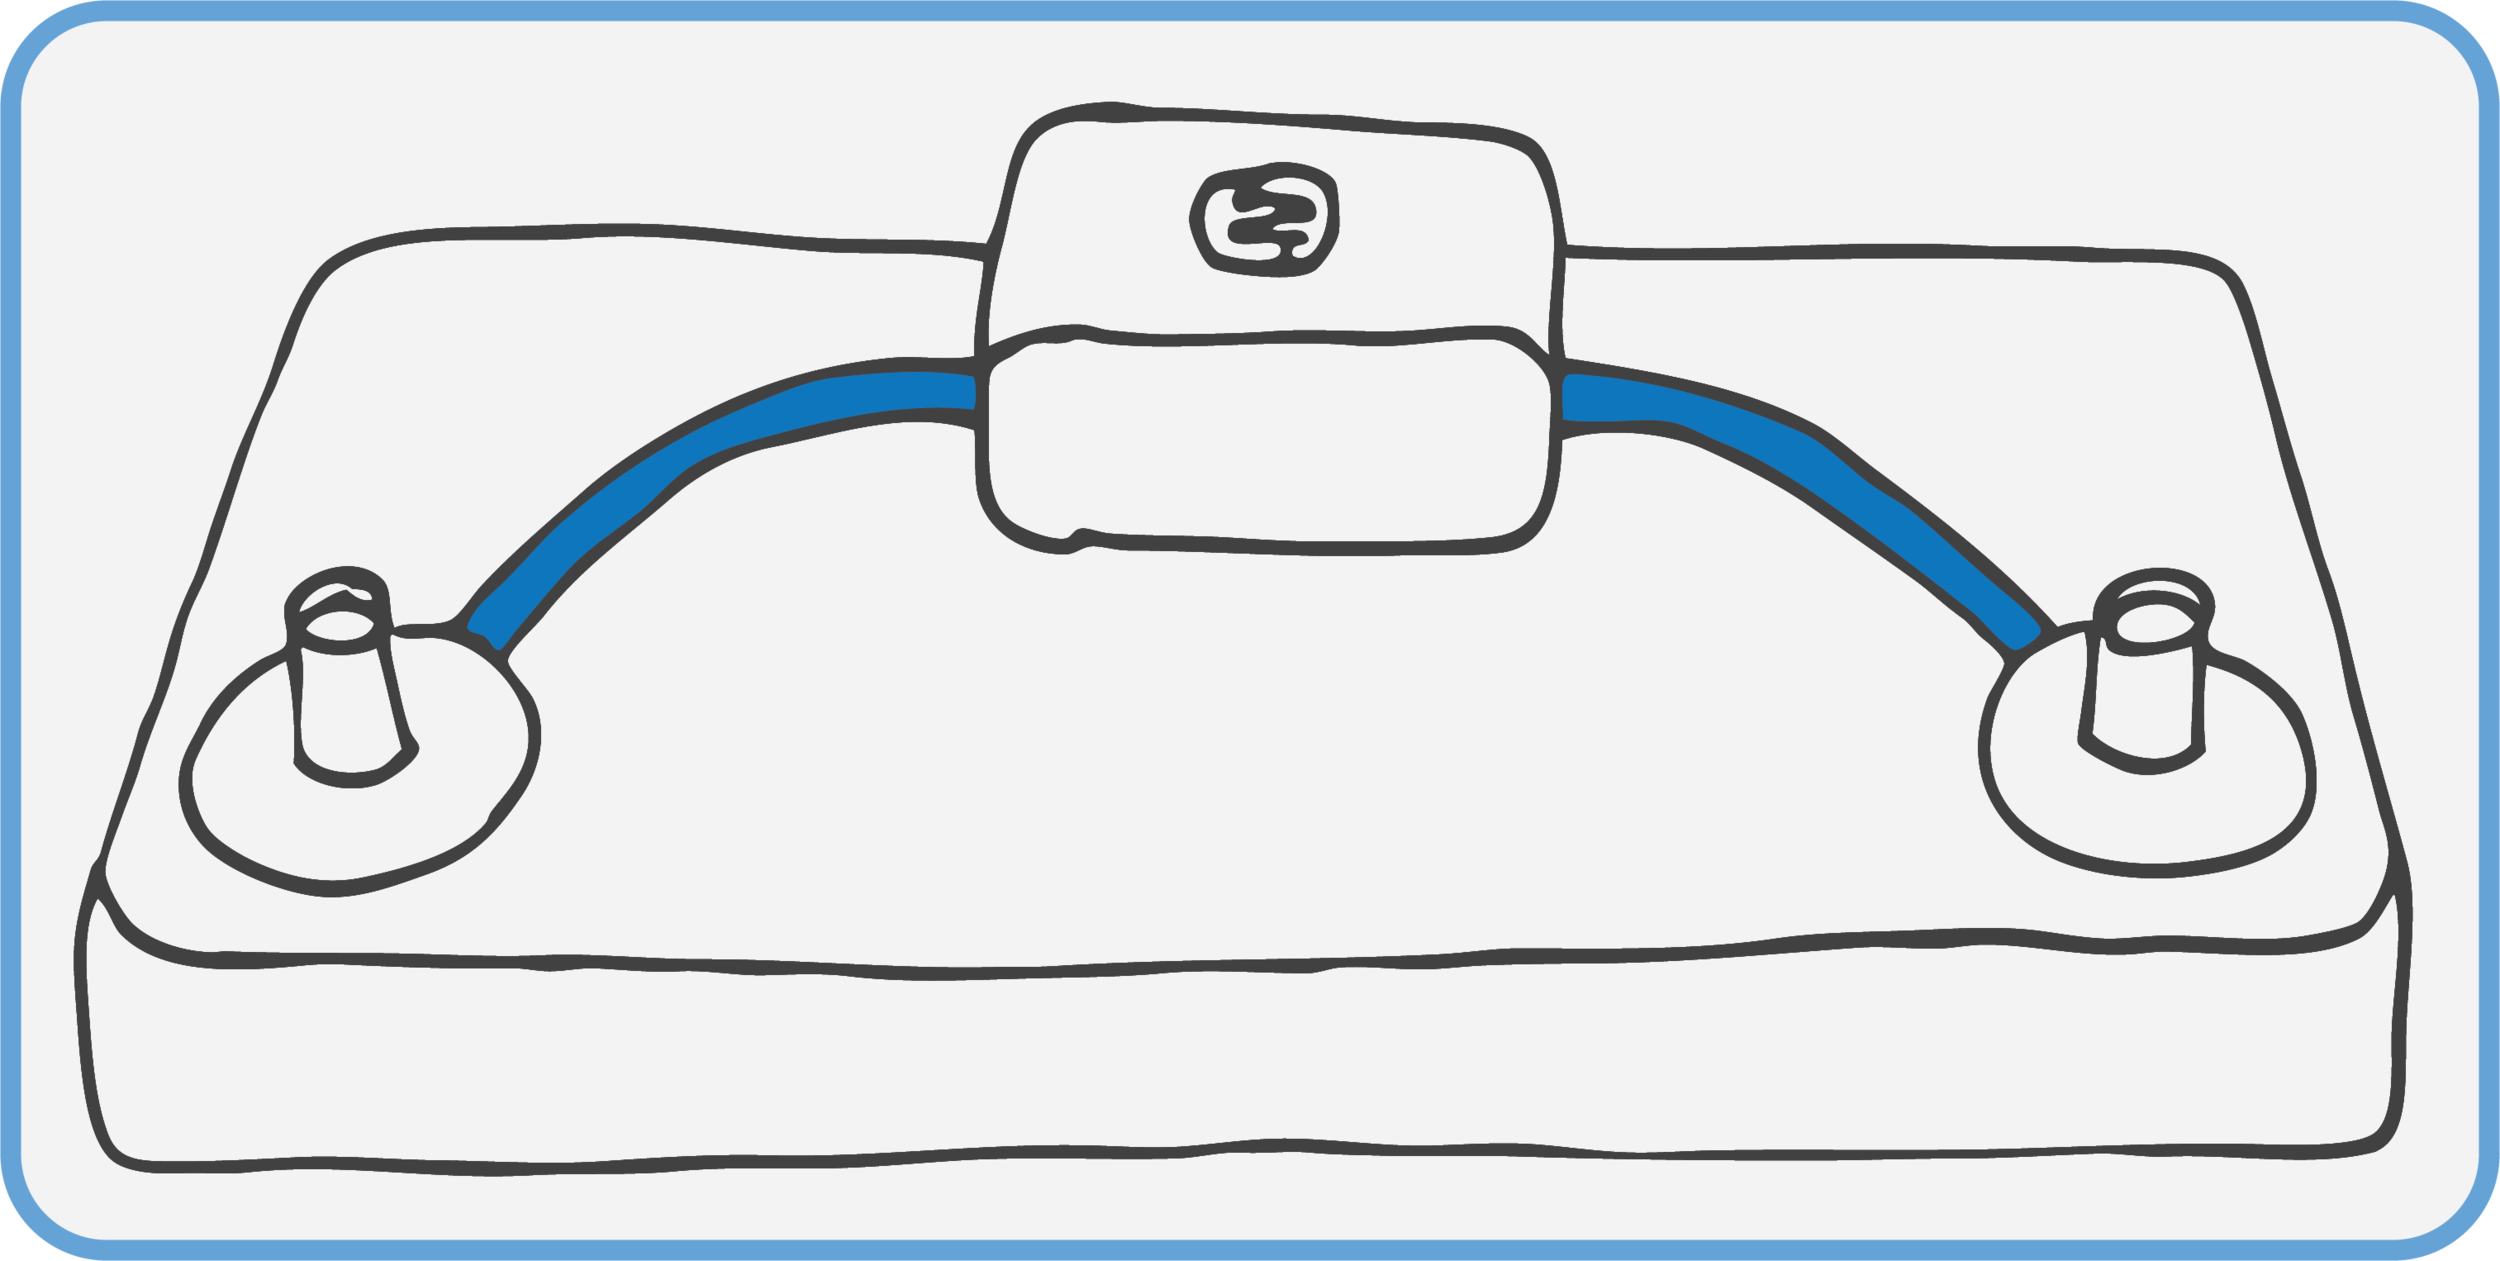
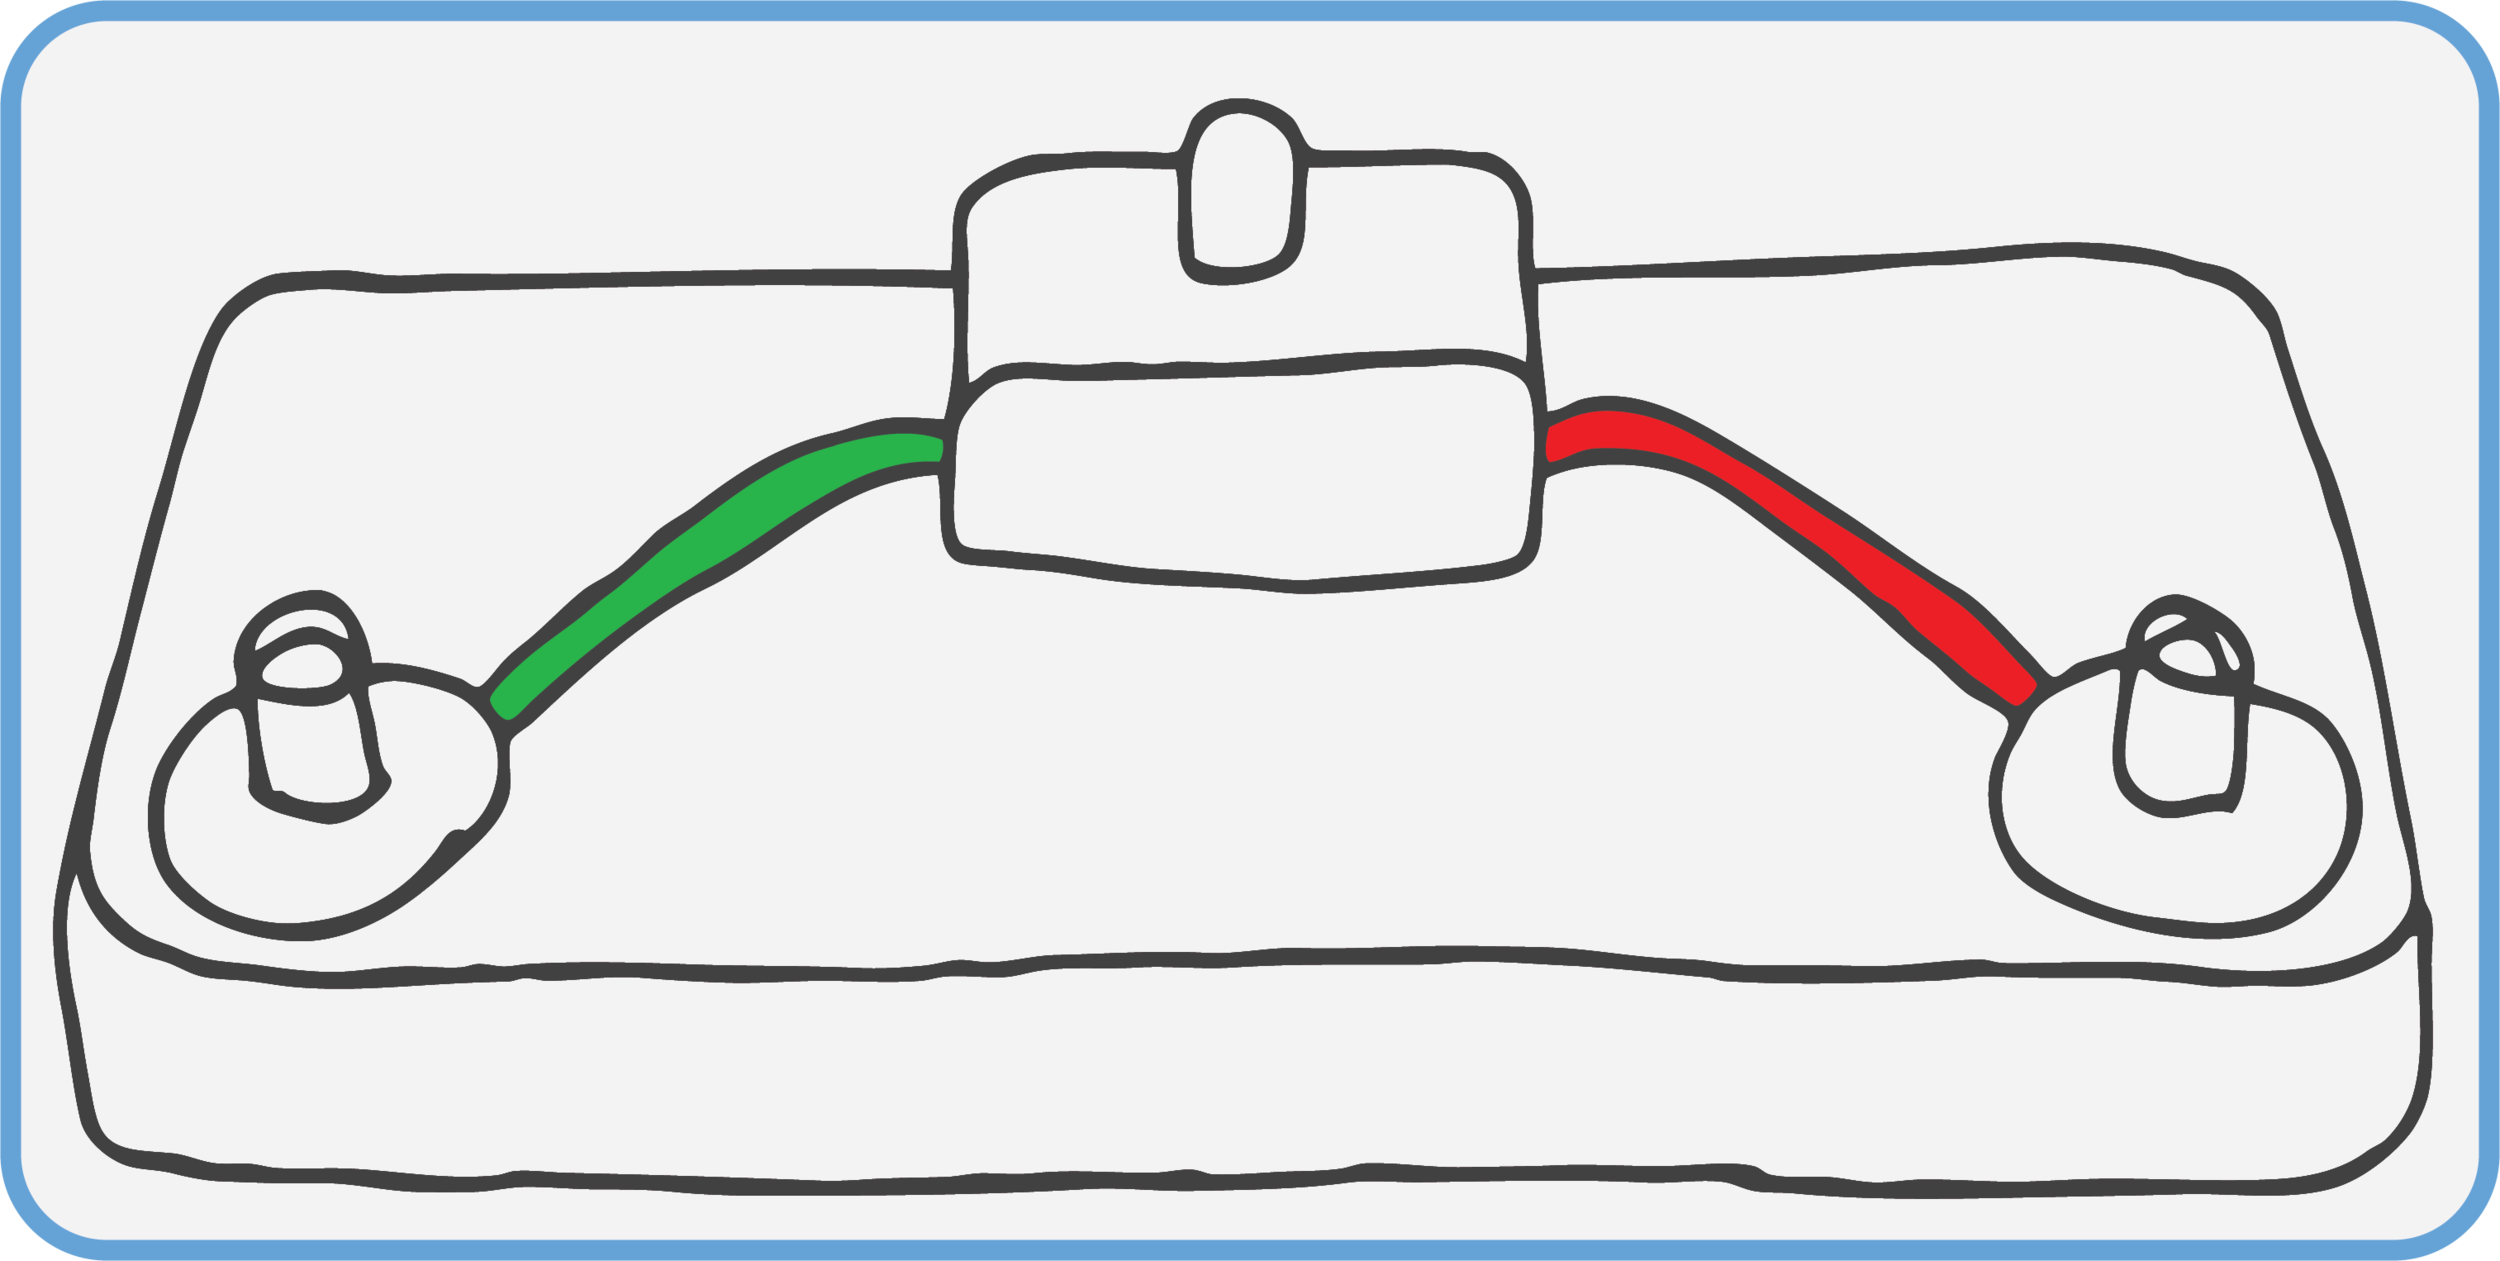
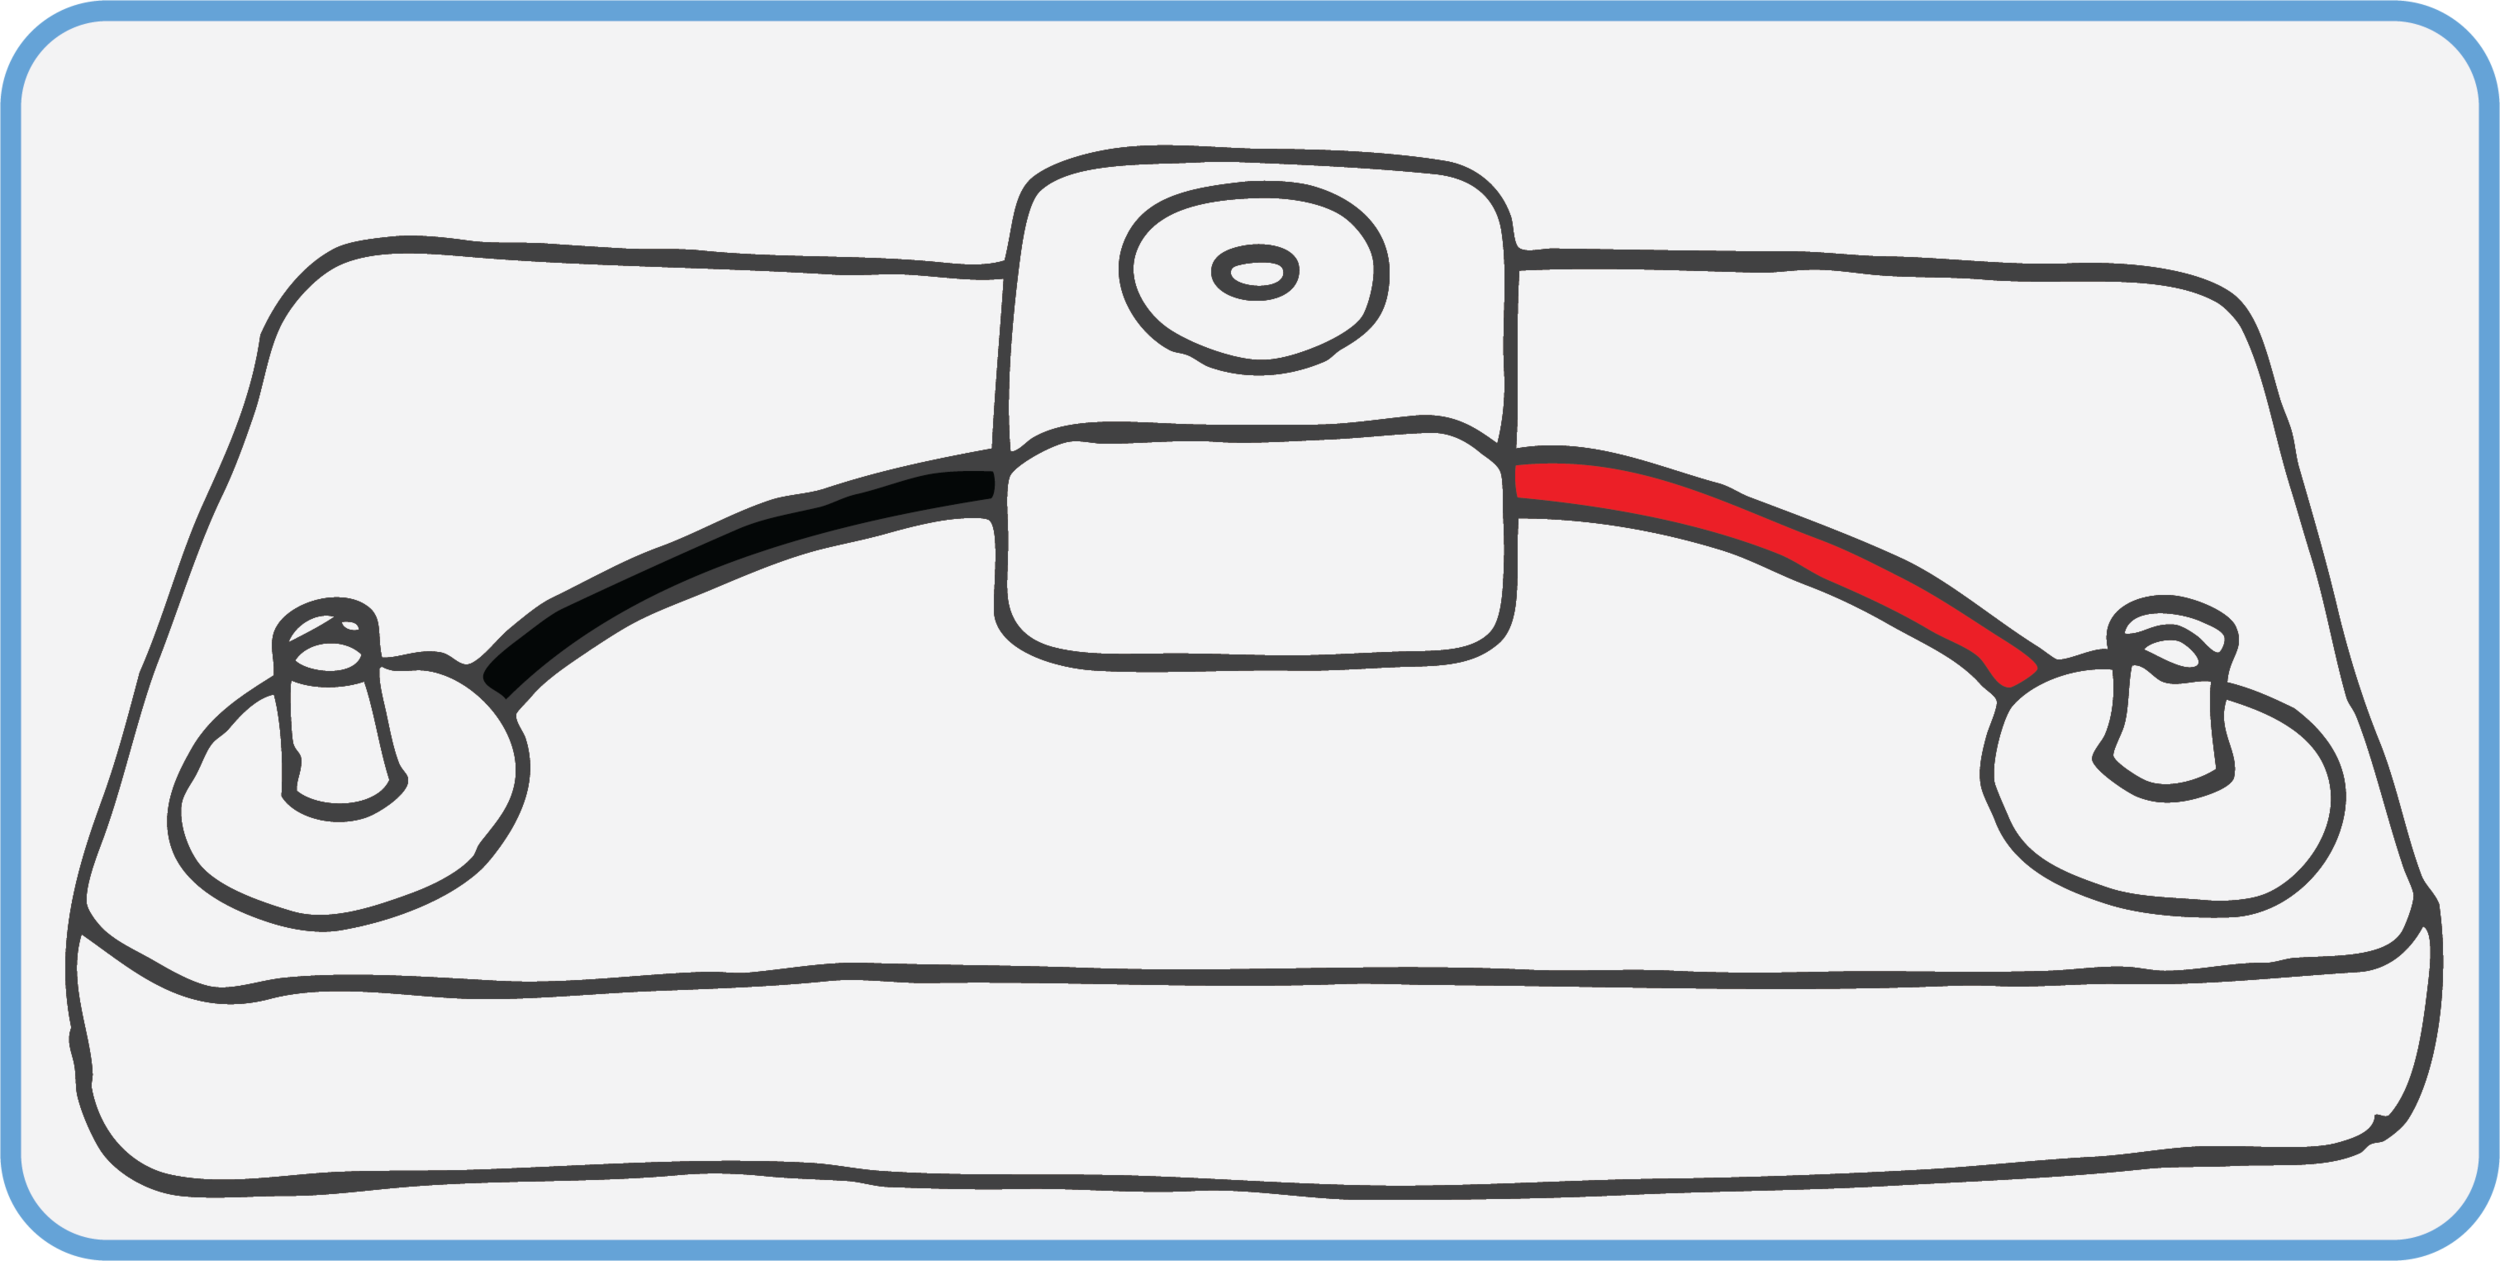
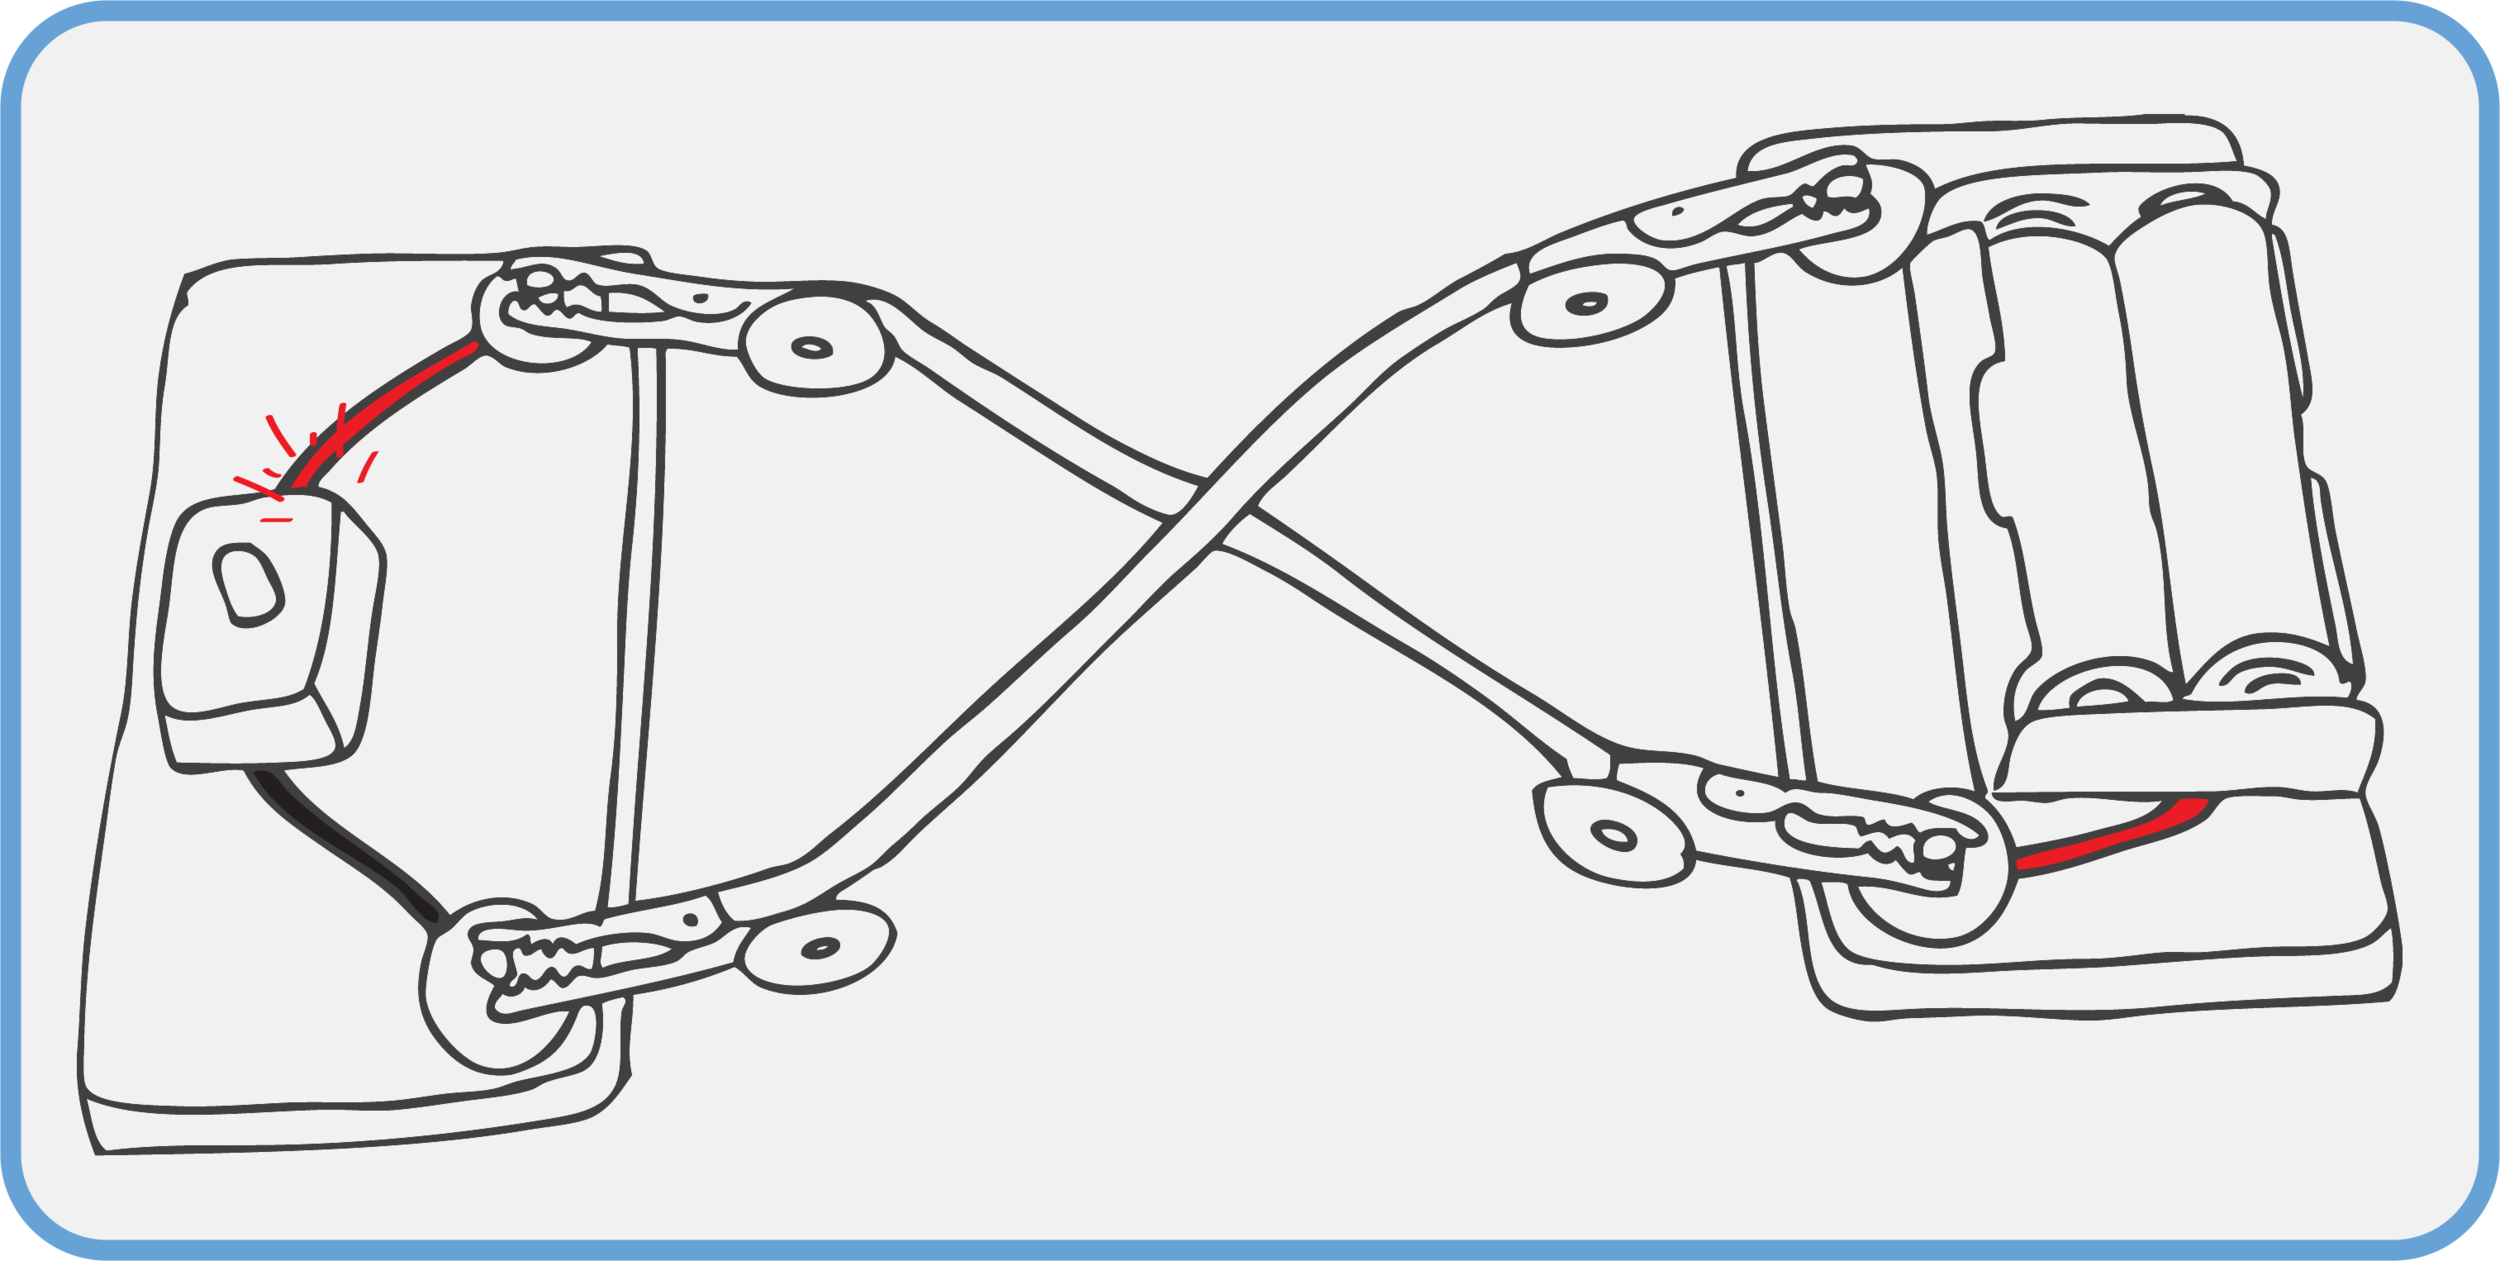
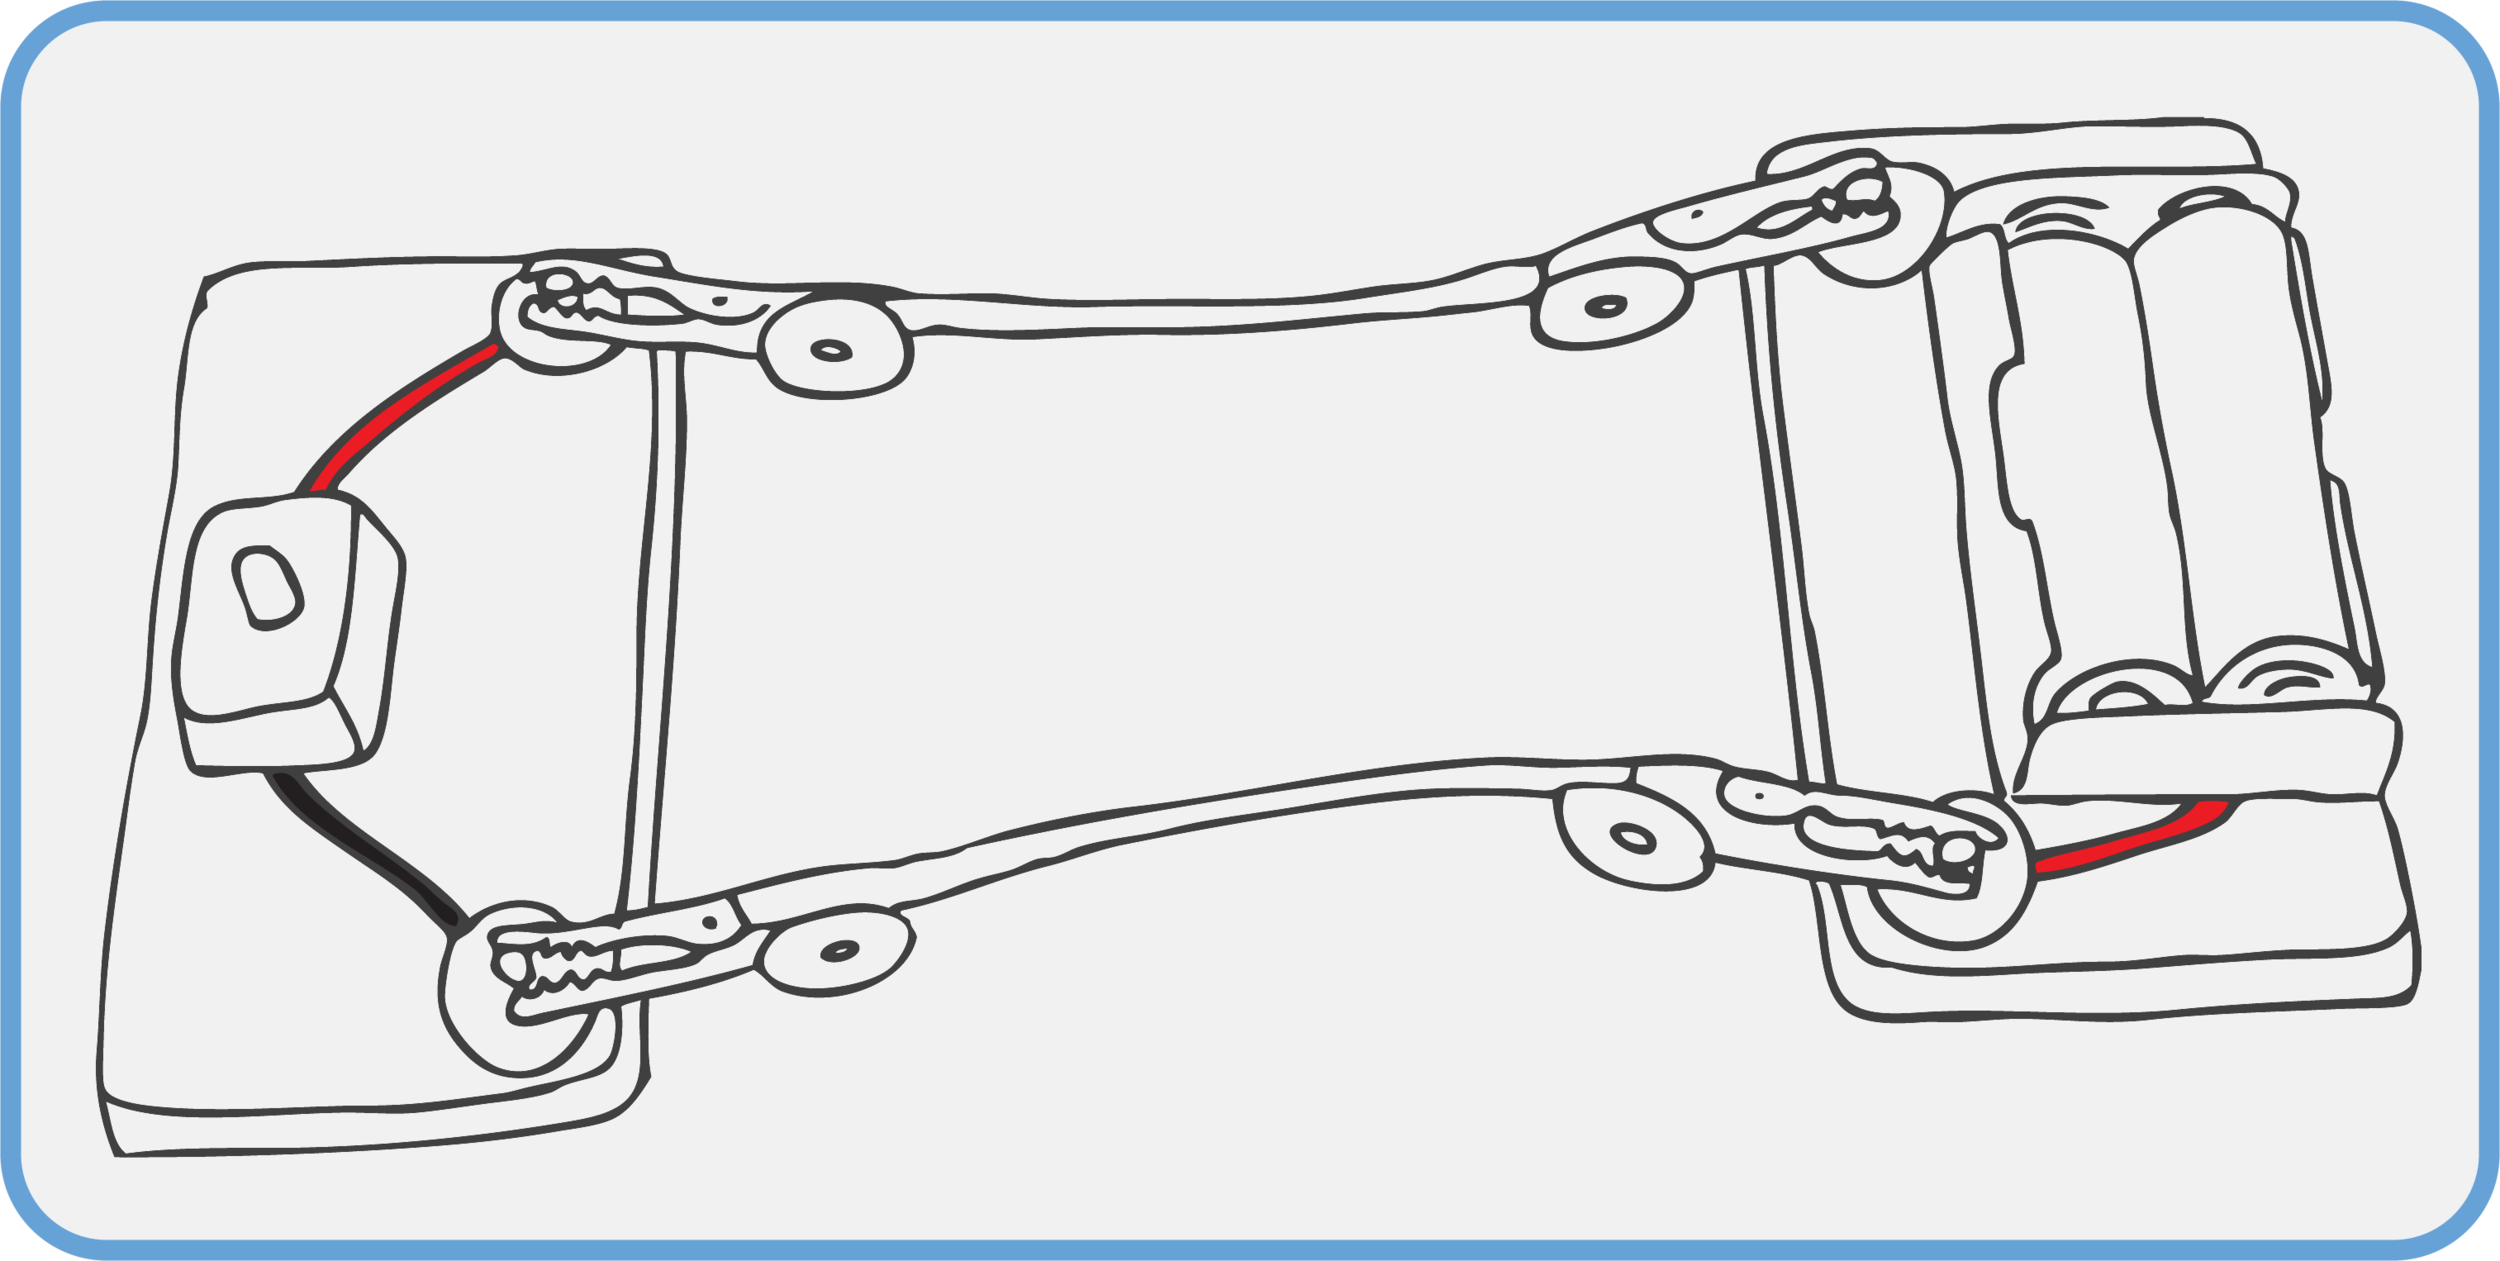
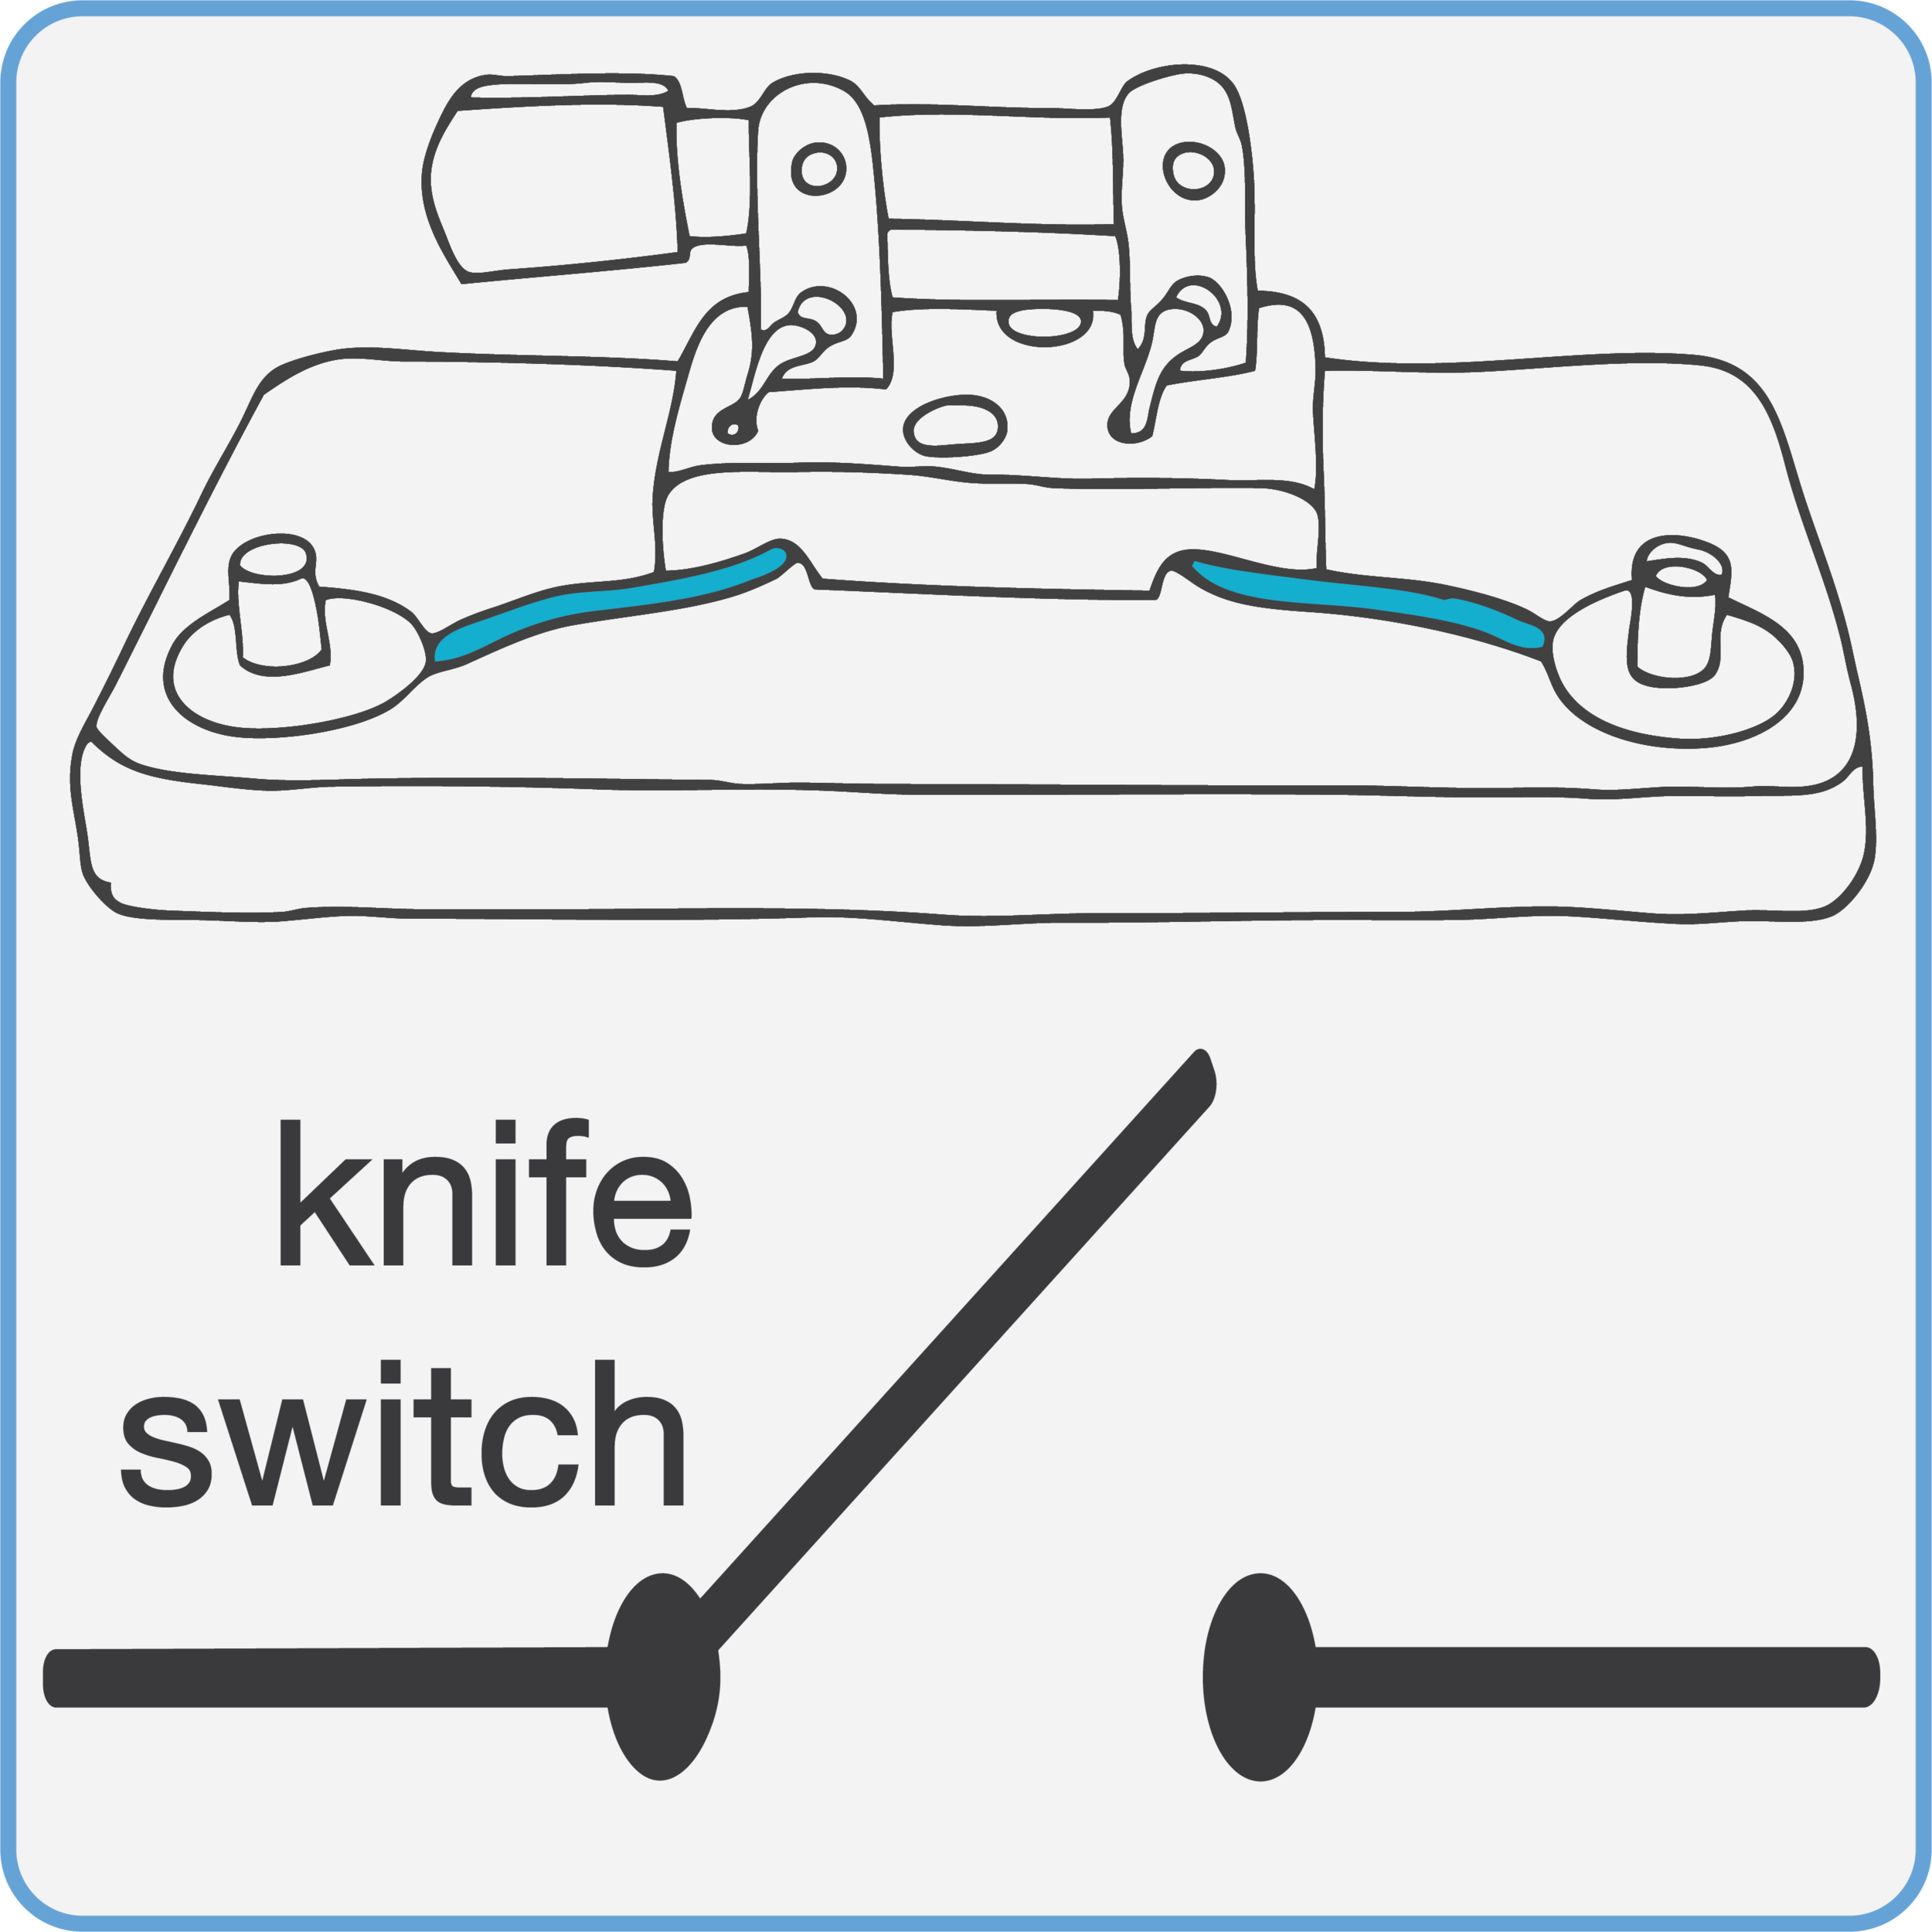
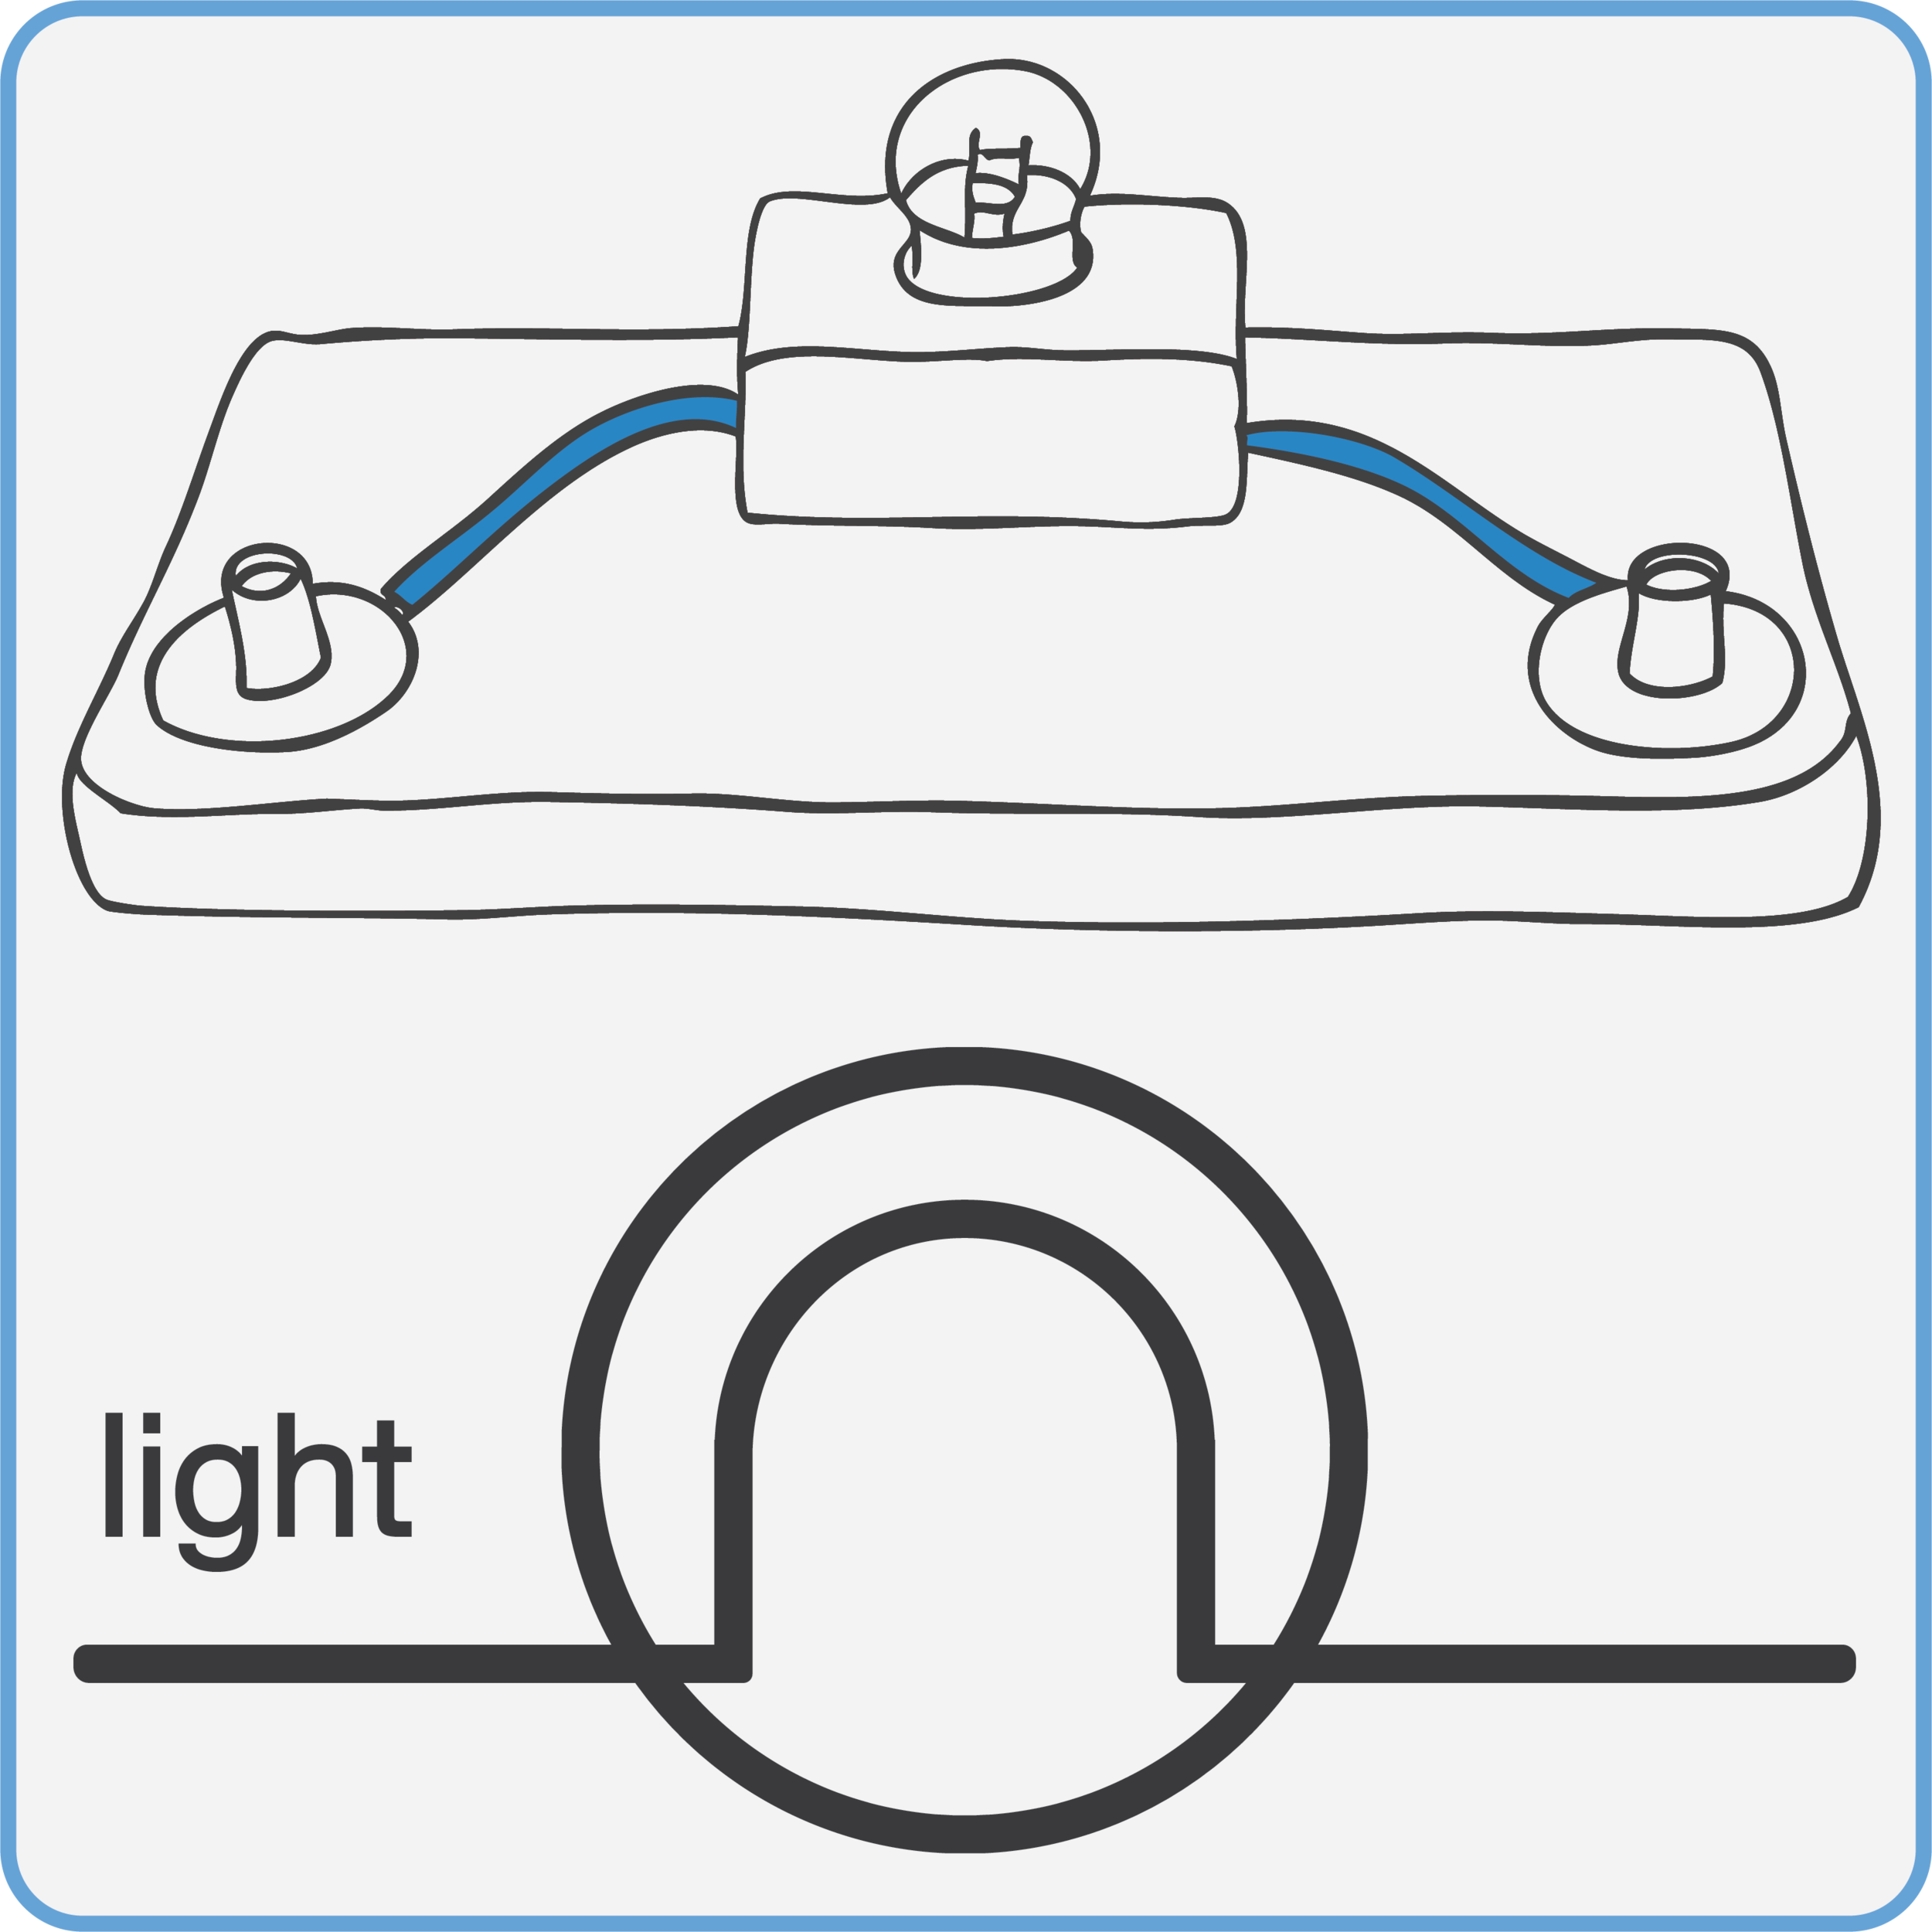
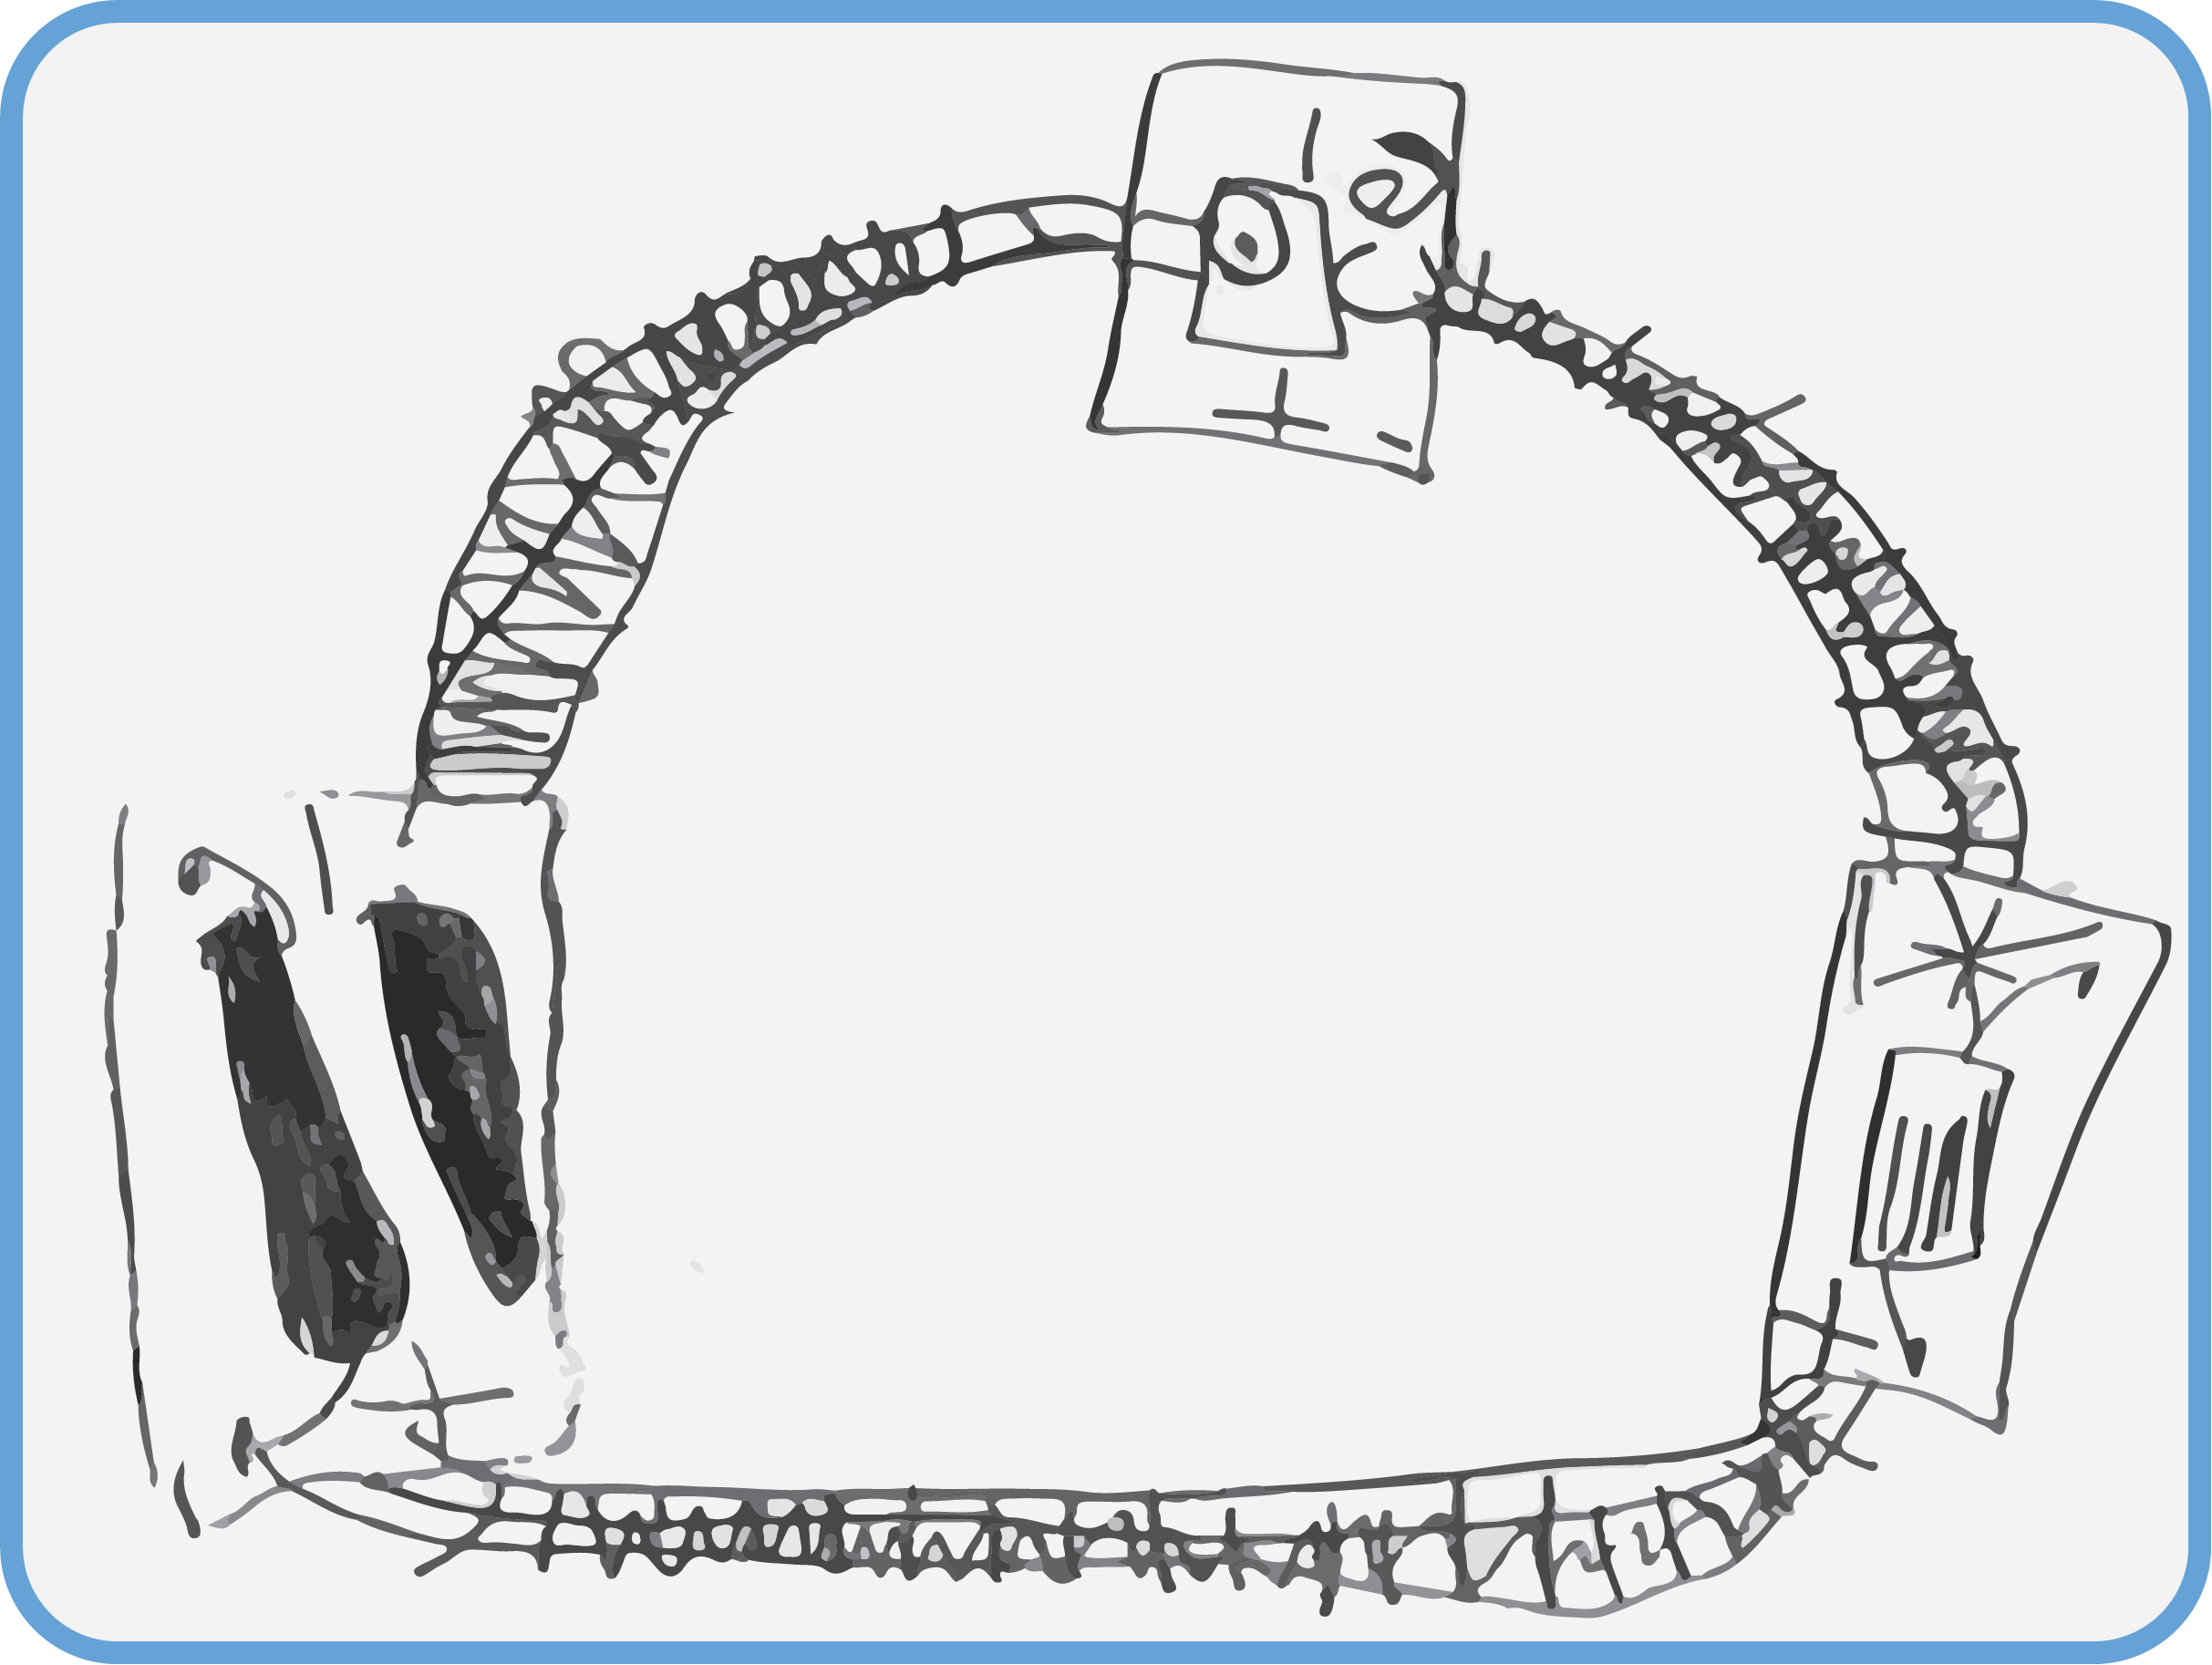
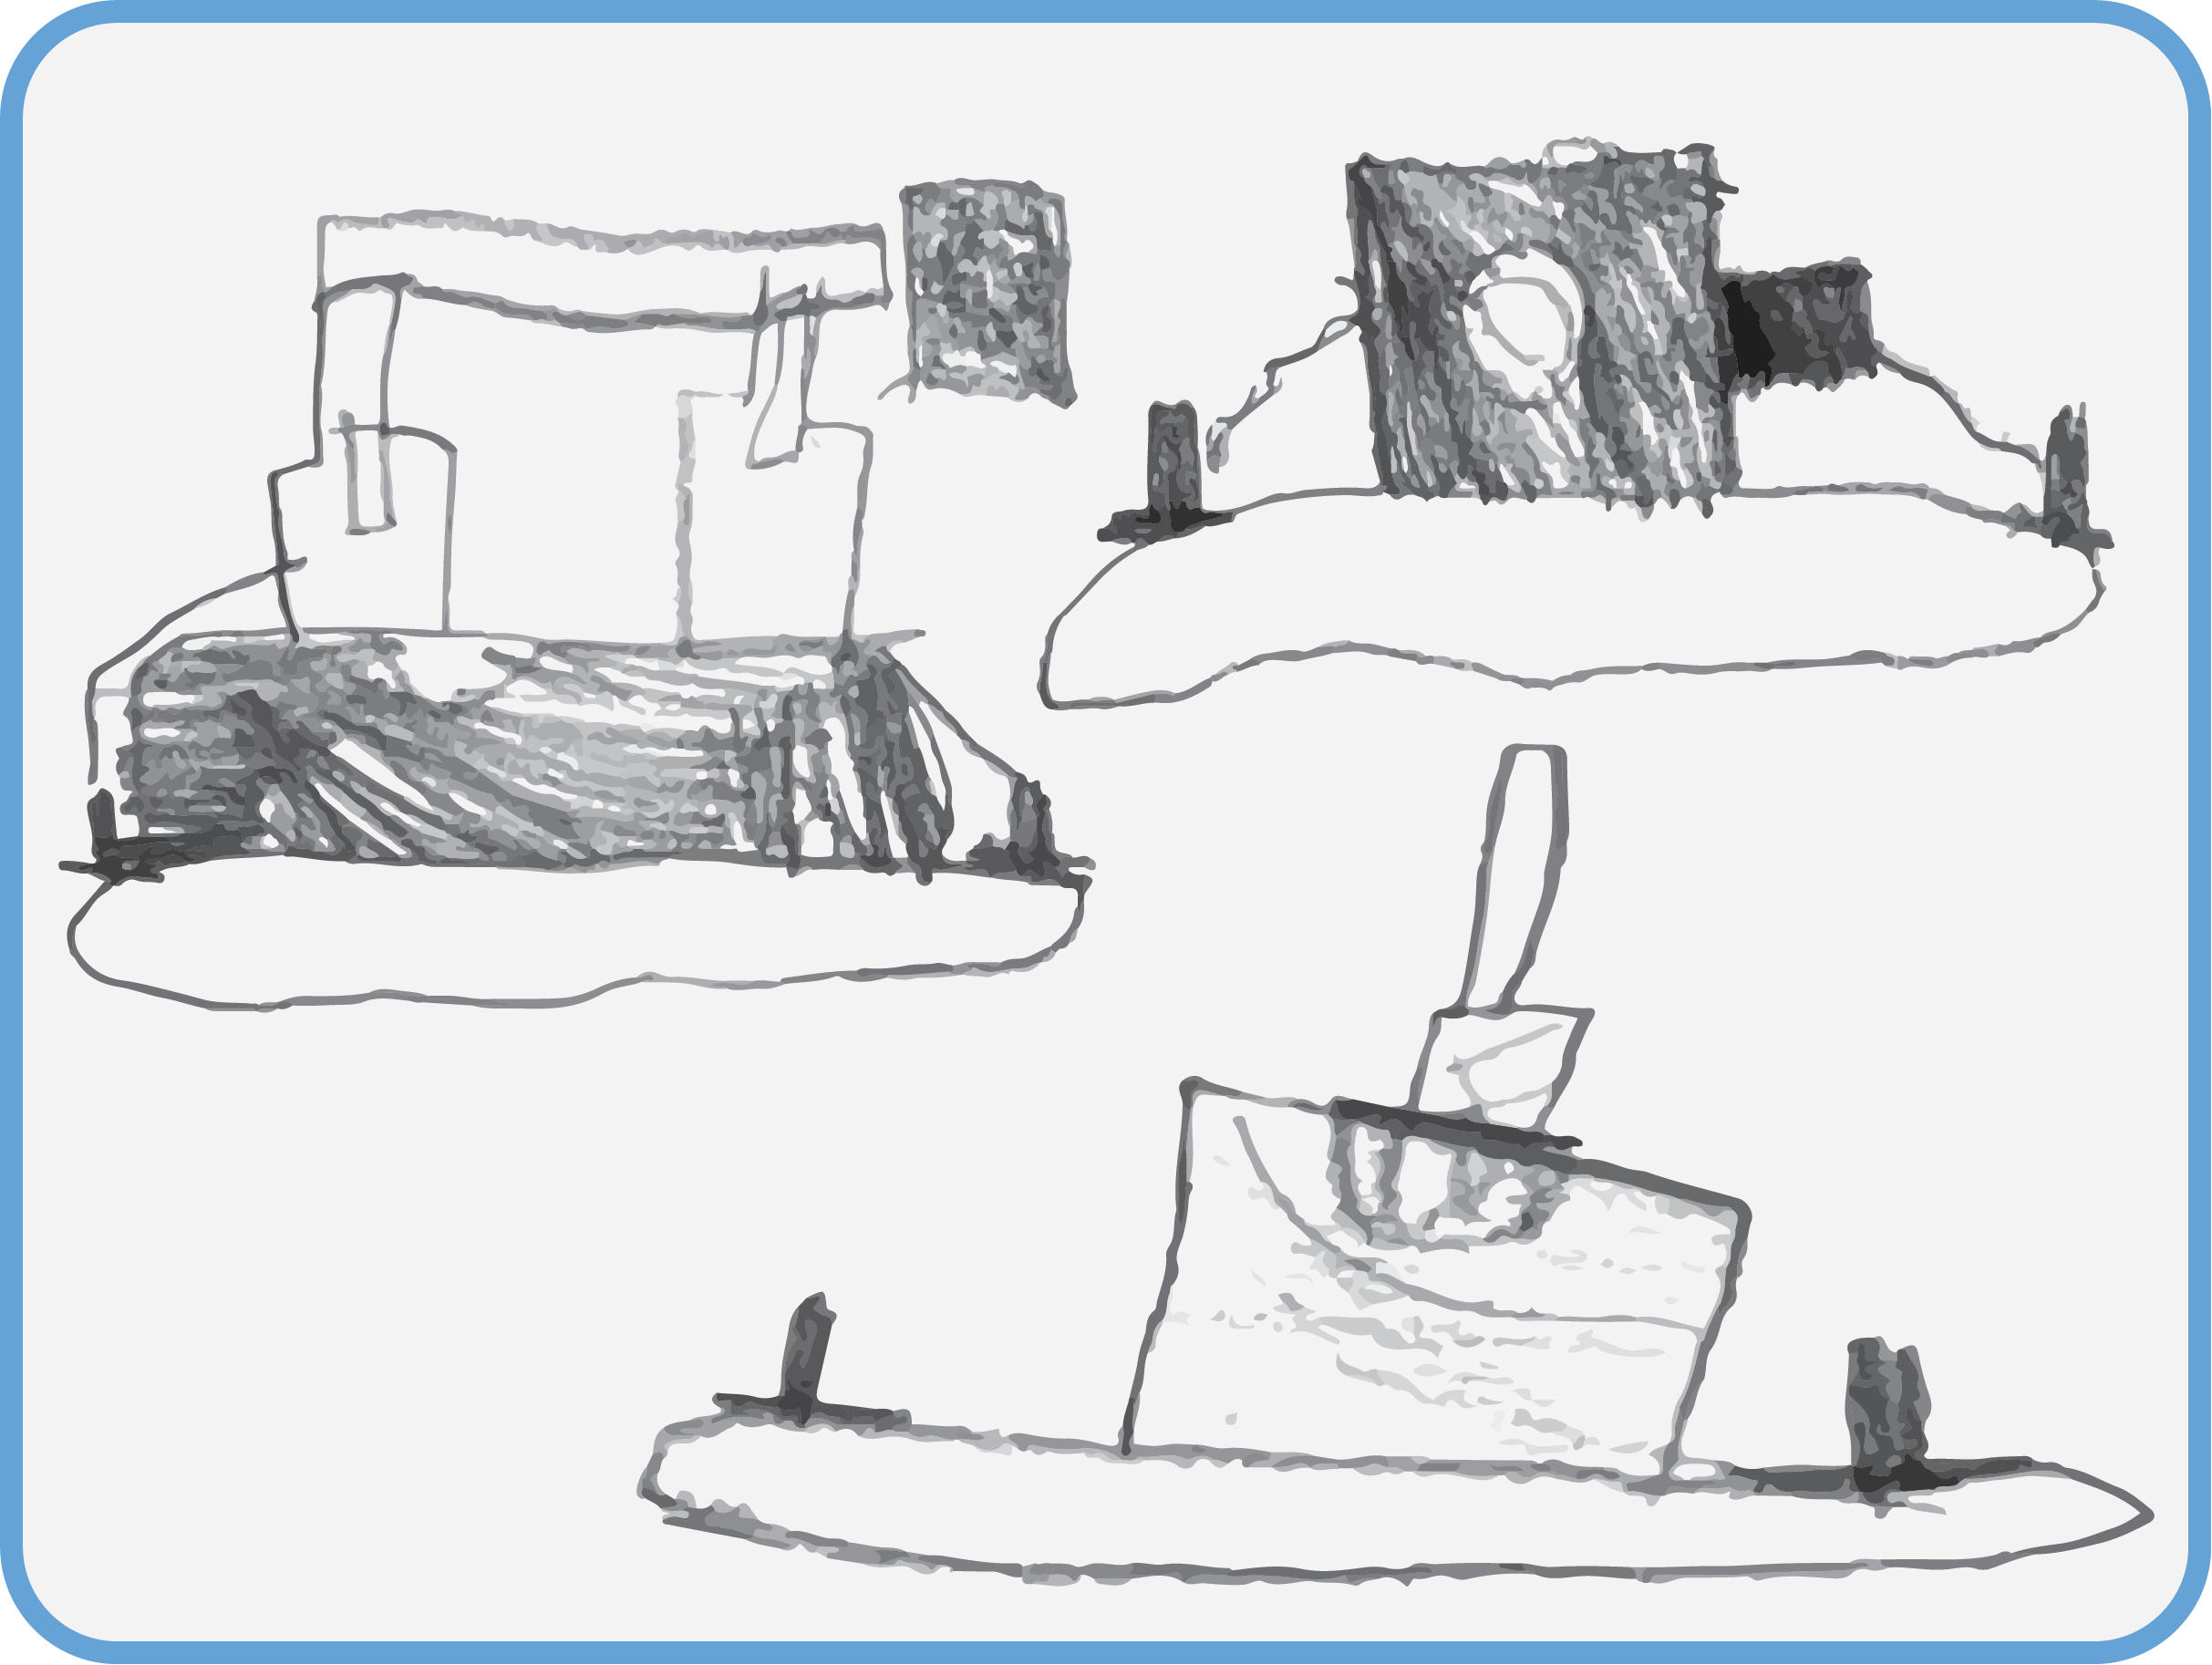
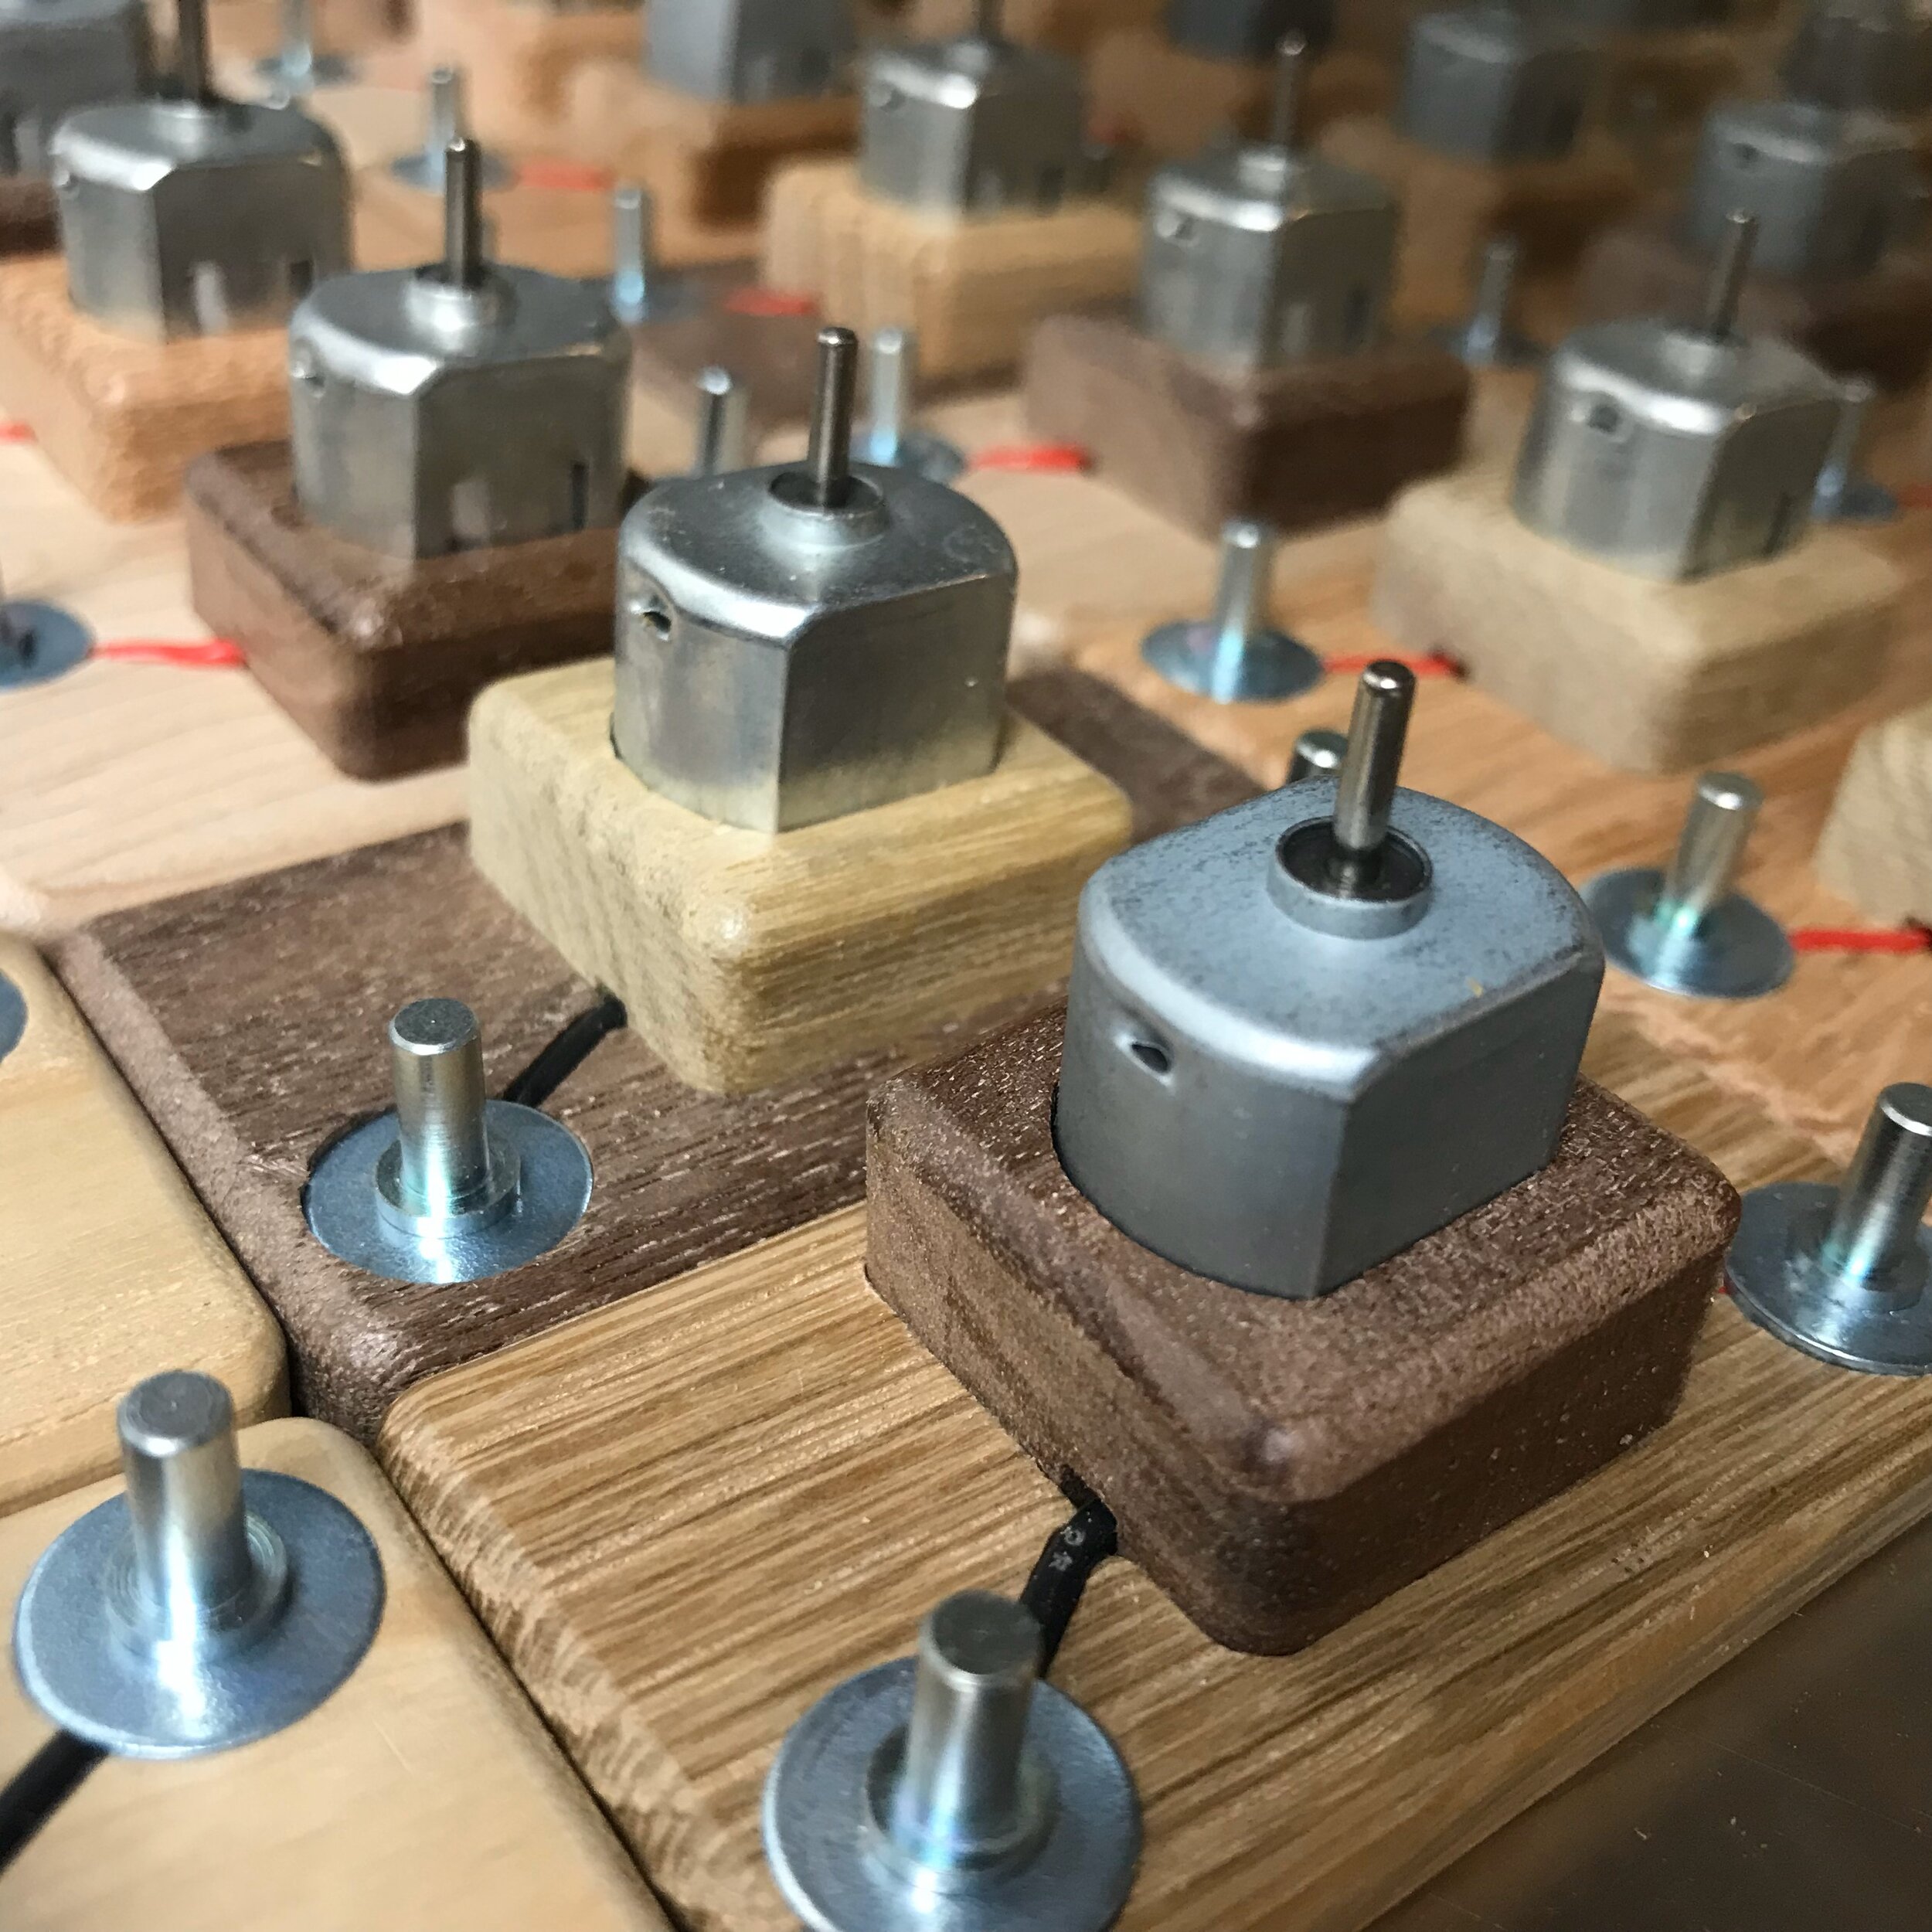
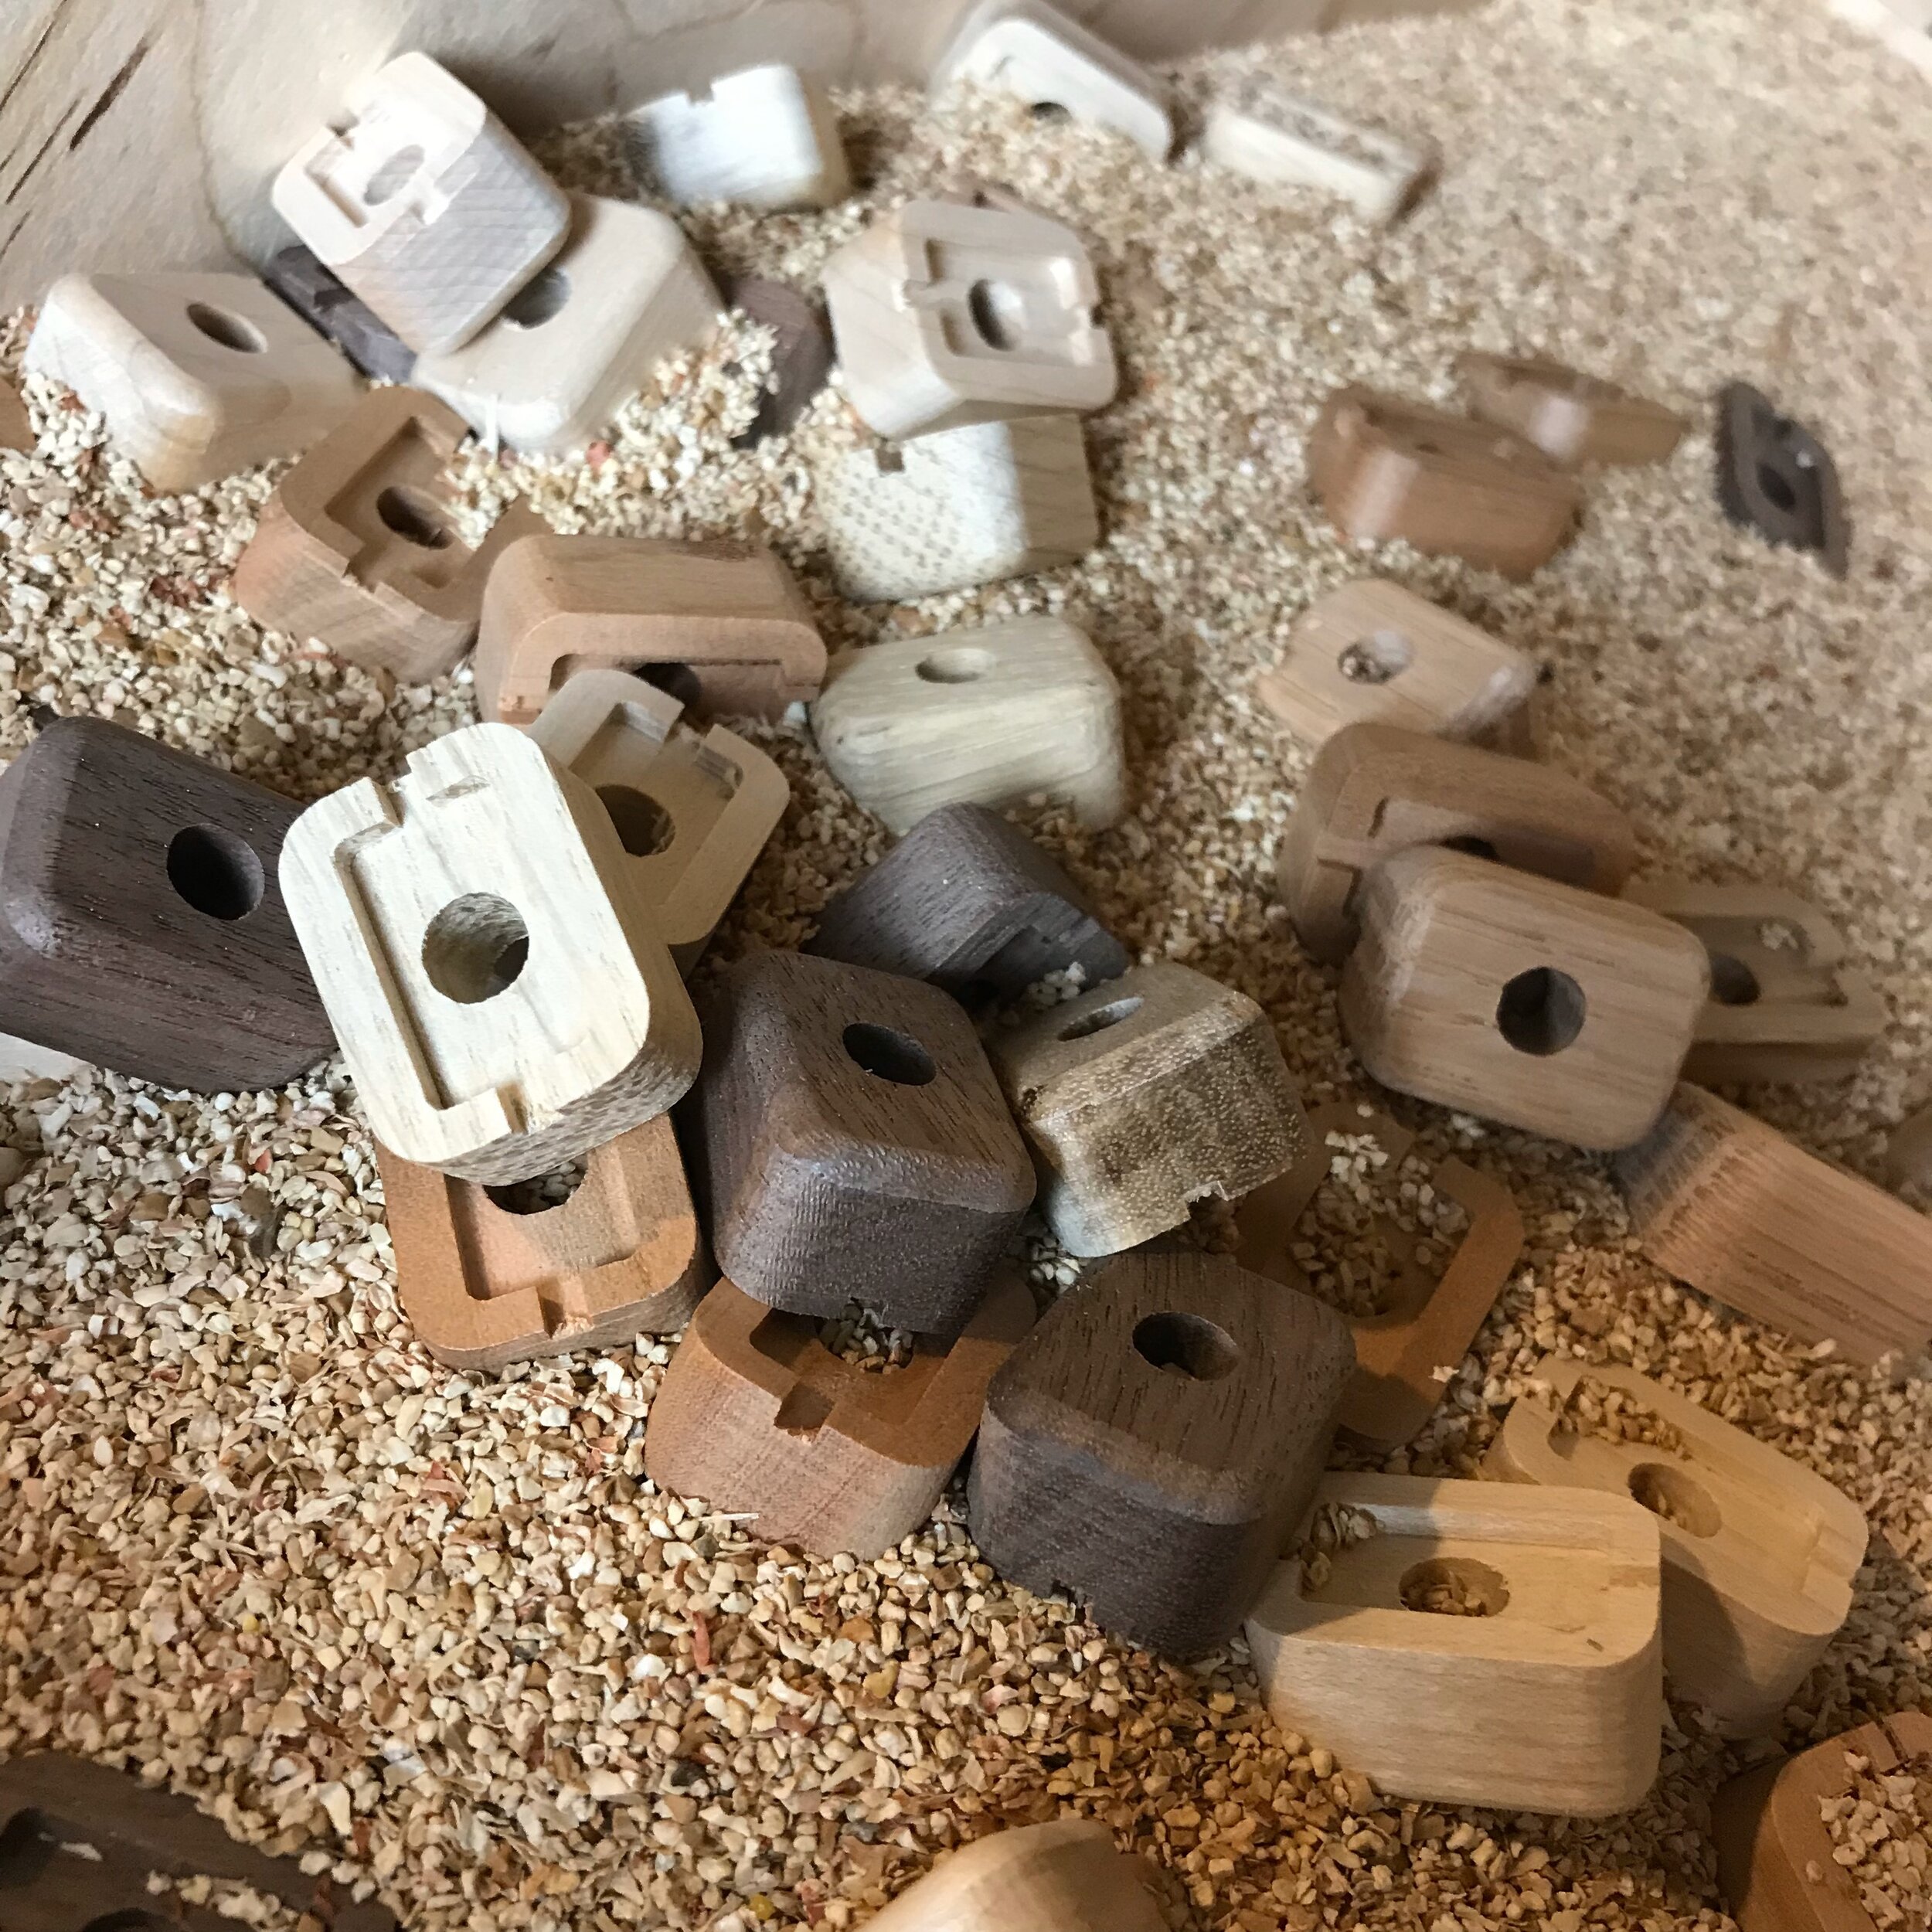
I’d like to have a block with a component (or a variation) that you do not offer. Do you make custom blocks?

It is unlikely that we’ll be able to design a custom block for you. That said, don’t hesitate to reach out and ask! There are numerous block ideas that we have prototyped - it might happen that we do have what you’re interested in sitting around. Or, your request might be one that is a modification that is not difficult for us to make. And, we’re always thinking about new block ideas - a request might be the motivation we need to get the next design idea out there!

We’d like to purchase Circuit Blocks in bulk for our school (museum, library, etc) - do you offer discounts for bulk orders?

For large orders, we can offer modest discounts, but we can’t drop too far below our set pricing rates. Our commitment to quality materials and production methods limits our profit margins.

We would like to stock your products in our retail store. Do you do wholesale distribution?

While we would love to be able to reach a wider audience this way, we are not able to offer traditional wholesale pricing. We’re committed to our production methods and this means that don’t have the profit margins to lower prices enough for this markdown. If you have an idea that might be interesting to consider for mutual promotional benefit, please don’t hesitate to reach out and propose something!

What is your return policy? 


If you’re not happy with your Circuit Blocks, we will refund your purchase. Please let us know, then send them back to us in unused condition and we’ll issue a refund - or exchange them for something of equal value if you prefer. We want you to be happy with your purchase!

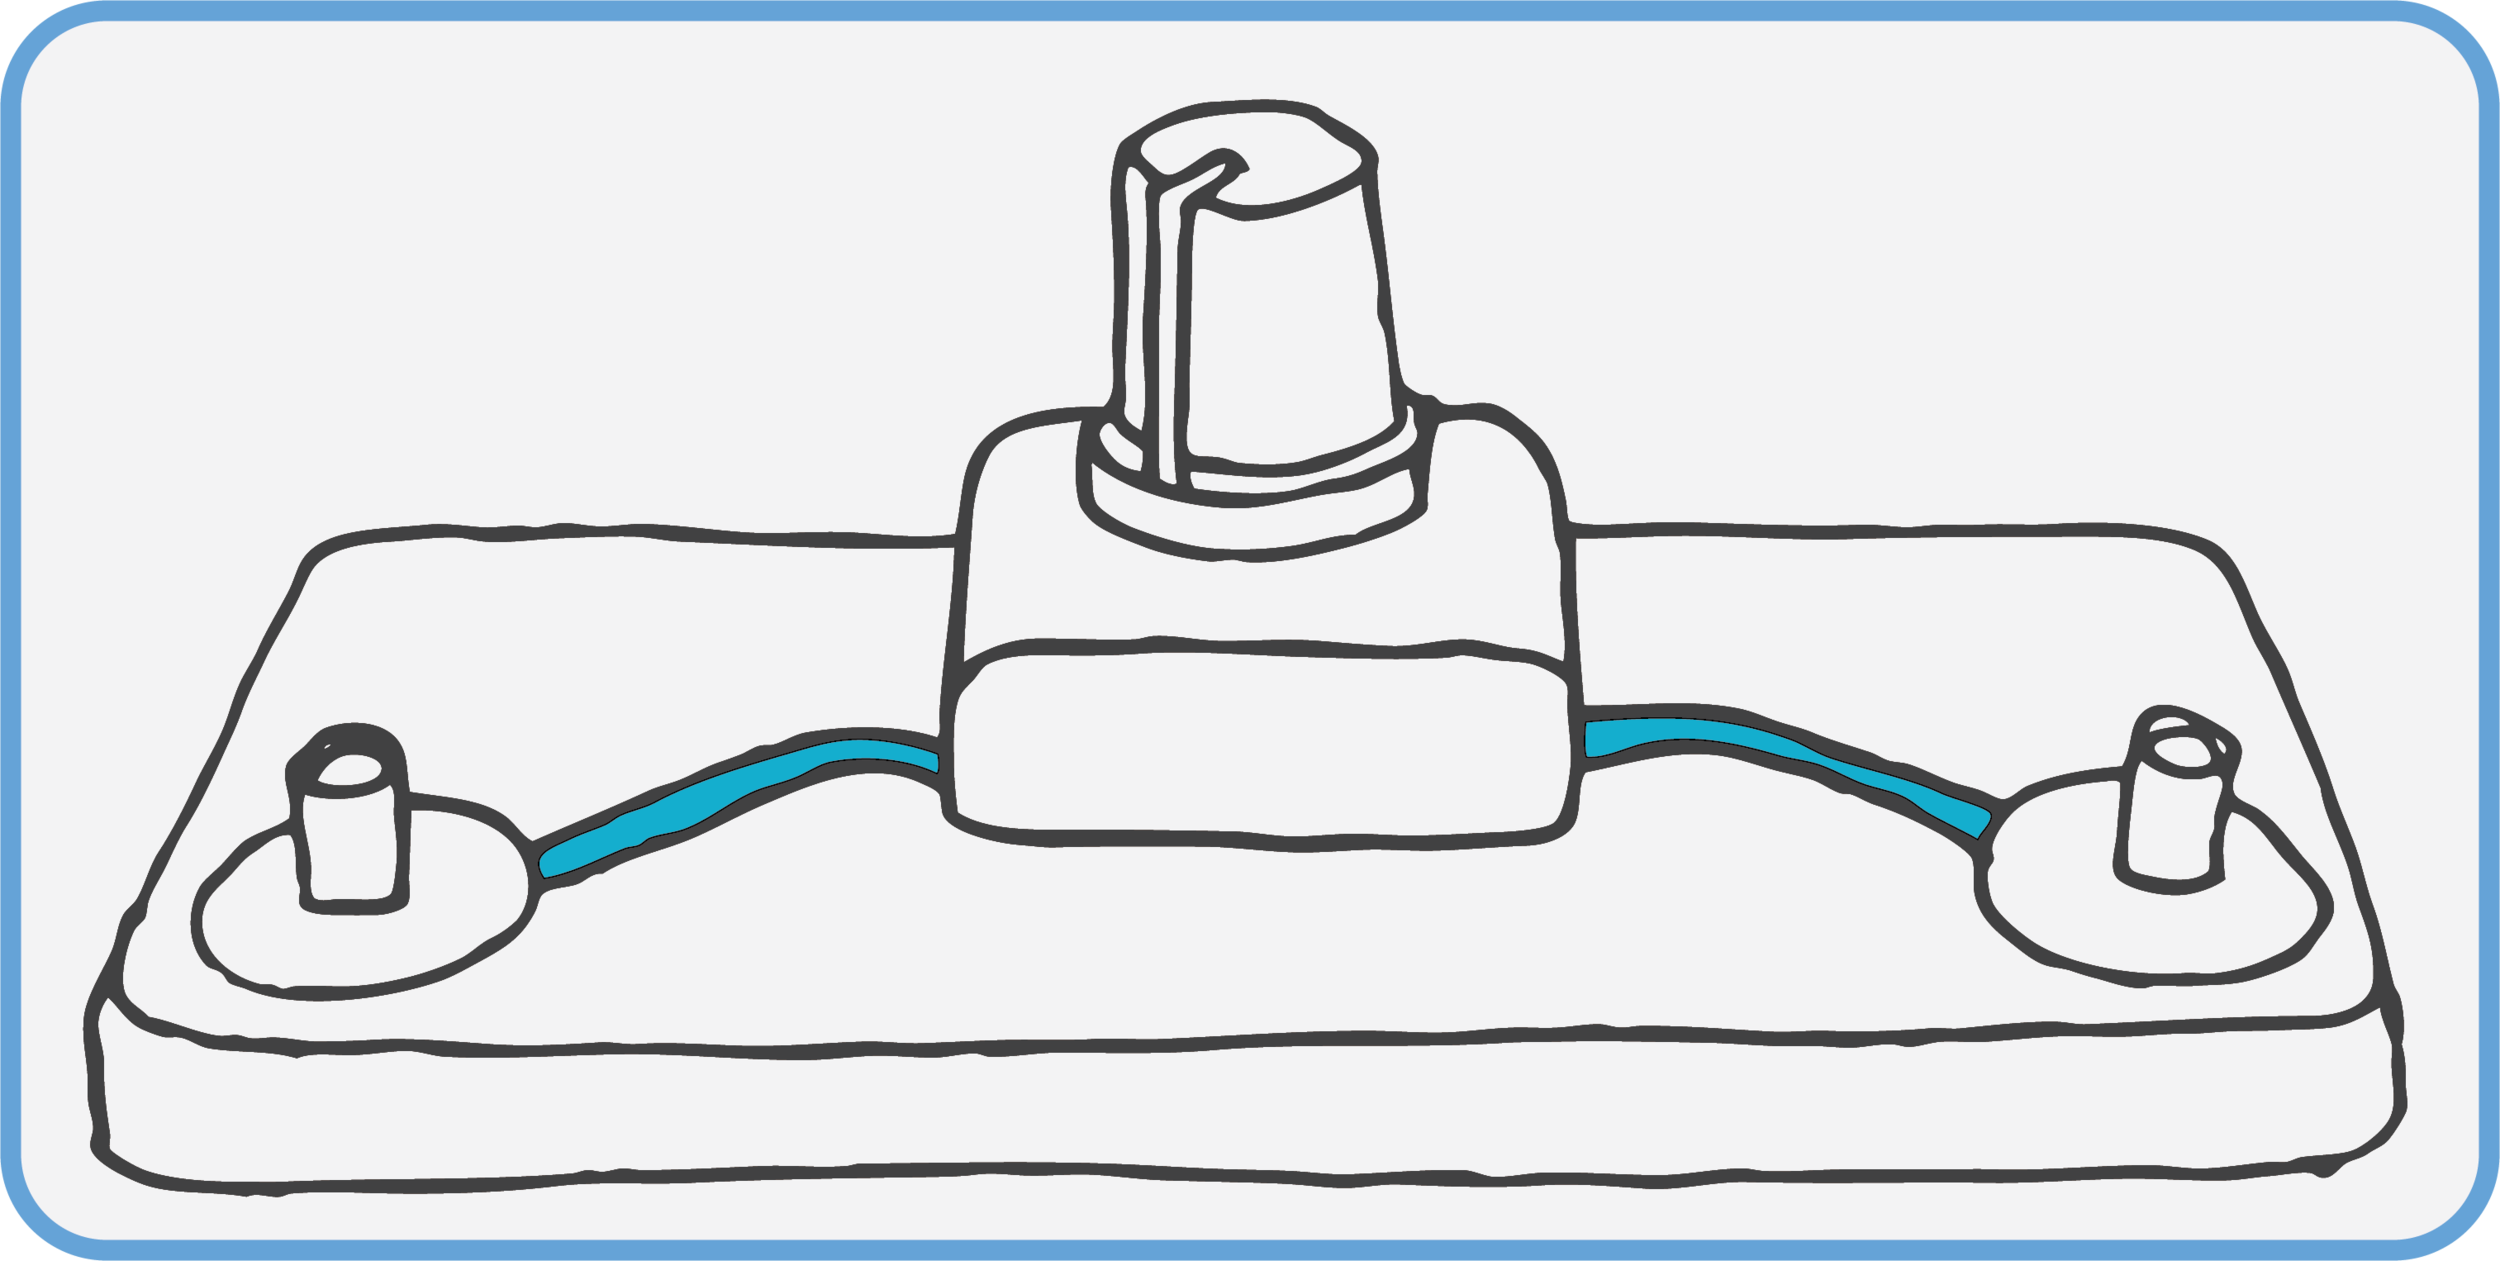
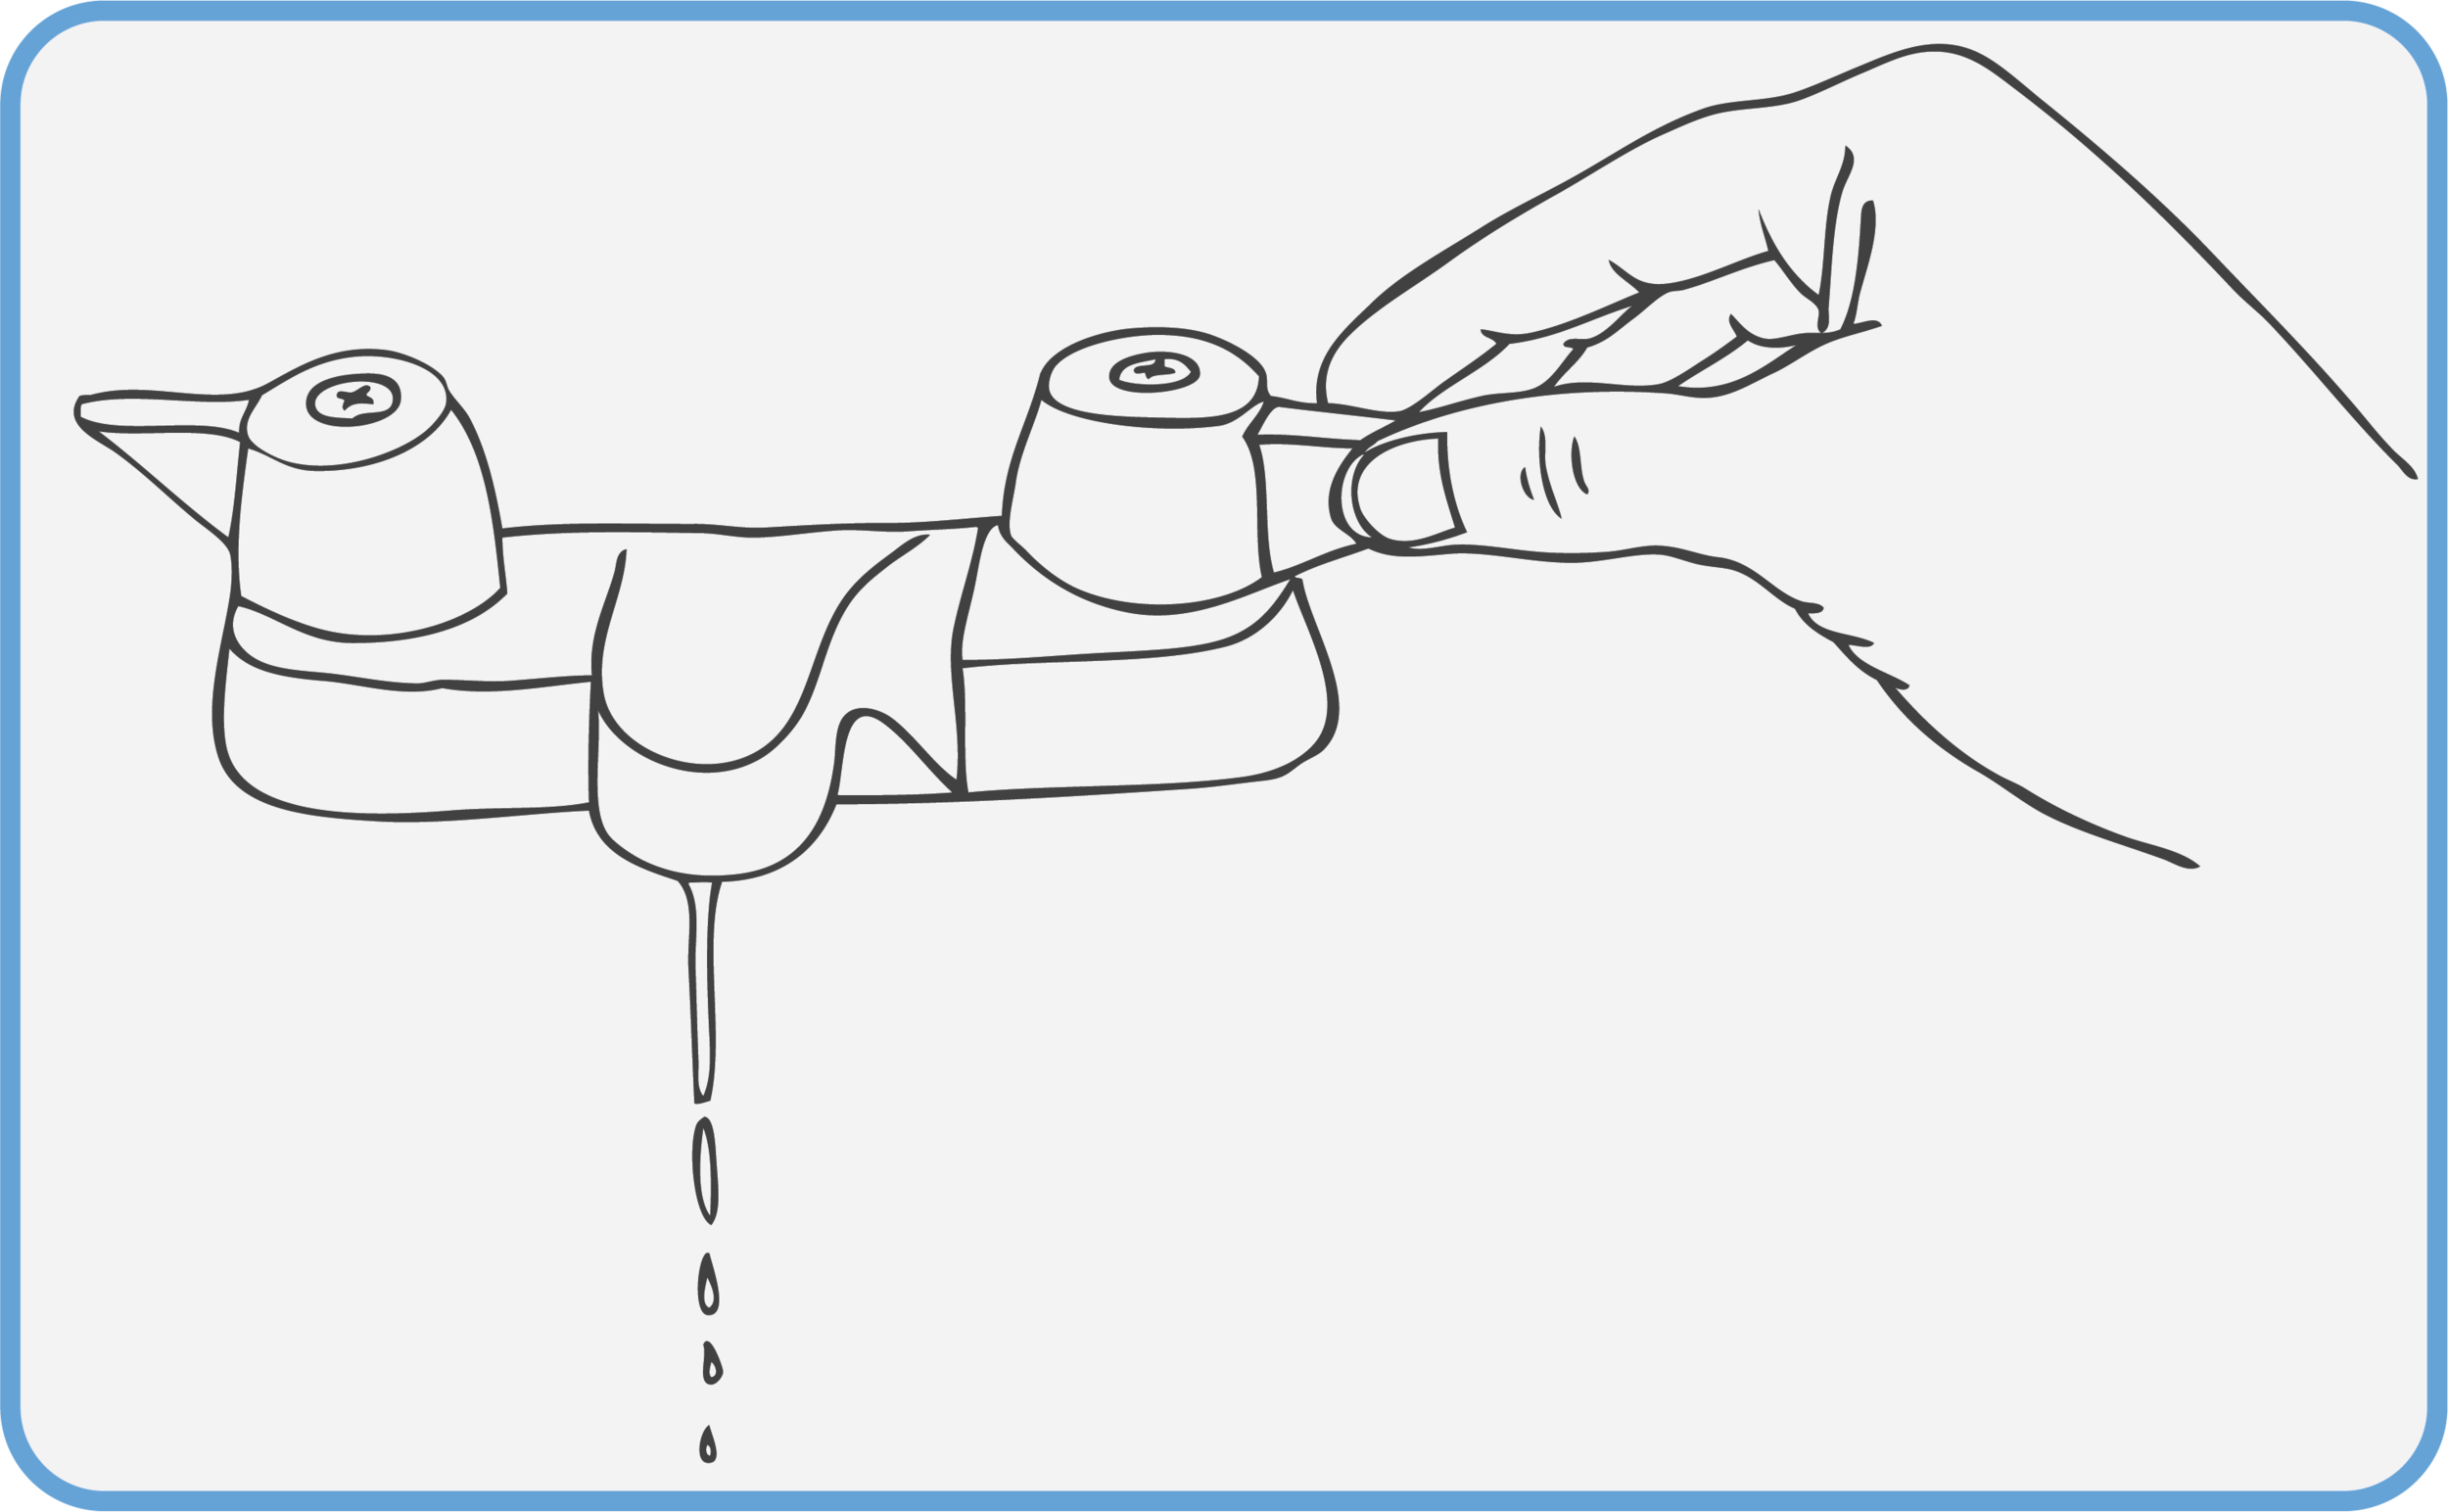
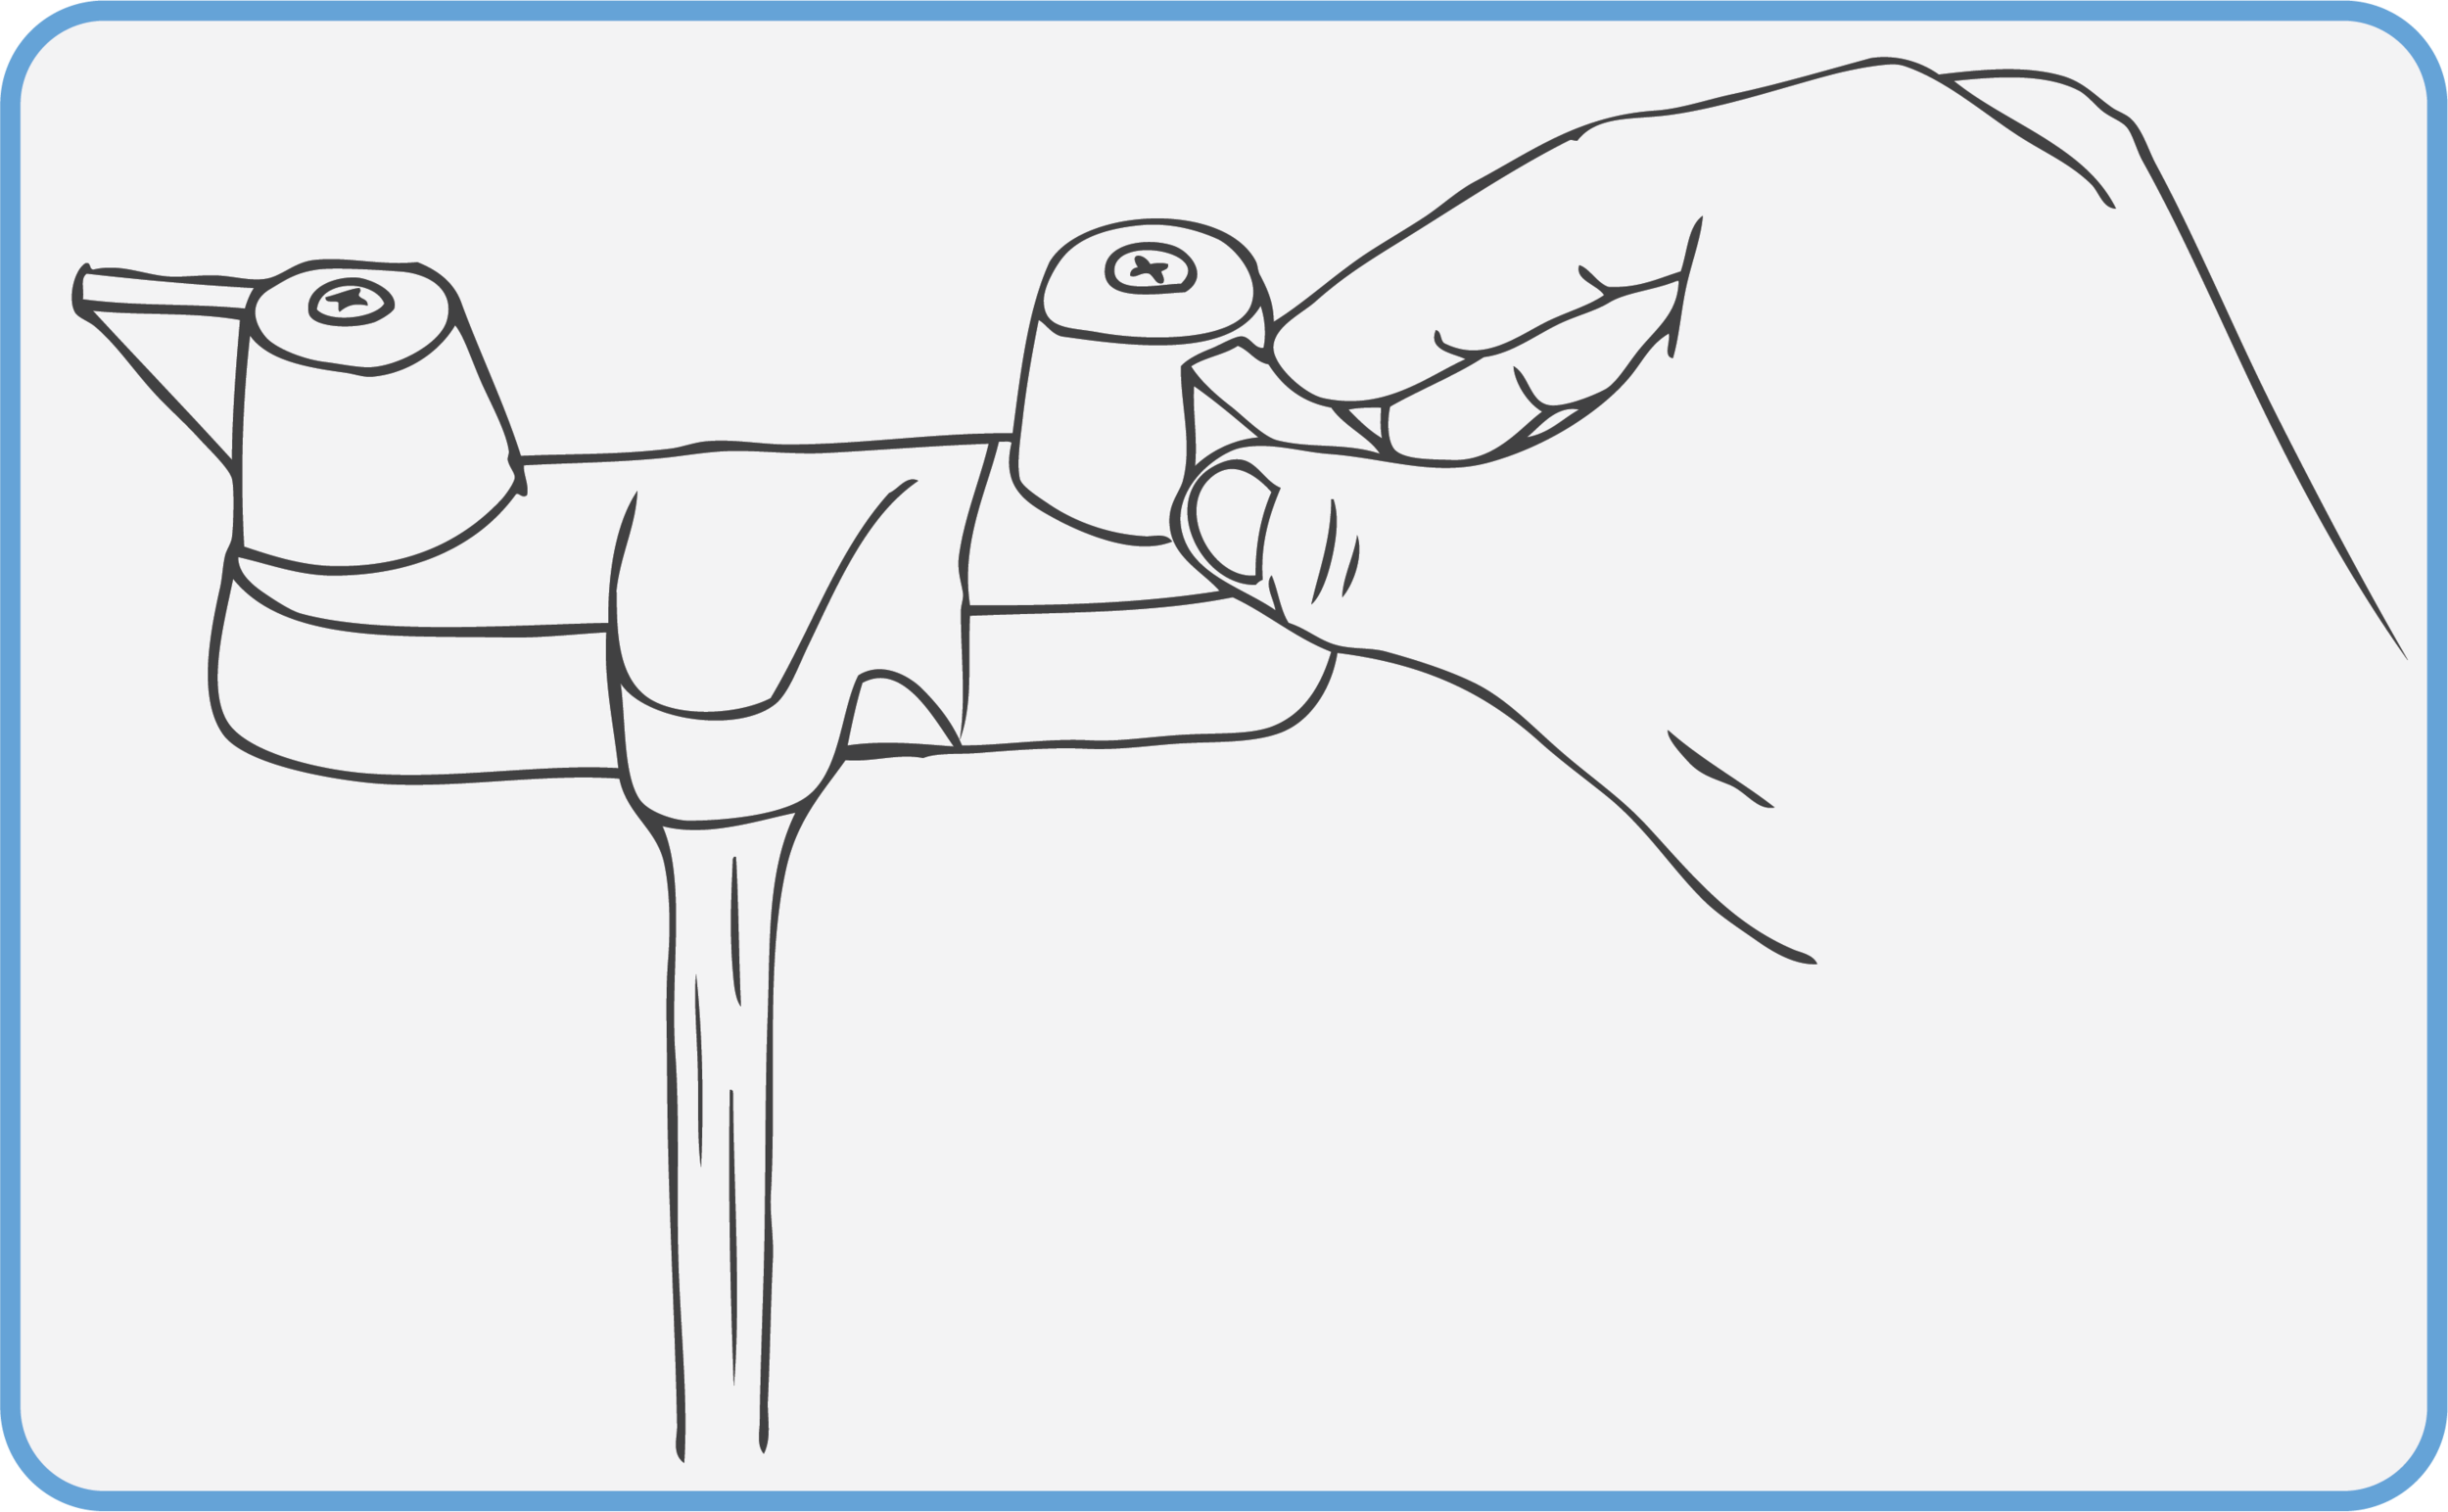
My Circuit Blocks are not working. What should I do?

If there is a problem with your Circuit Blocks, let us know and we’ll resolve it. If you send them back to us, we can make repairs and refurbish them (some schools send us a bunch at the end of the year - we can do this for less than the cost of replacement.) Please email us and we’ll discuss details. If a block is defective and it is our fault, we’ll promptly repair or replace it for you, of course!

How long does it take to receive my Circuit Blocks after I place an order?

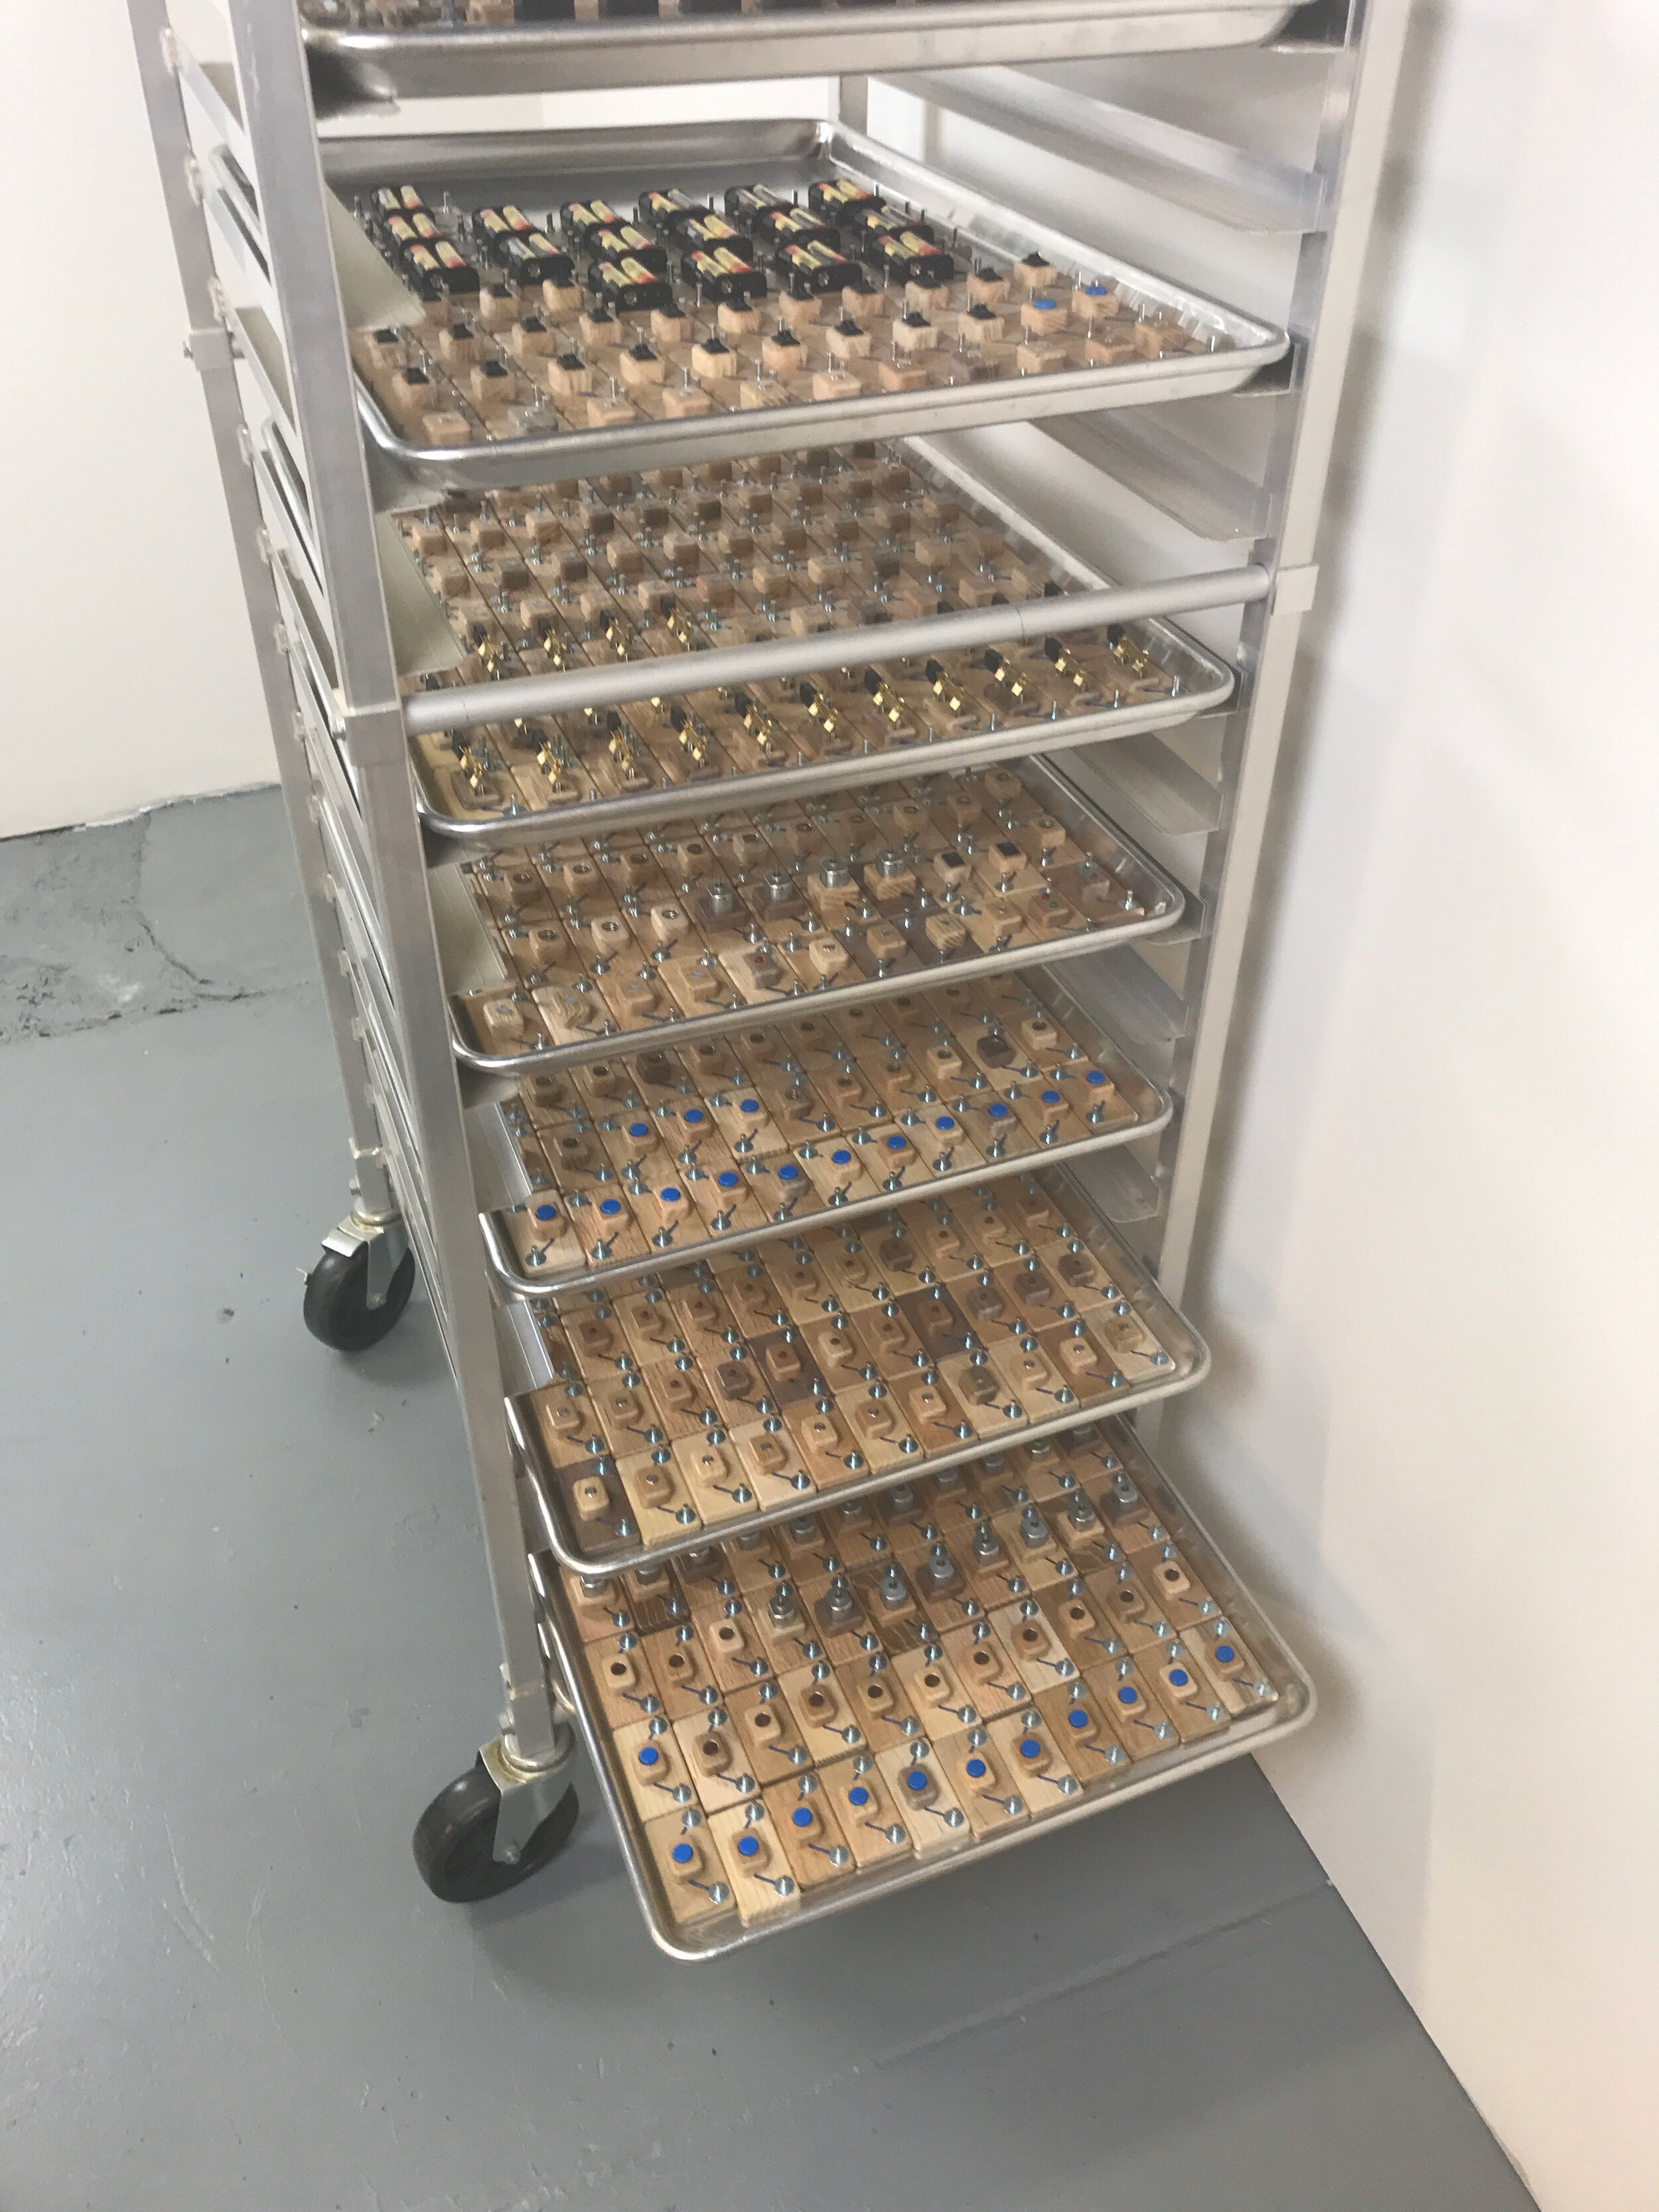
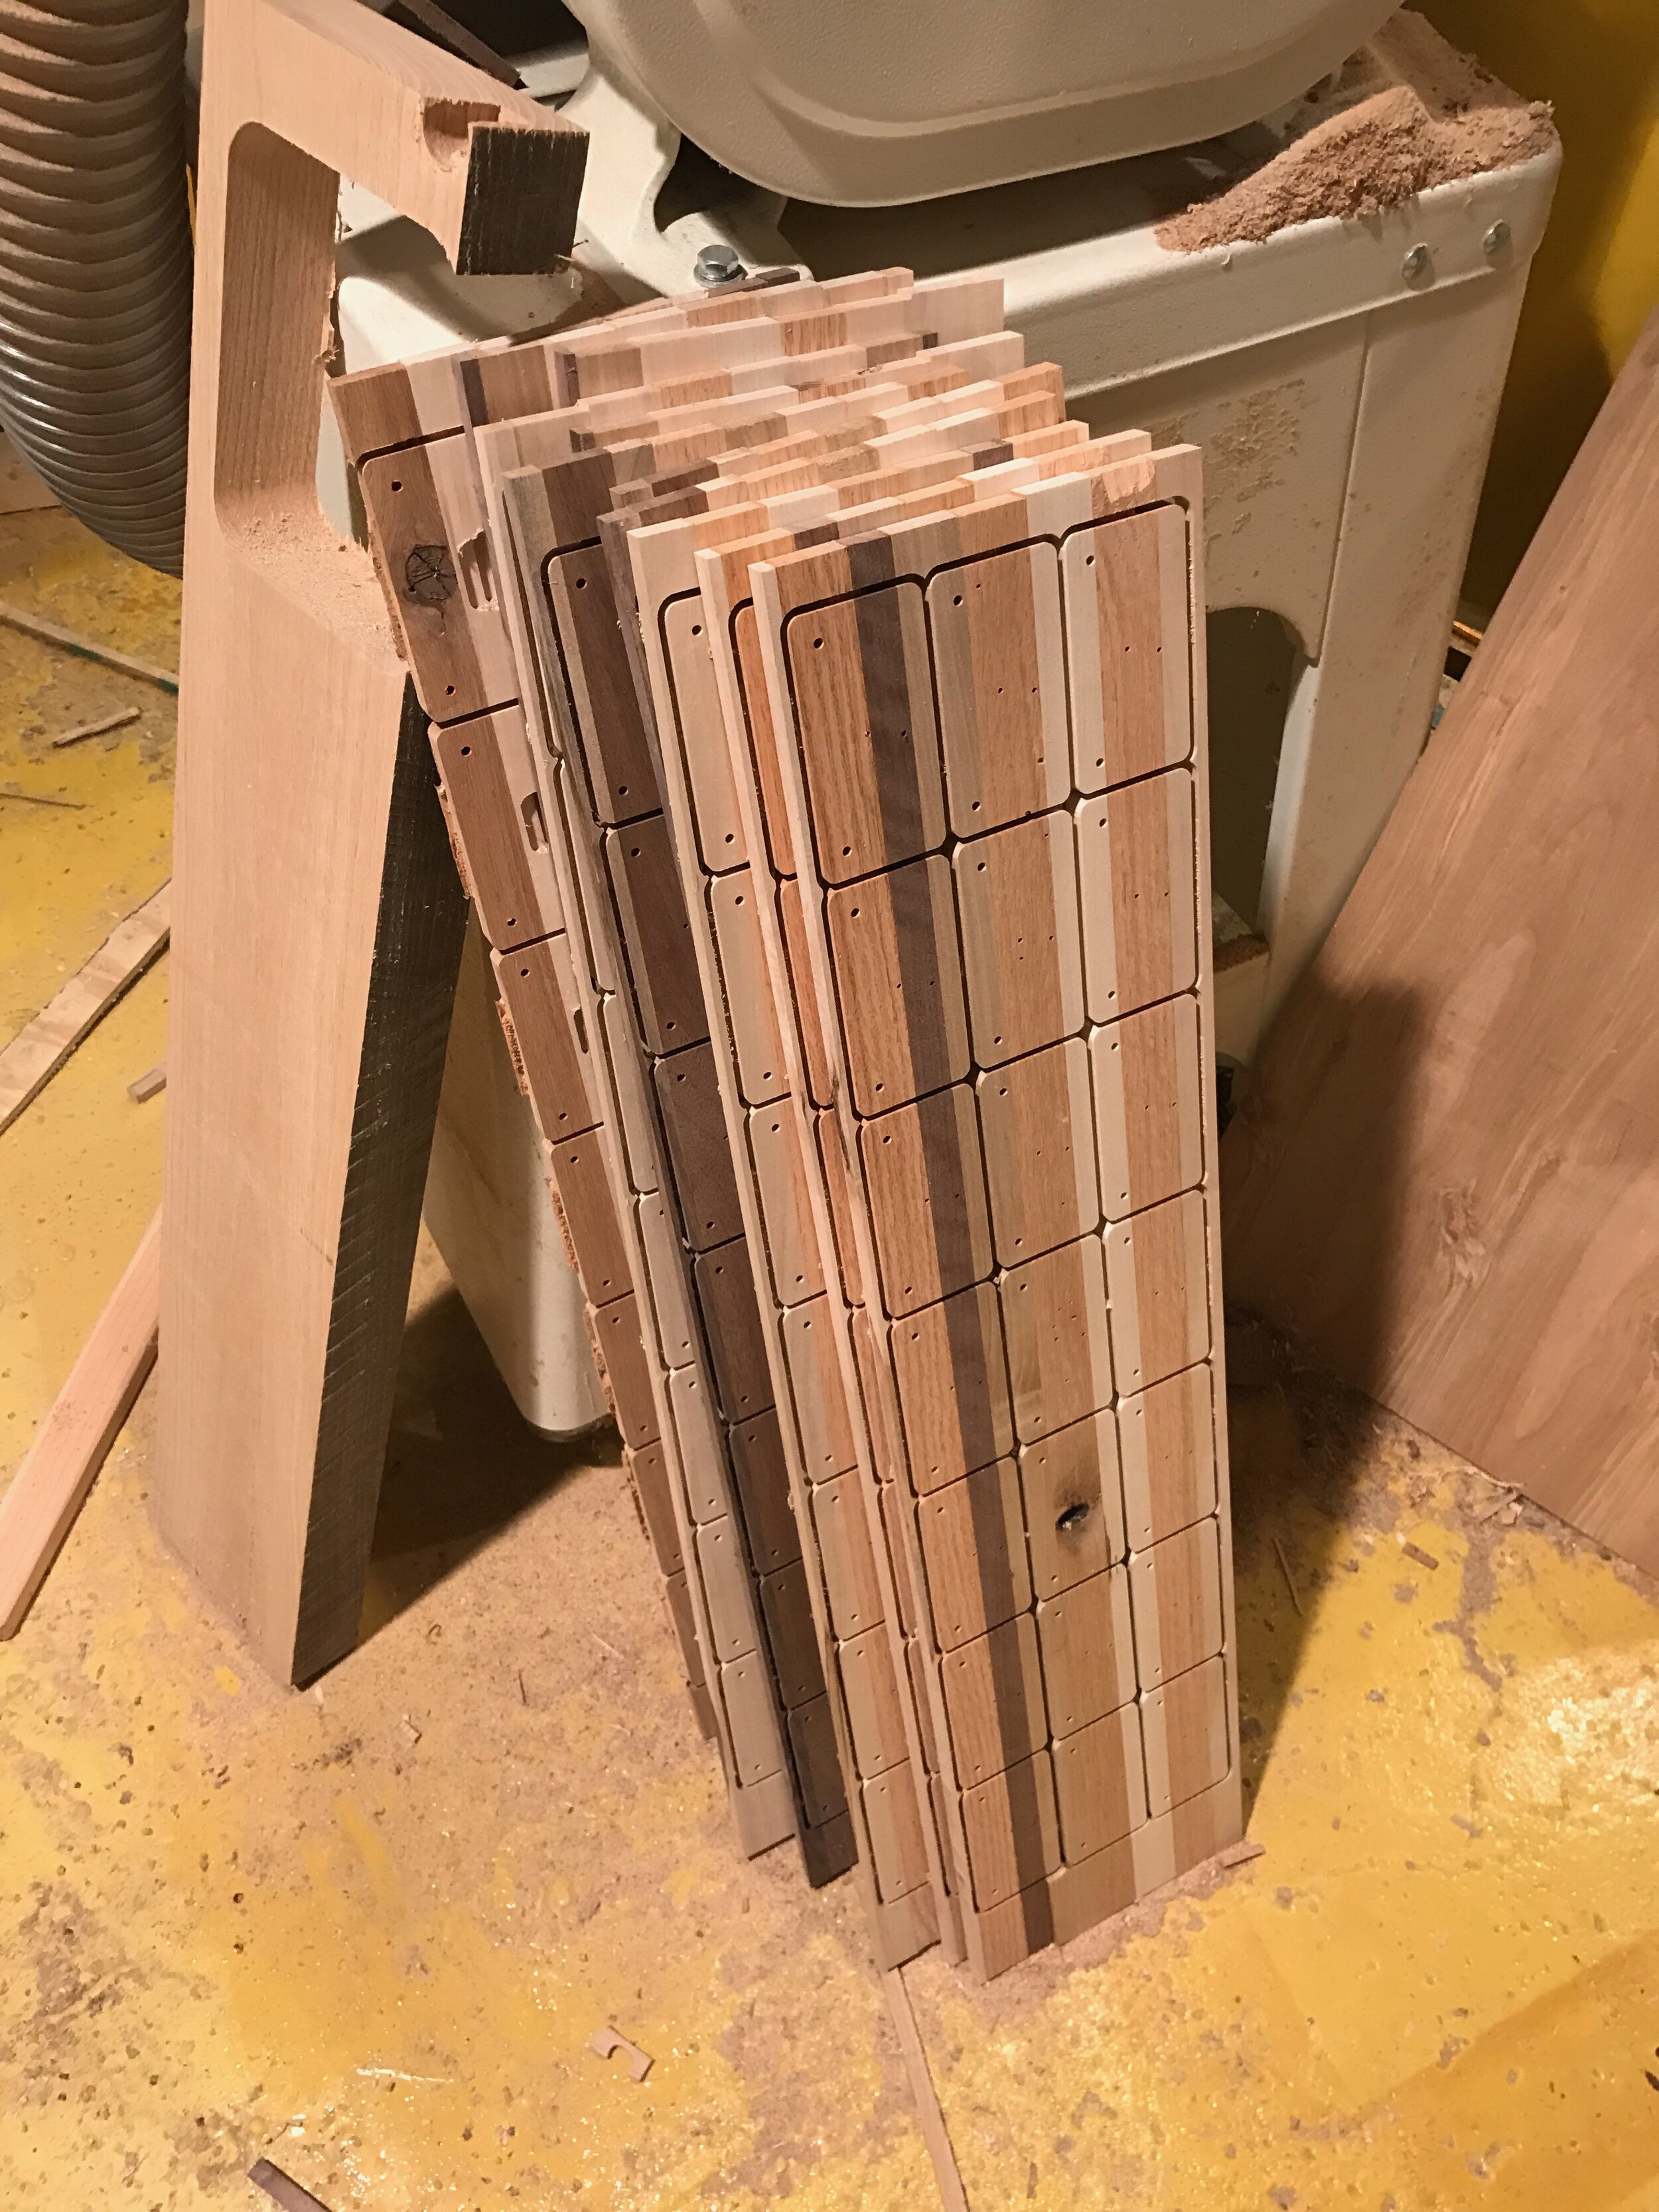
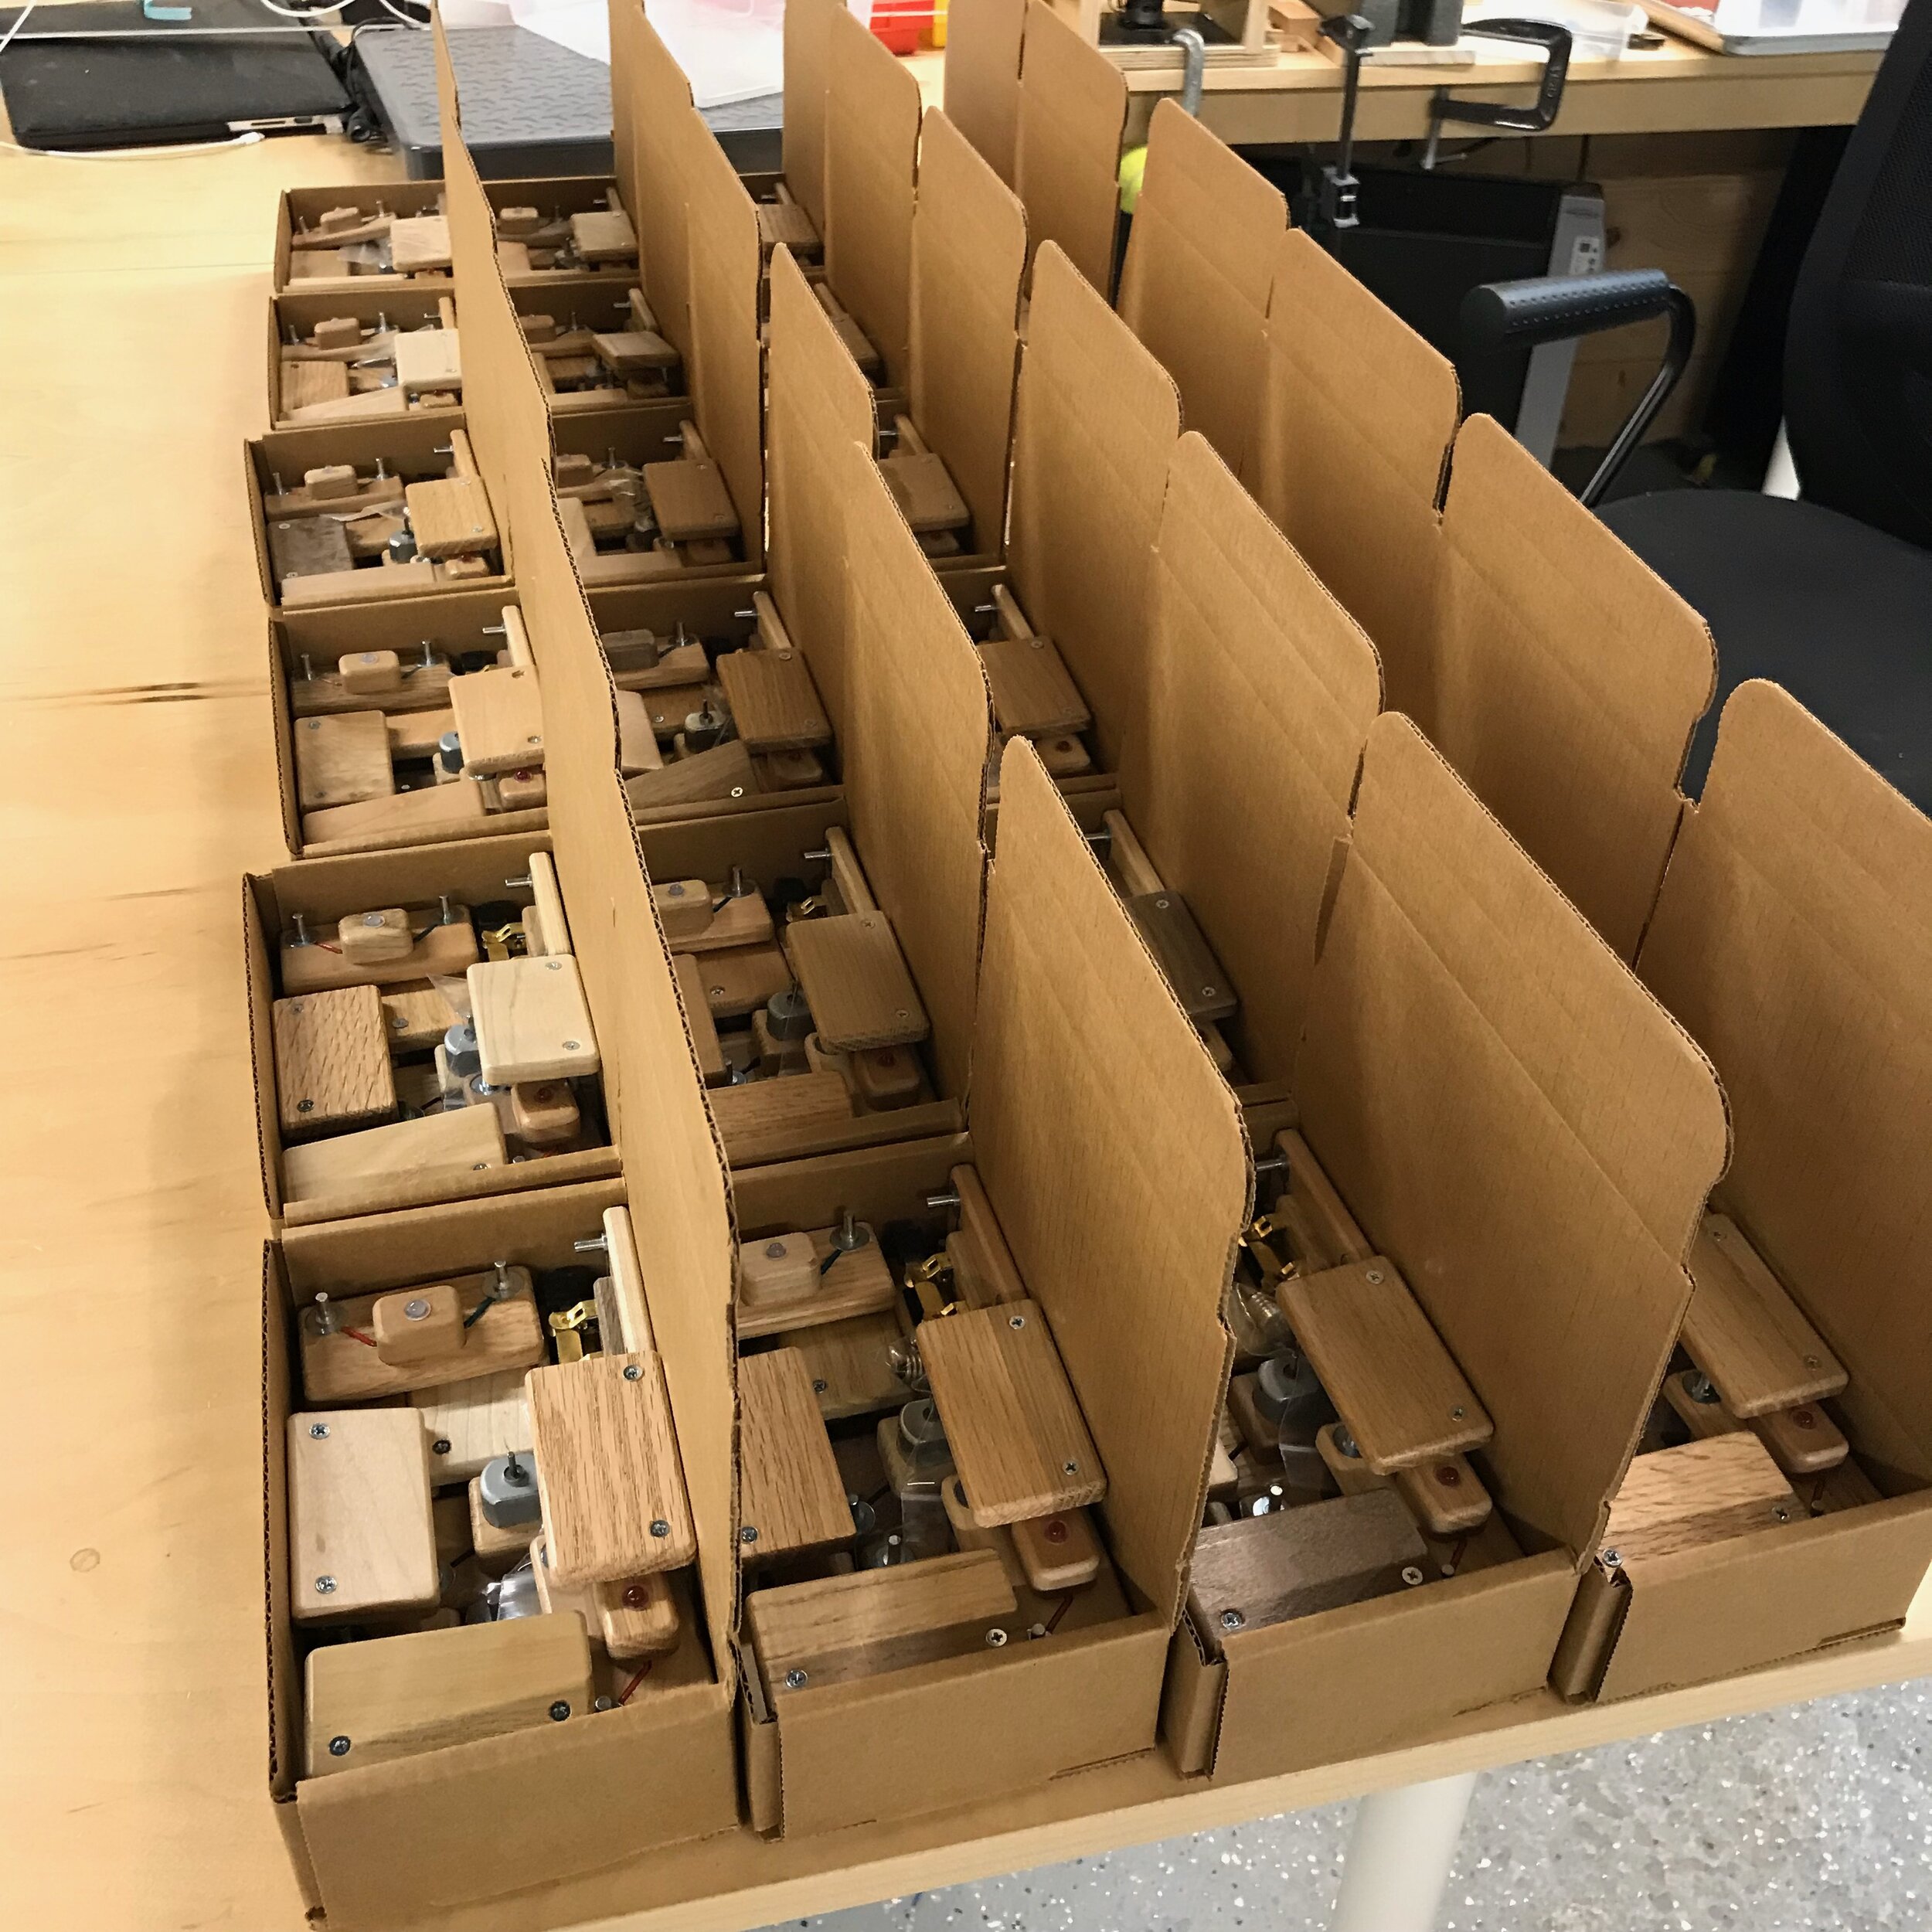
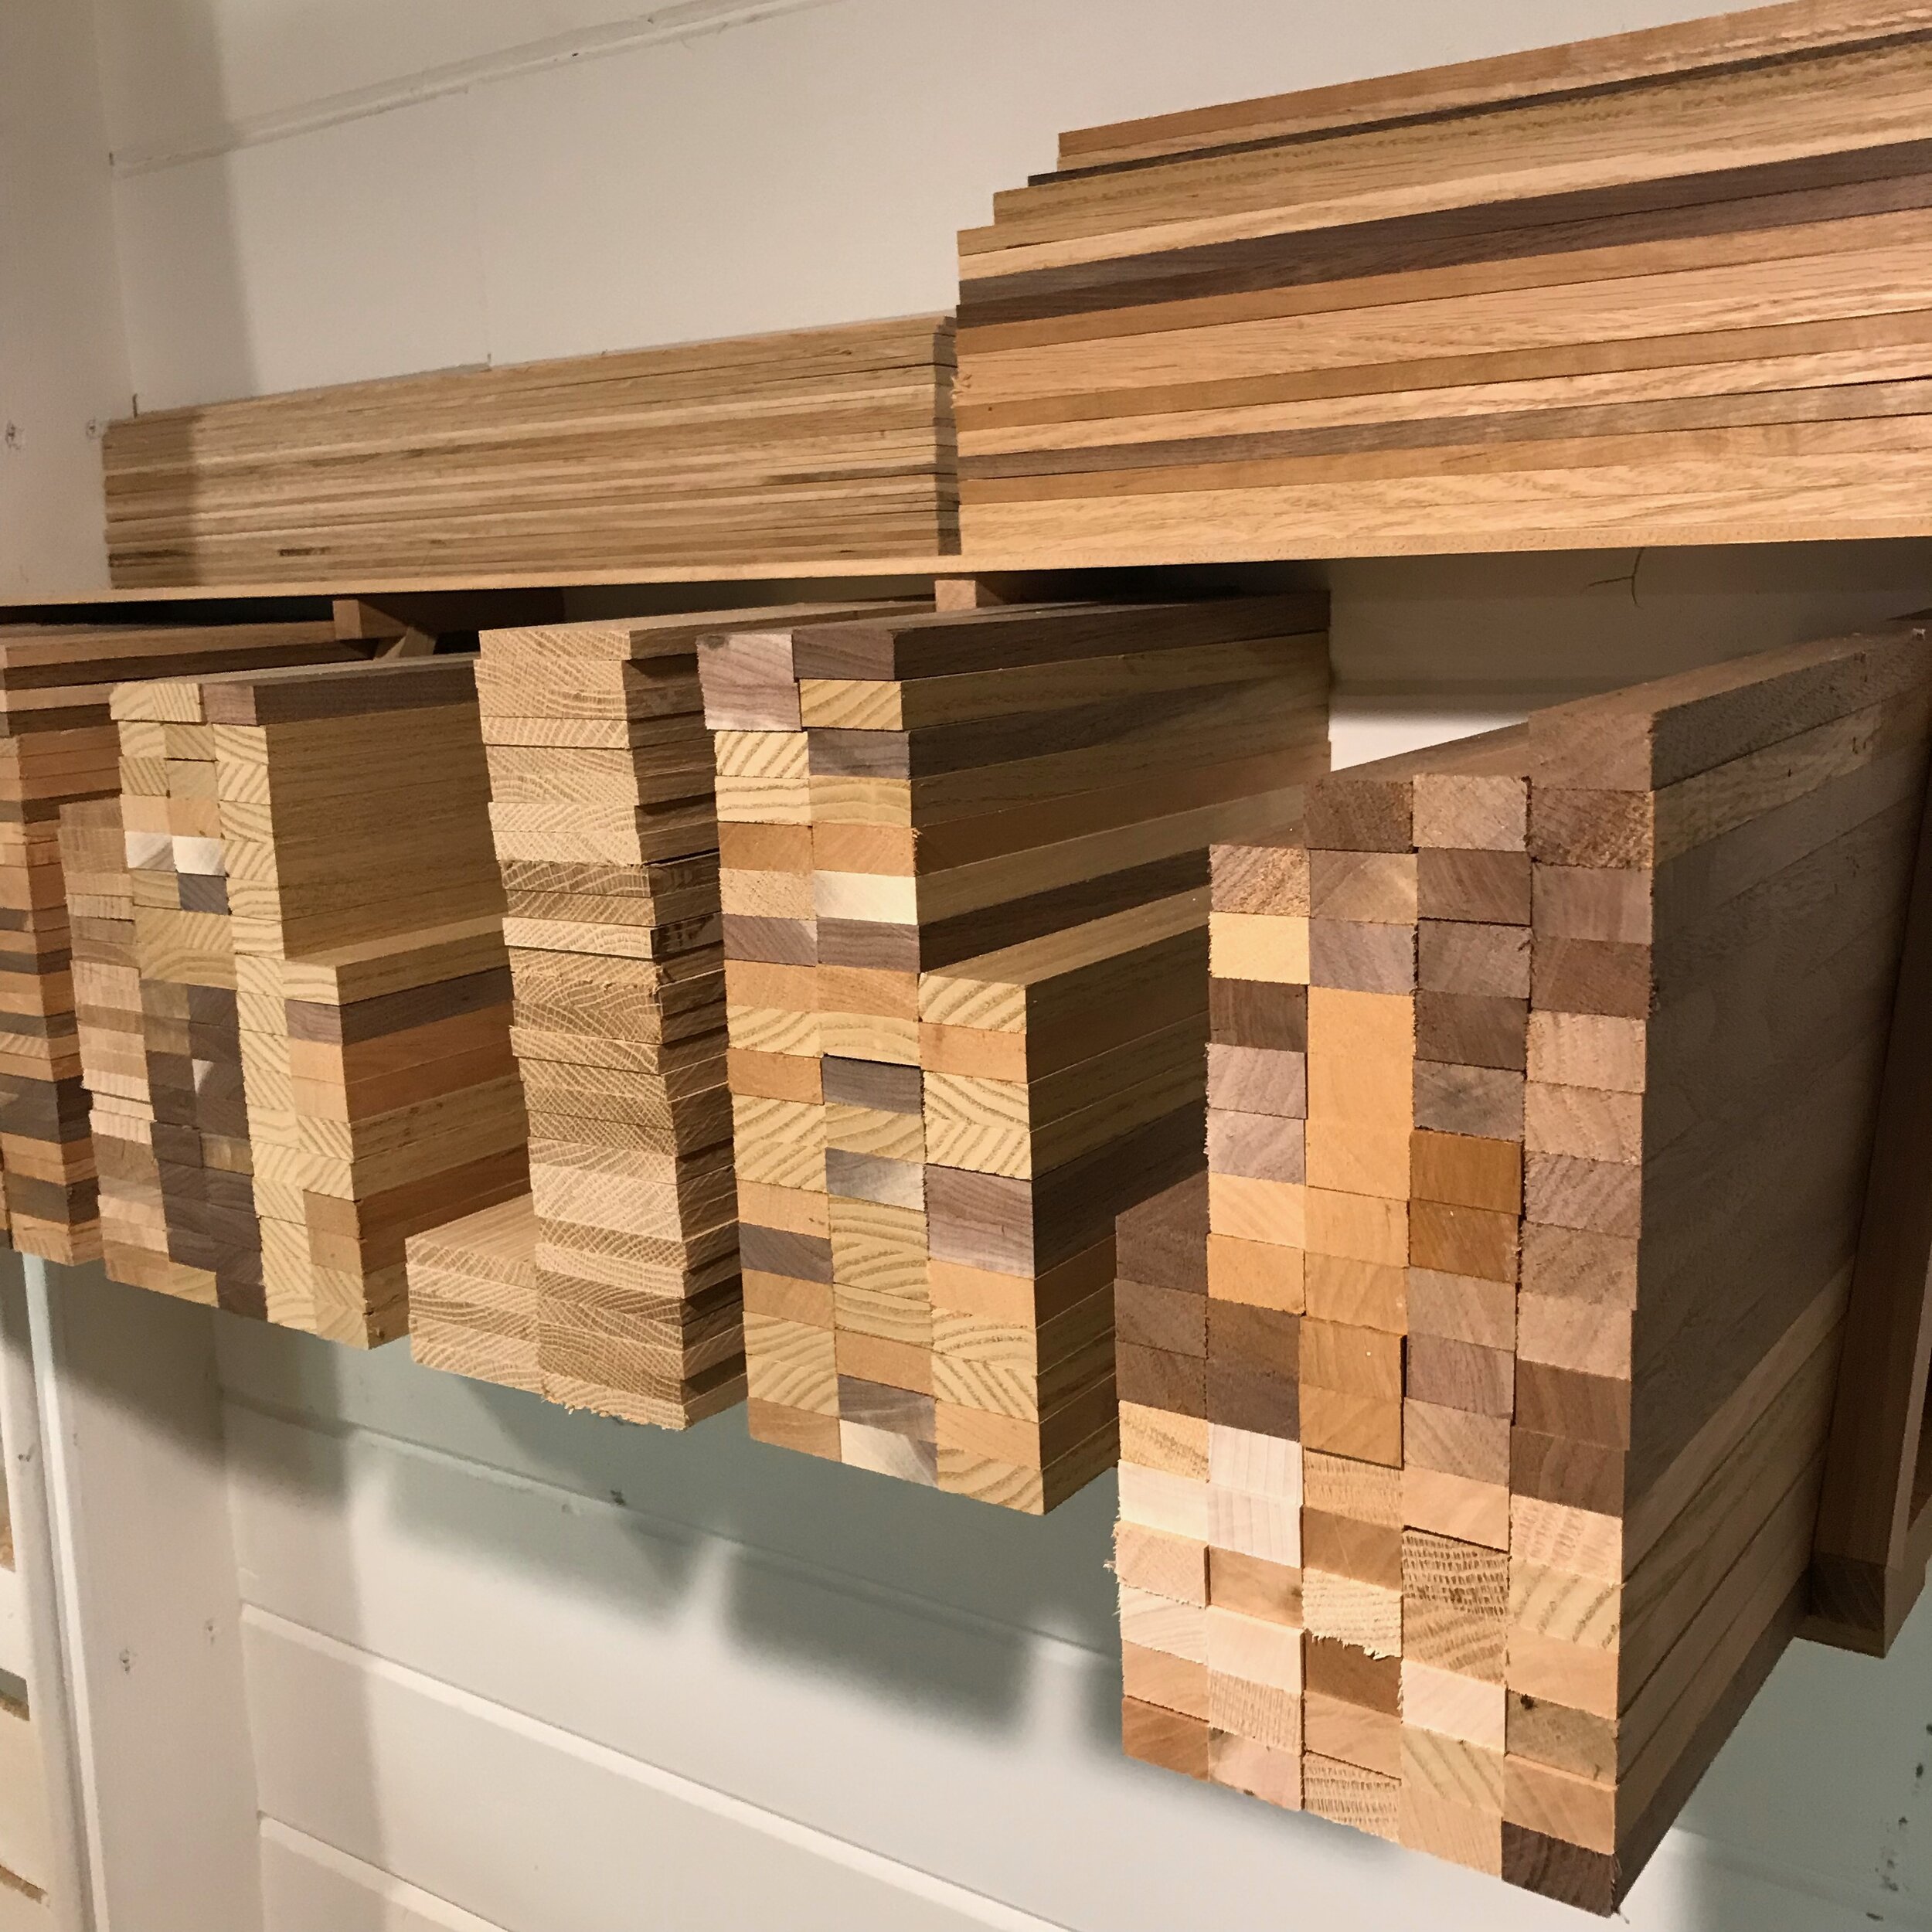
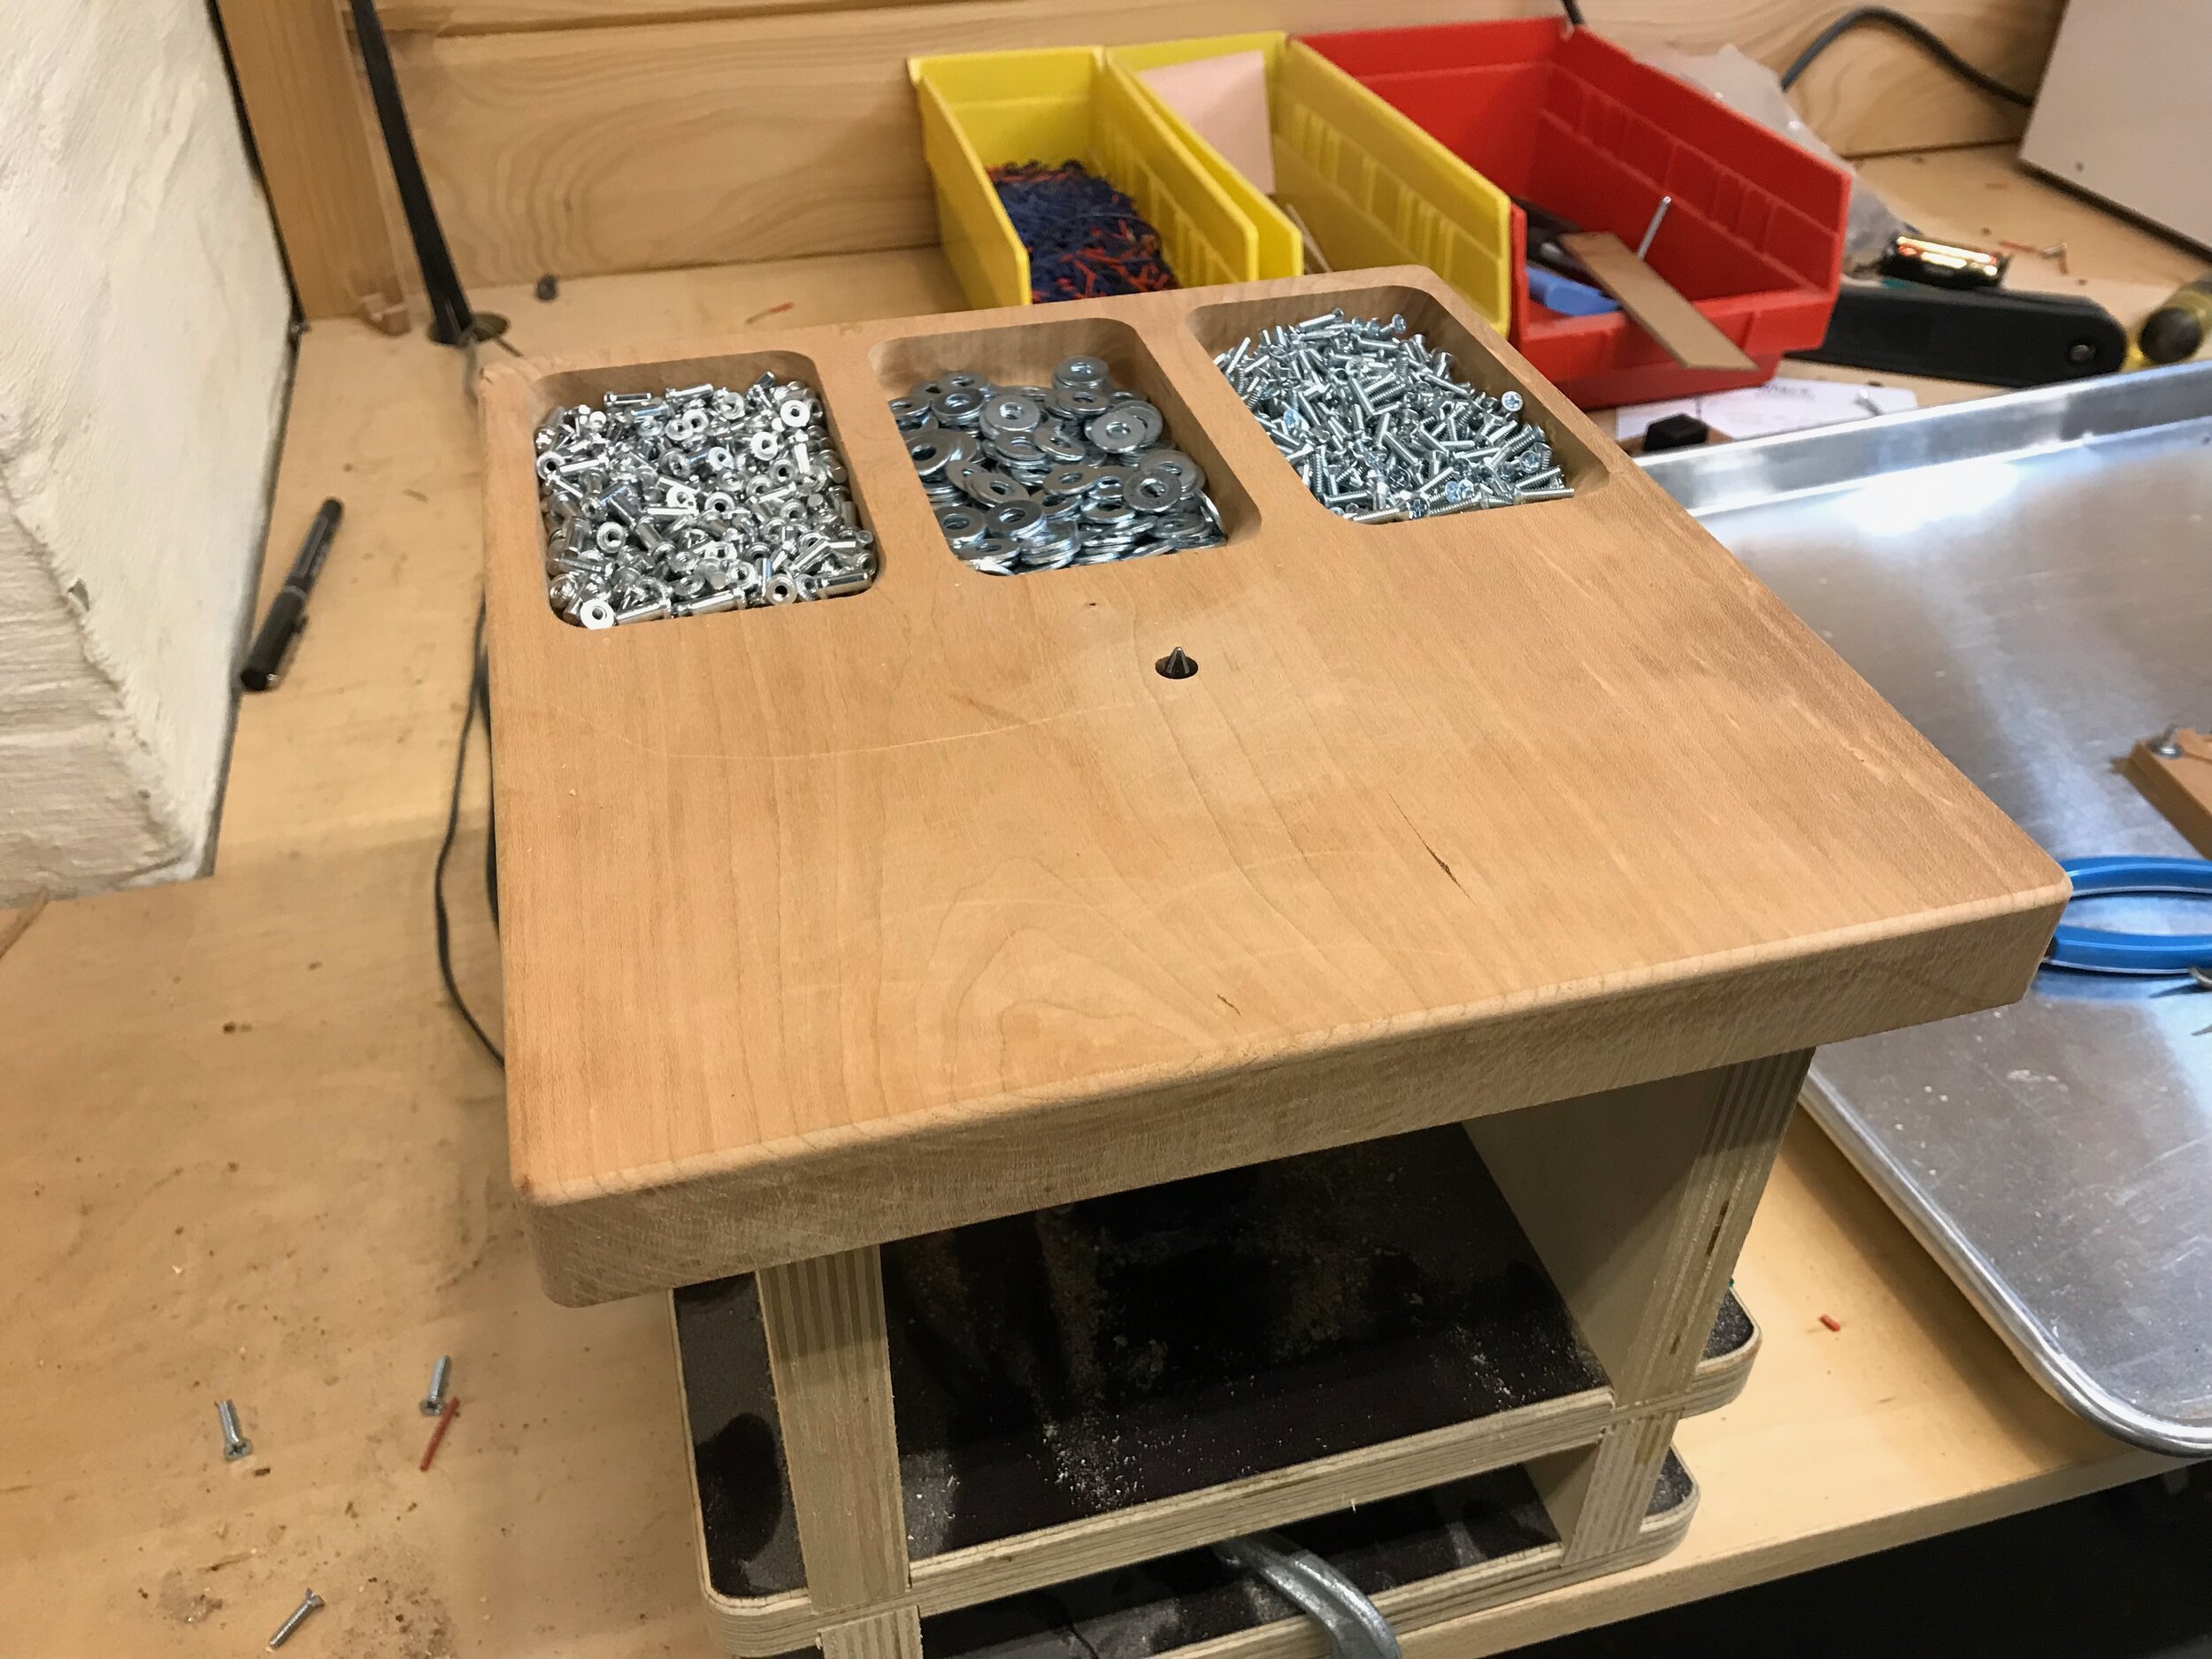
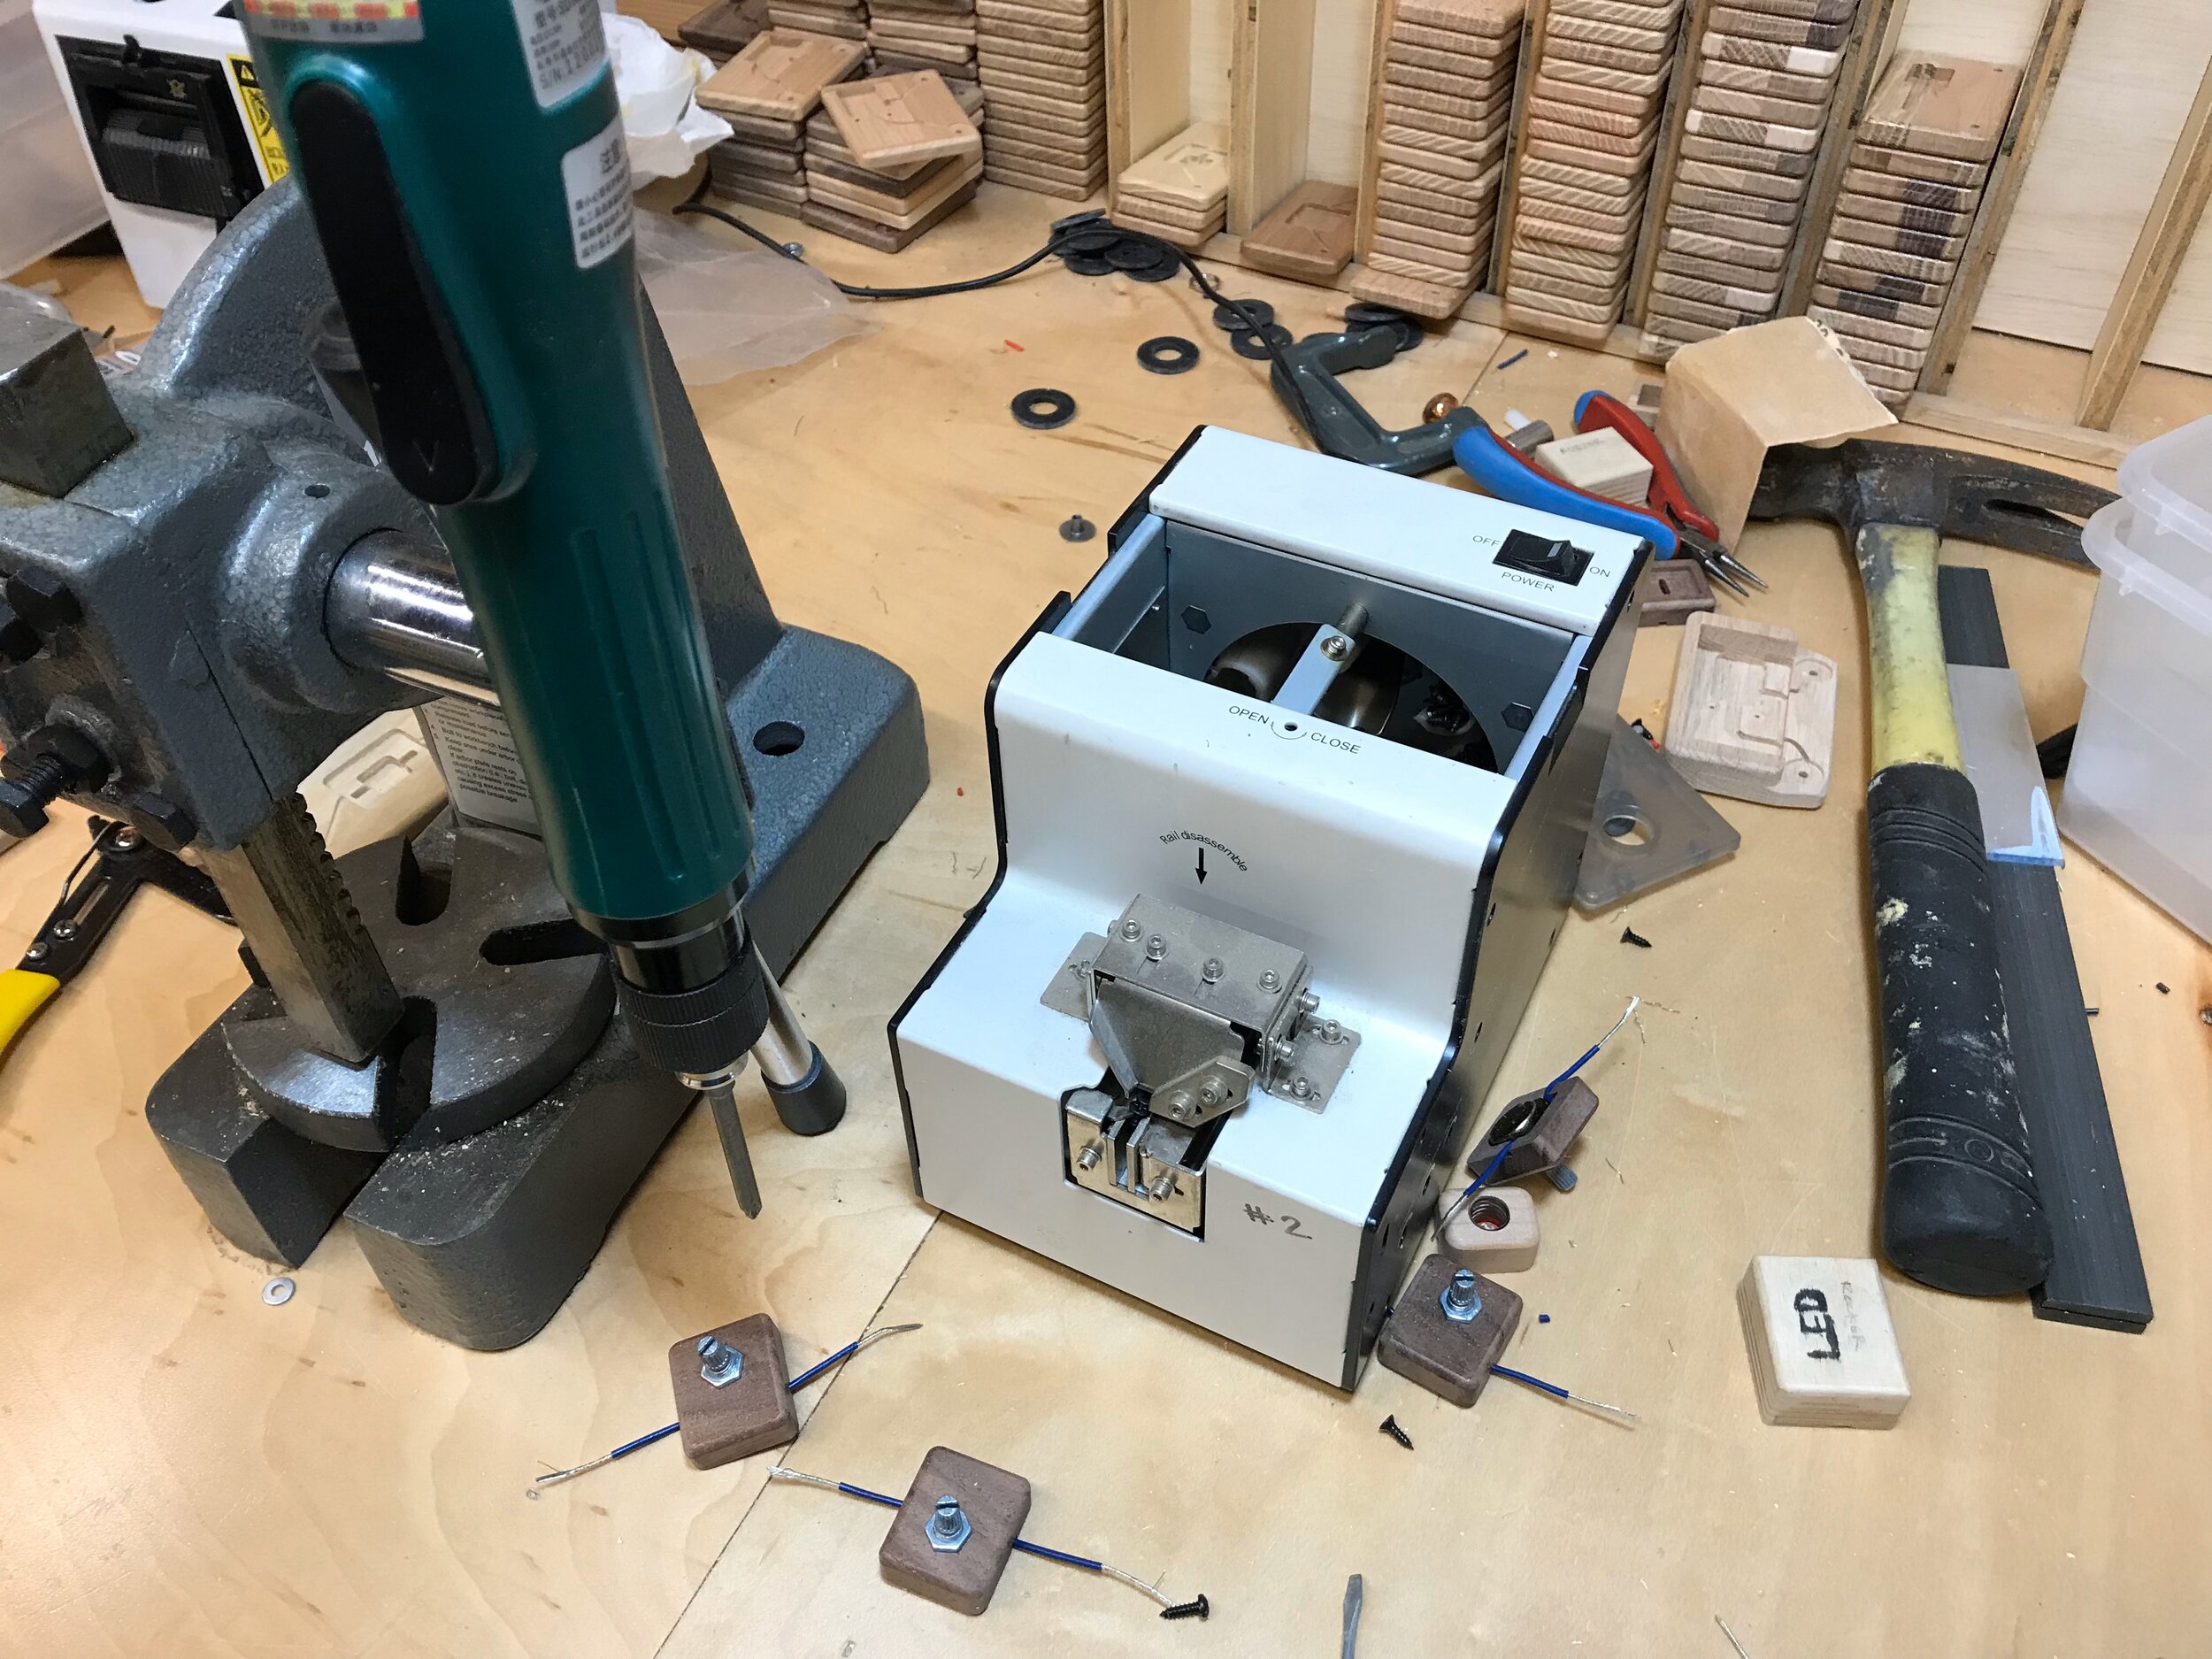
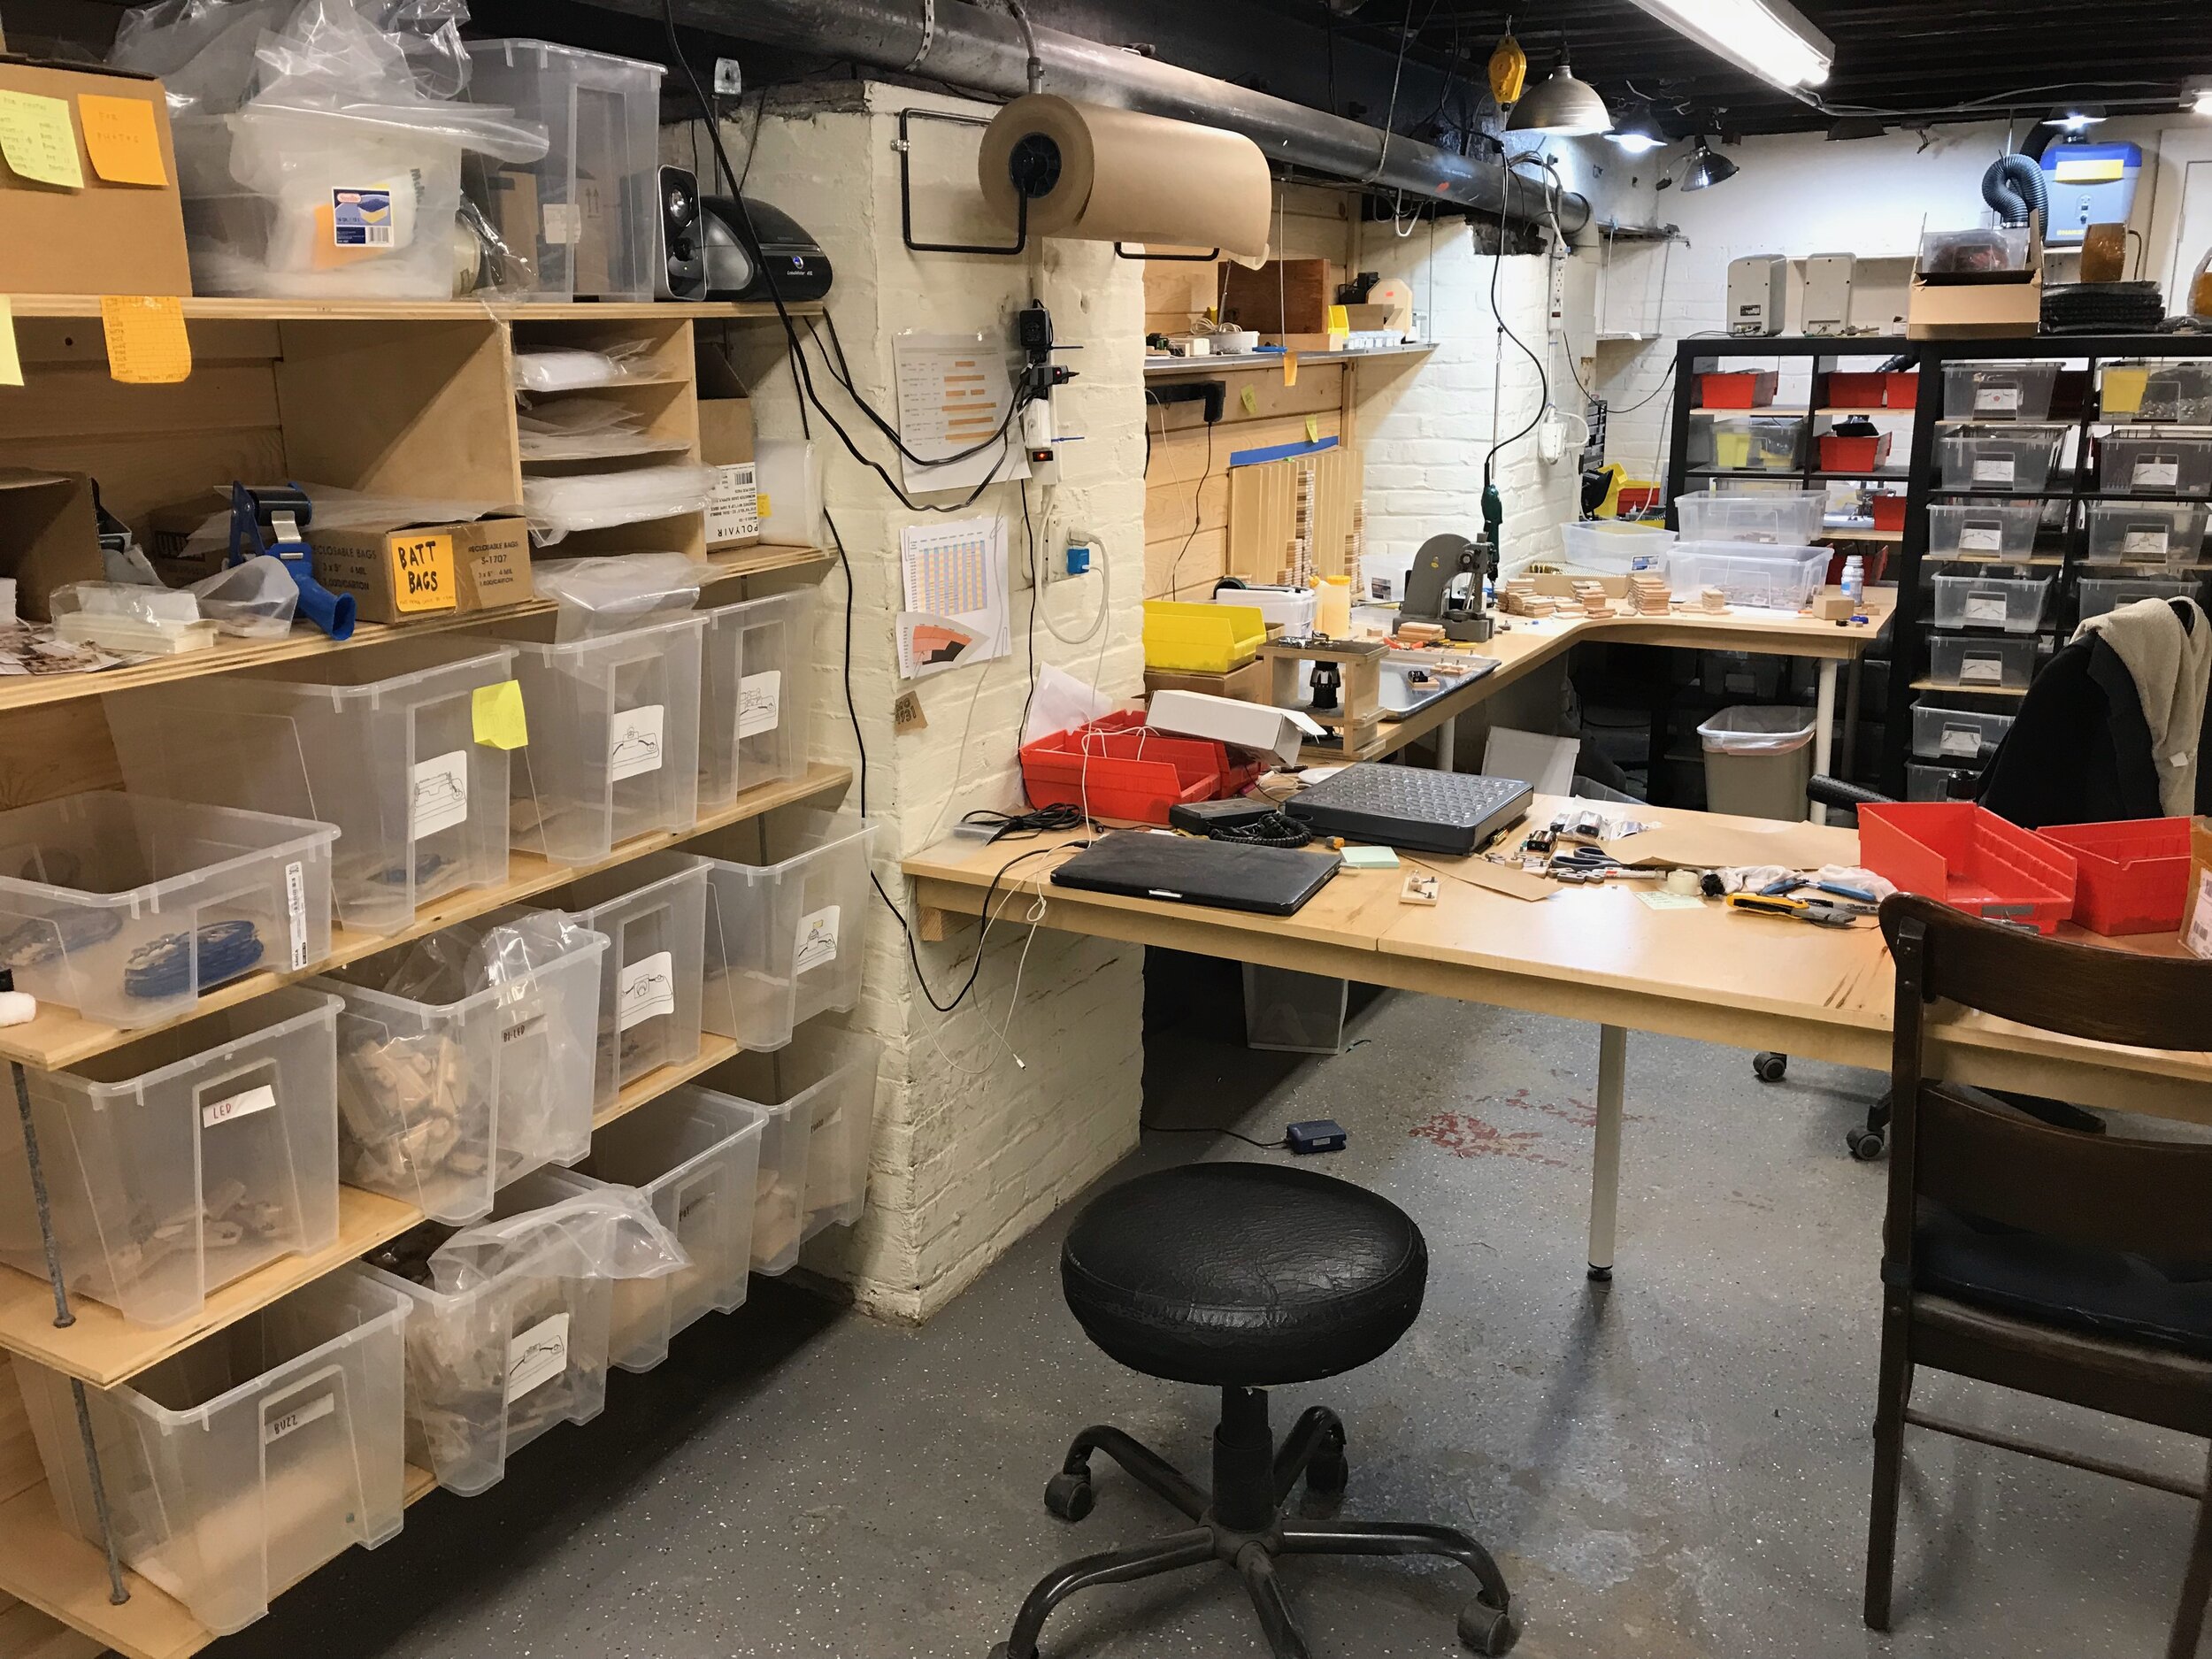
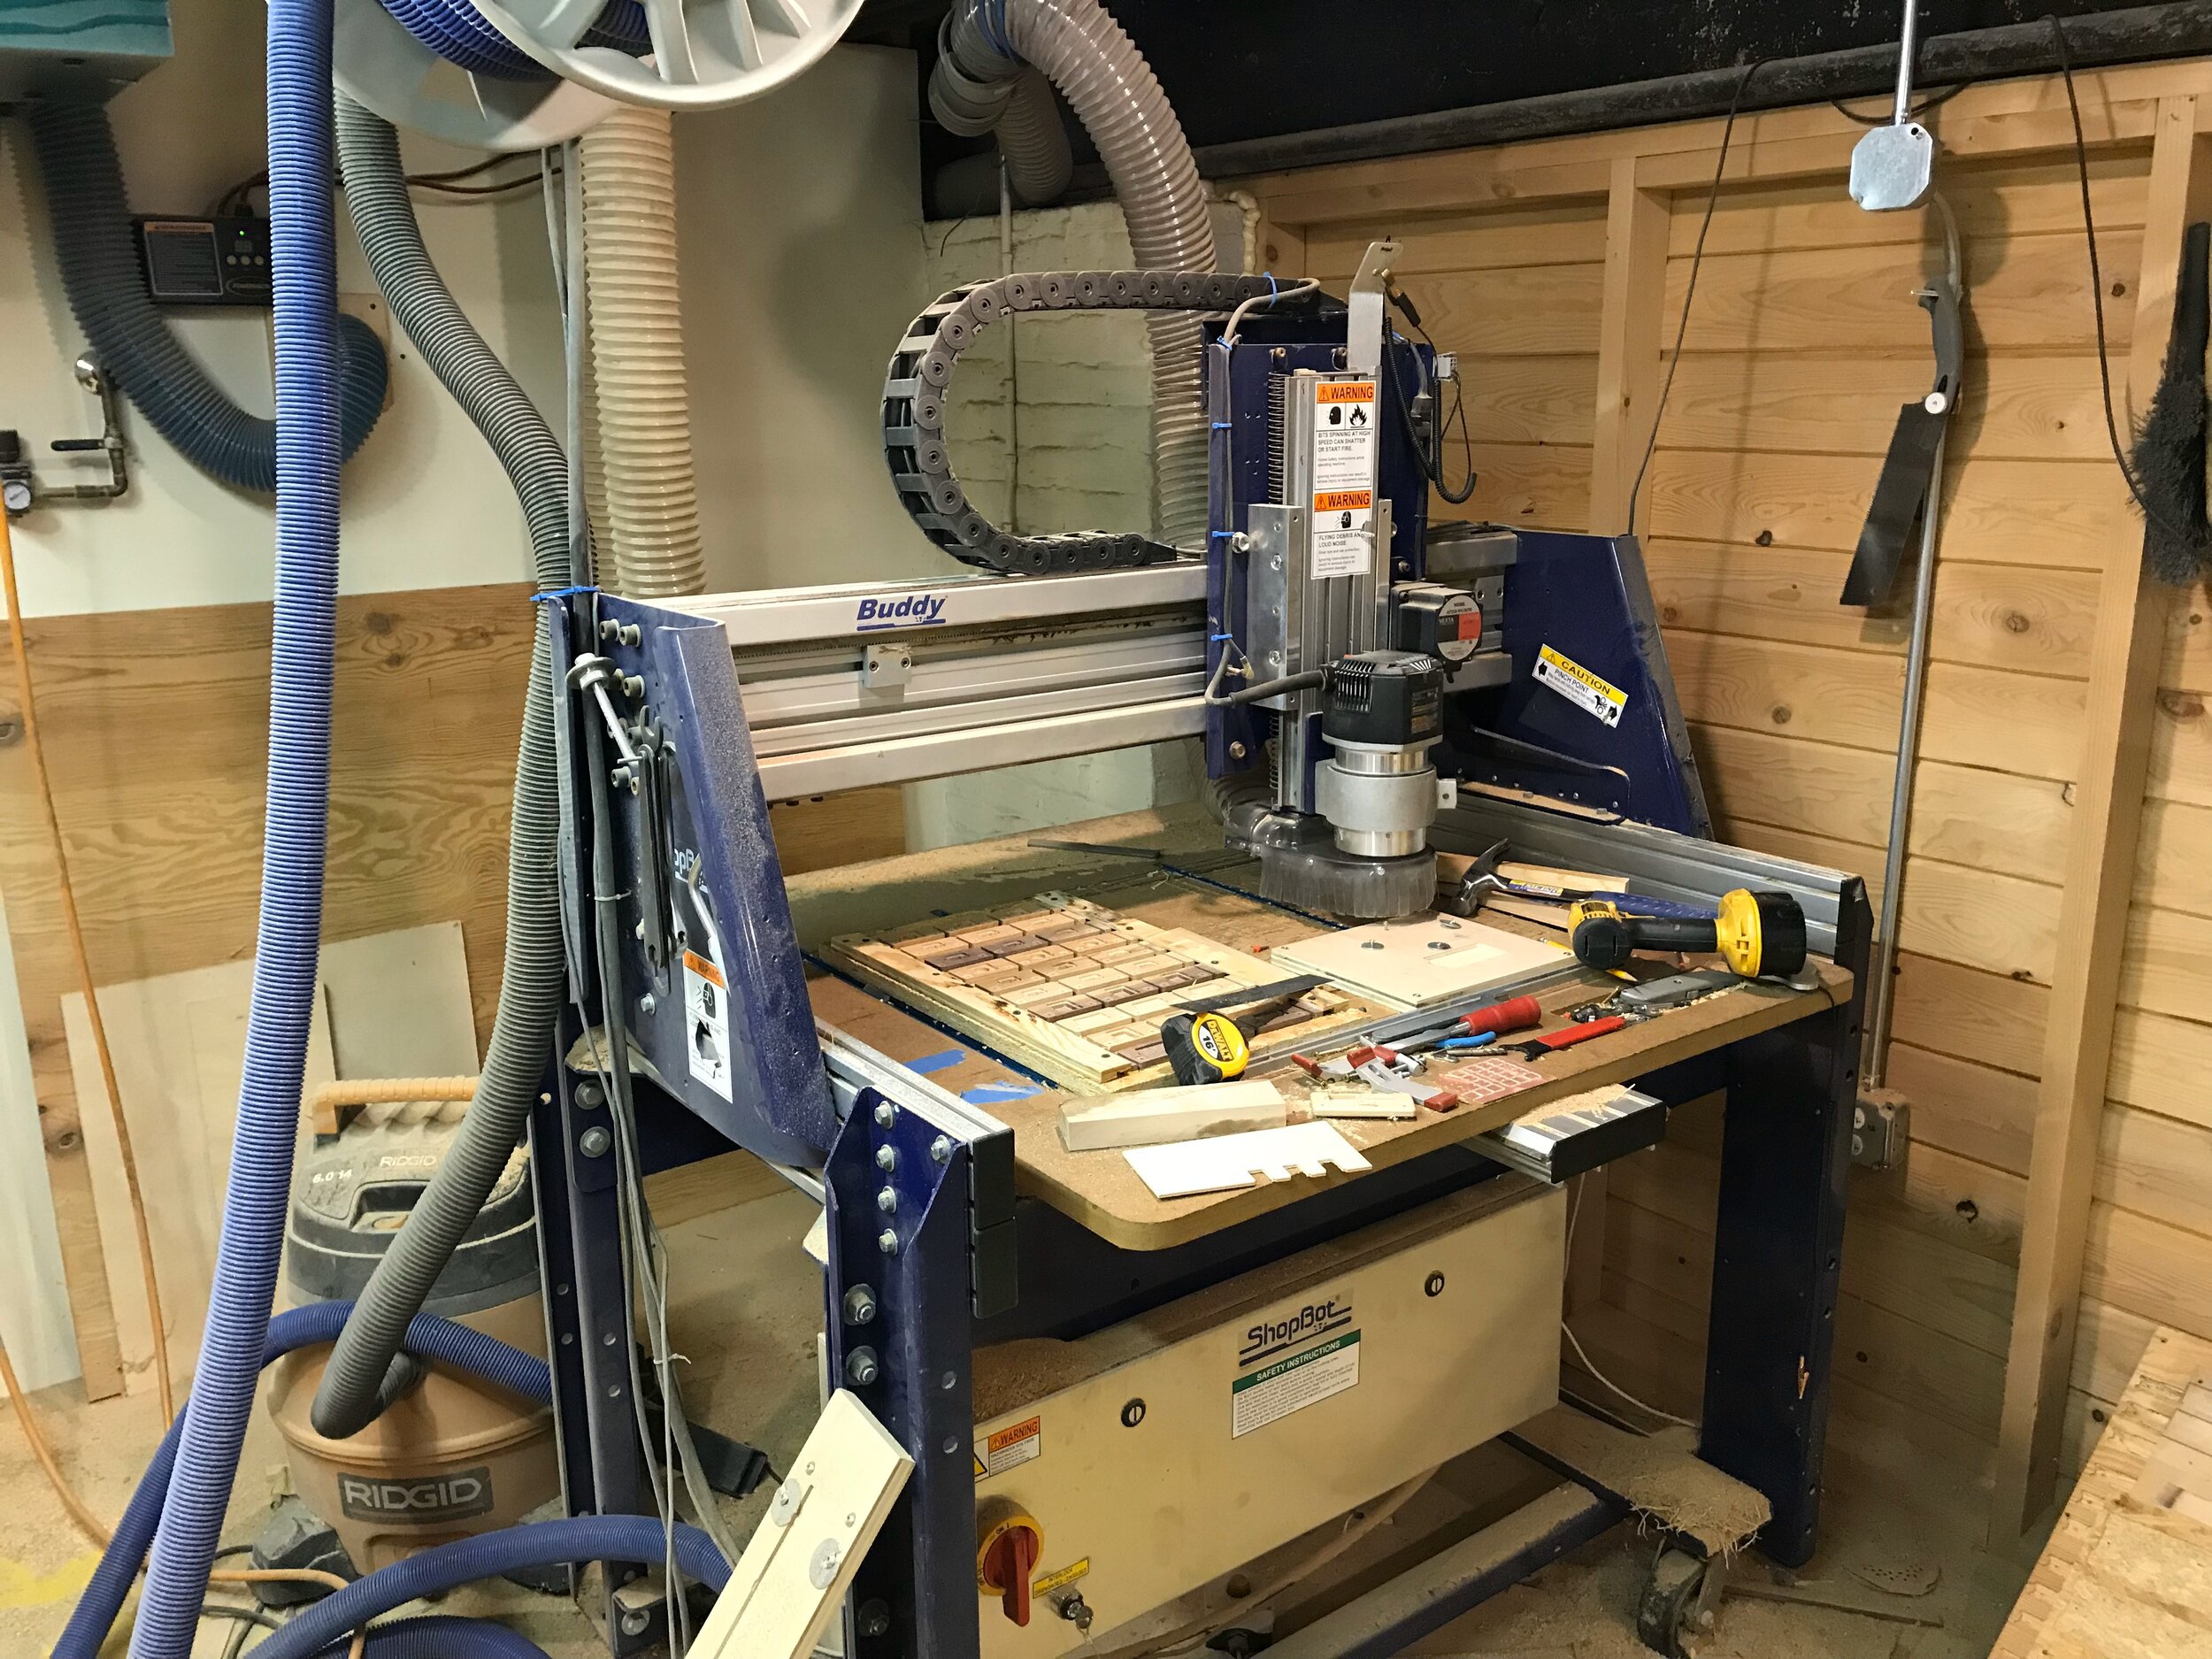
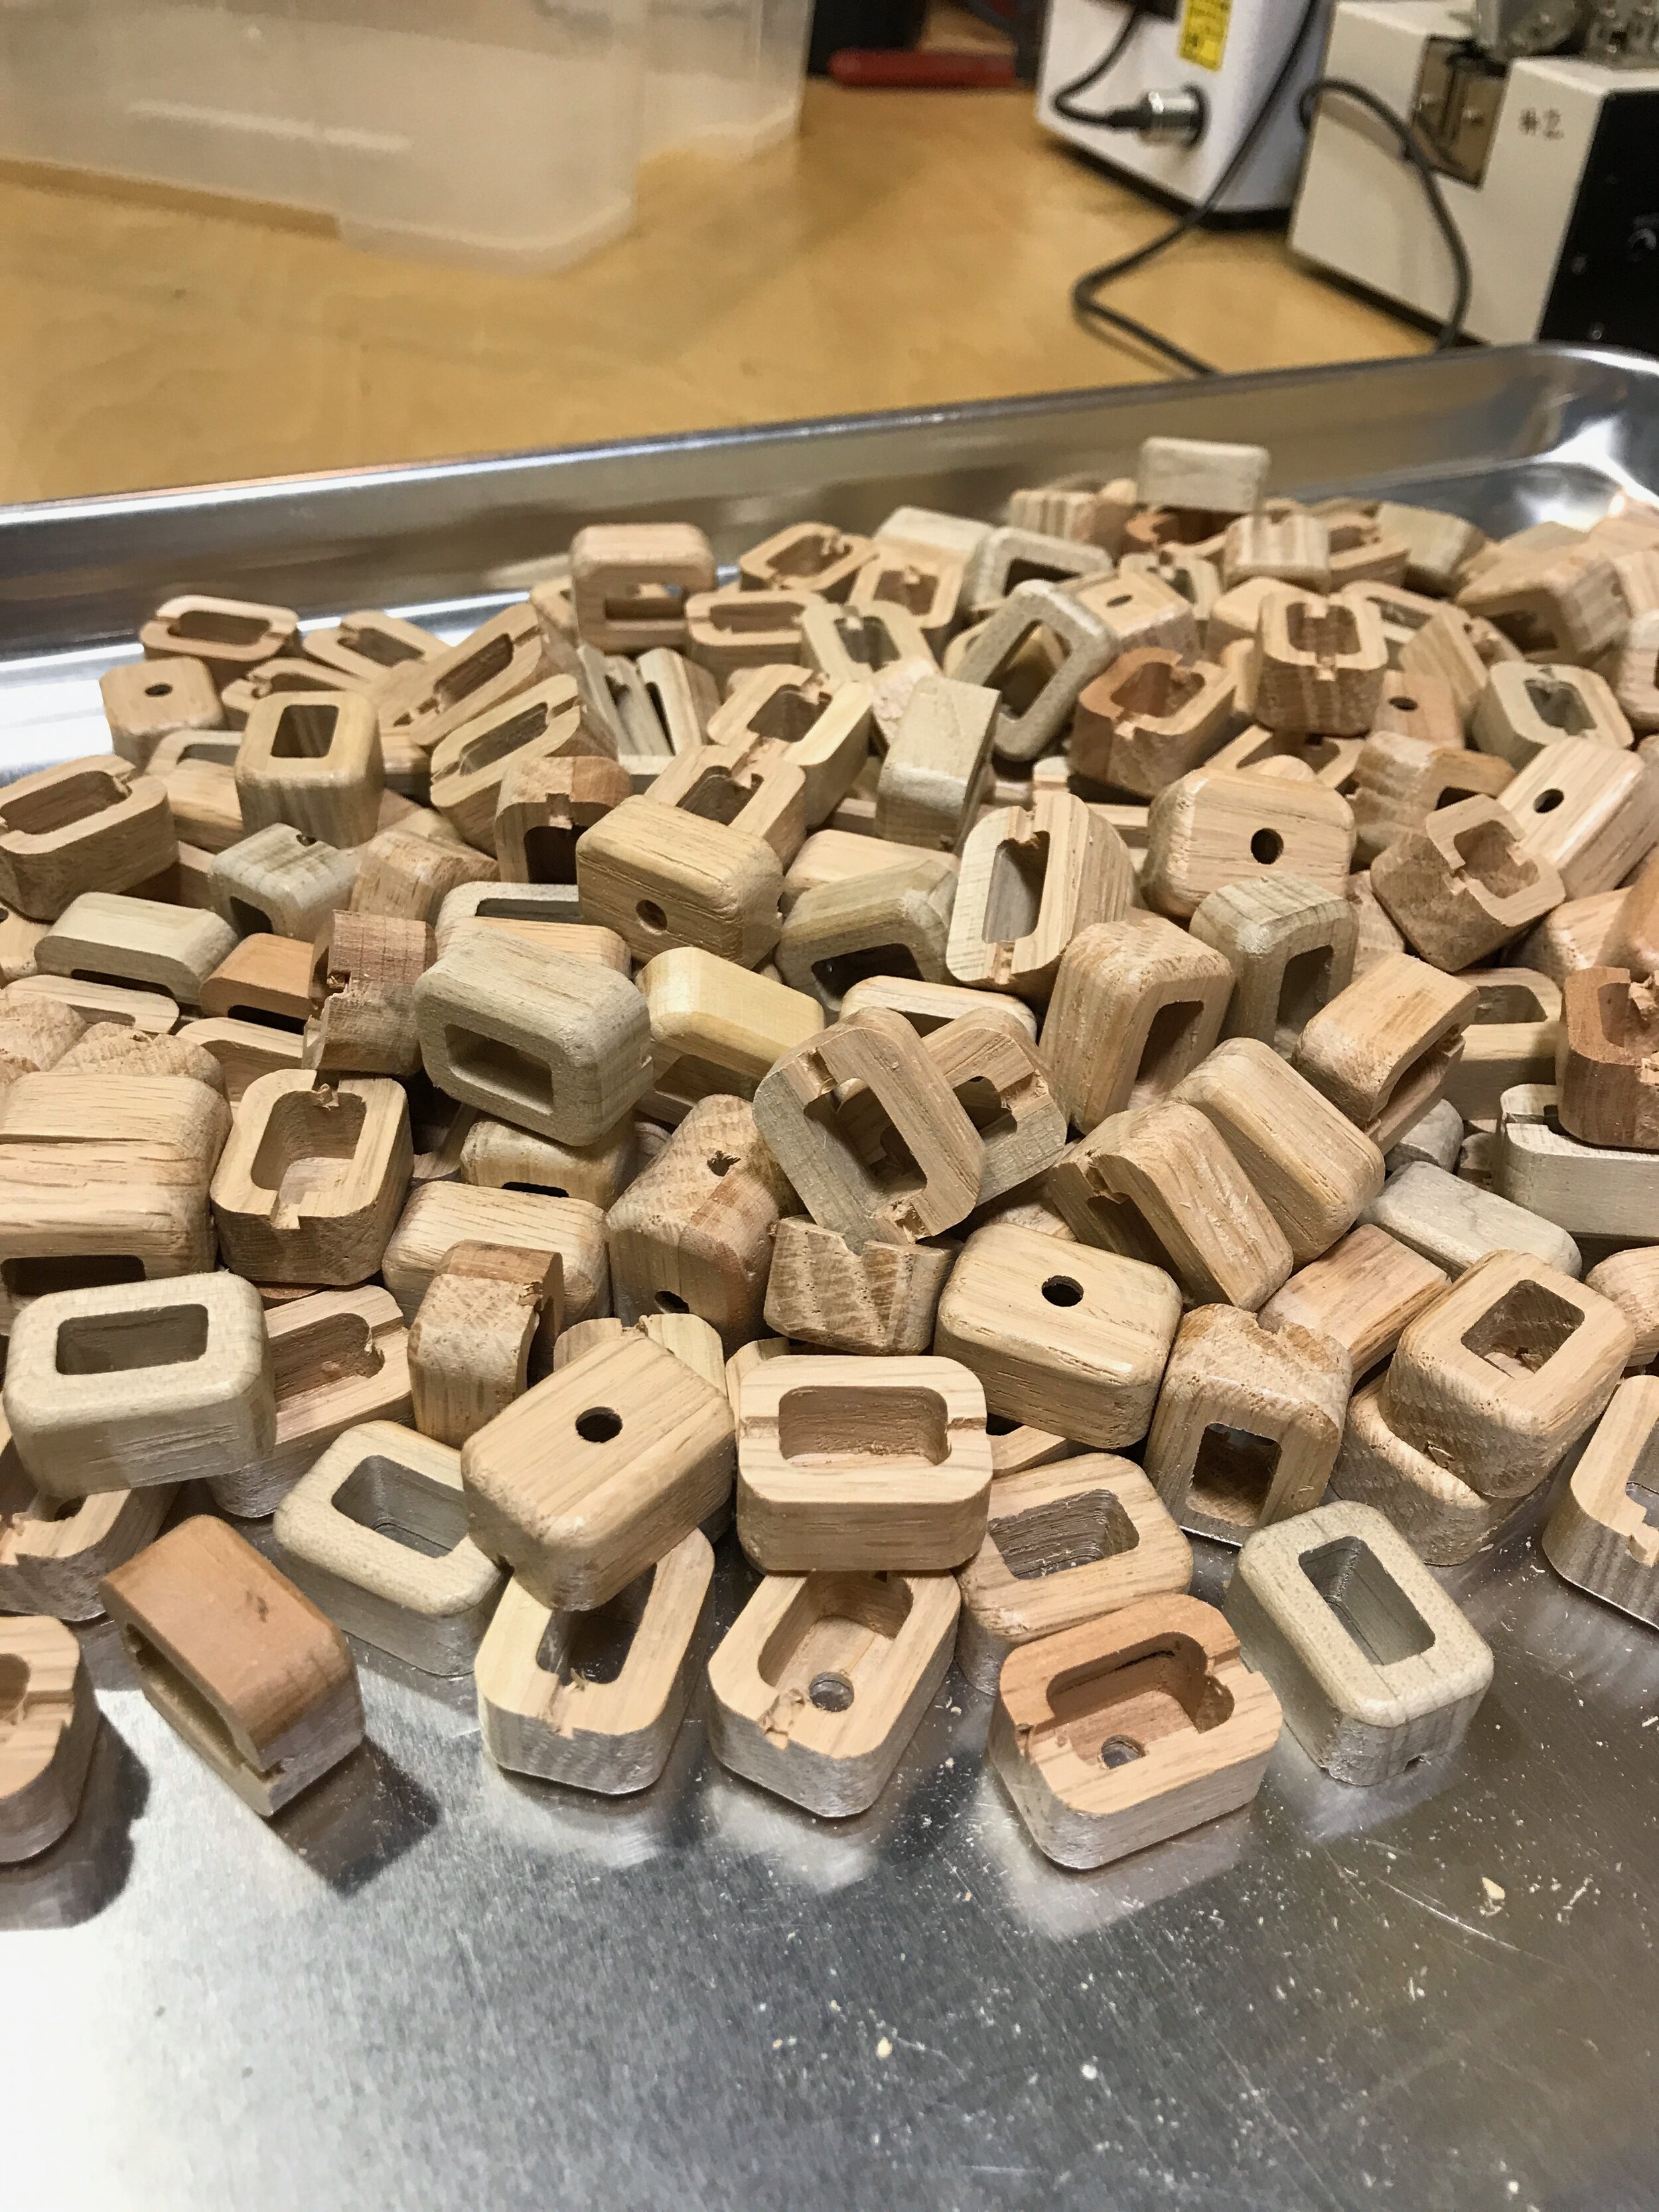
We’re usually able to ship within a few days of an order. We don’t maintain a large inventory of completed Circuit Blocks and we ALWAYS have components in production queue… It is not uncommon that we’ll have some odds and ends to complete before we’re ready to ship an order. If there is going to be a delay beyond this time, we’ll reach out and make sure that’s ok with you. If you have a date you need to receive them by, please let us know and we’ll do our very best to meet this.

I’d love to give a gift of Circuit Blocks, but the birthday is just two days away - do you do rush orders?

Please ask! If it’s possible, we will! We don’t have express shipping options on the website, but can ship 2-day or overnight - and if we have the blocks you’d like in stock it is likely we can get them out quickly for you.

We’d like to use the circuit blocks, but have some questions about how they might work in our context. Do you offer any sort of consulting services to help develop learning and use strategies with the Circuit Blocks?

There are a number of options. If appropriate, we can offer direct consulting services. We also have great partners who have developed professional learning opportunities with the Circuit Blocks - we’ll be happy to connect you with them. In addition, there might be a peer organization who we could connect you with who might be interested to share their uses and experience. Please send us an email and we’ll do our best to figure out the best way to support your needs.

What is the difference between the www.ciplearningstore.com and the www.spiralbound.design/learningstore websites?

Good question! We’re exactly the same people! Spiralbound.design is a new project with a goal to centralize the many different things that we do in one place. In time, we will migrate the www.ciplearningstore site entirely here, but in the meantime we’ll continue to keep both sites active.

I have a different question that is not answered here. Who should I ask?

Please, send us an email:
info@spiralbound.design